How to set up a gaming monitor

Getting your hands on the best gaming monitor is only the first step in ensuring that you have the best possible gaming experience. There are plenty of factors involved in taking advantage of not only the monitor itself but also the best gaming PC it's hooked up to, as well as the output cable you're connecting them to.
As you learn more about these aspects, it becomes clear that you need to broaden your knowledge of how gaming monitors work, the various settings that work best with your gaming rig, the right connectivity, and more.
We've collected the best tips and tricks that are guaranteed to optimize your gaming monitor for the best performance, whether you have the best 4K monitor with the latest specs, the best curved monitor that fits the highest resolution into a smaller space, or the best cheap gaming monitor deals that won't break the bank. If you follow our guide you can rest assured that you'll have the best experience with your gaming monitor and gaming in general.
Steps for how to set up a gaming monitor
Check your connections
Connect the cable to the graphics card
Set your resolution and refresh rate
Enable any Variable Refresh Rate (VRR) technology
Adjust color settings
Tools and Requirements
Gaming monitor
Gaming PC
HDMI or DisplayPort cable
Step by step guide
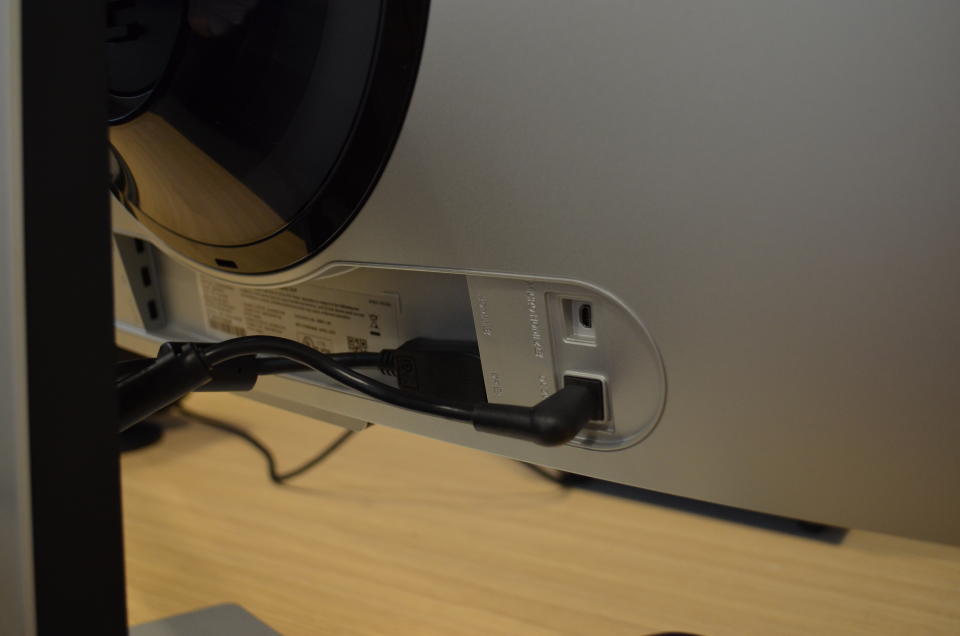
1. Check your connections
(Image: © Future)
Before you set anything else up, it's imperative to check what kind of cable you're using. If you have a 4K resolution gaming monitor, for instance, an HDMI 1.2 port on an old PC or a cable that doesn't support 4K isn't going to cut it. Either will work, but you won't be taking full advantage of the monitor.
It's important to ensure that both the PC port and cable match what kind of monitor you have - if you don't plan on upgrading your PC with the latest specs, it's a better idea to purchase a more budget-minded monitor instead or you'll end up wasting your money. But if you do, then make sure everything matches.
As for HMDI or DisplayPort, the former is widely used for a number of devices and will most likely be available for whichever monitor you purchase. DisplayPort has a superior bandwidth, better spec options, and is designed specifically with monitors in mind, so if it's on your gaming monitor choose that instead.
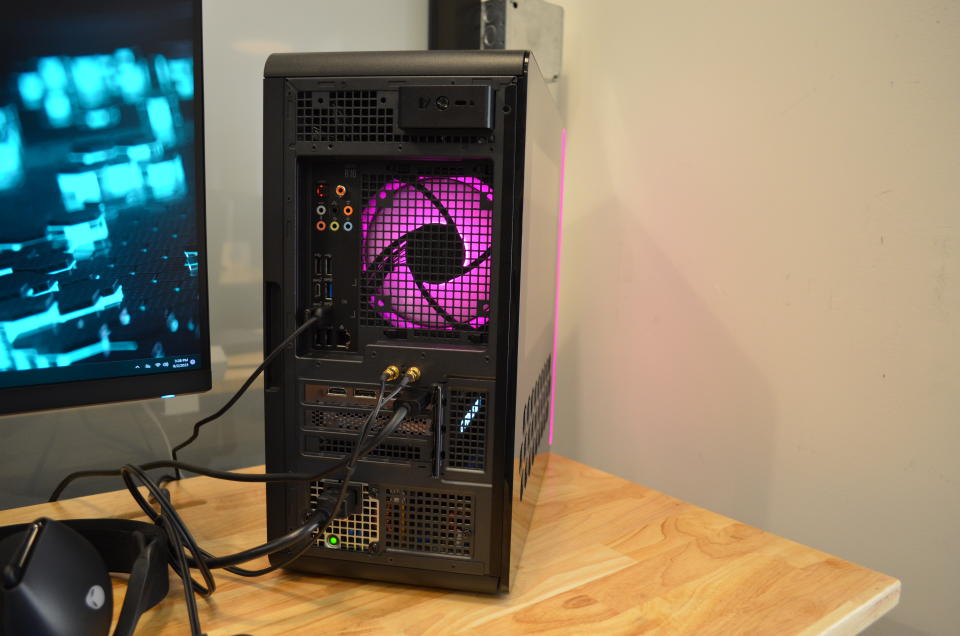
2. Hook up your cable to your graphics card
(Image: © Future)
It's important to ensure that your HDMI or DisplayPort cable is hooked up to your graphics card slot and not the motherboard slot on your PC. Doing the latter and not the former means worse performance, as it'll be rendering frames with your processor's integrated graphics instead of your discrete graphics card.
To make sure it's the right slot, look for a horizontal slot - usually but not always - located near the bottom of your PC's case, which will connect right to the card. The motherboard slot is the vertical slot at the top. Only use this port if you don't have a graphics card.
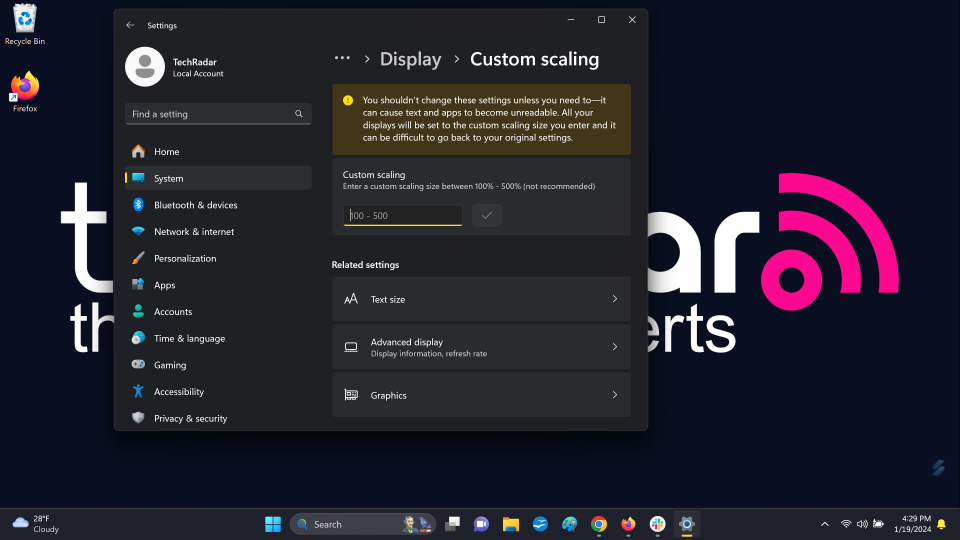
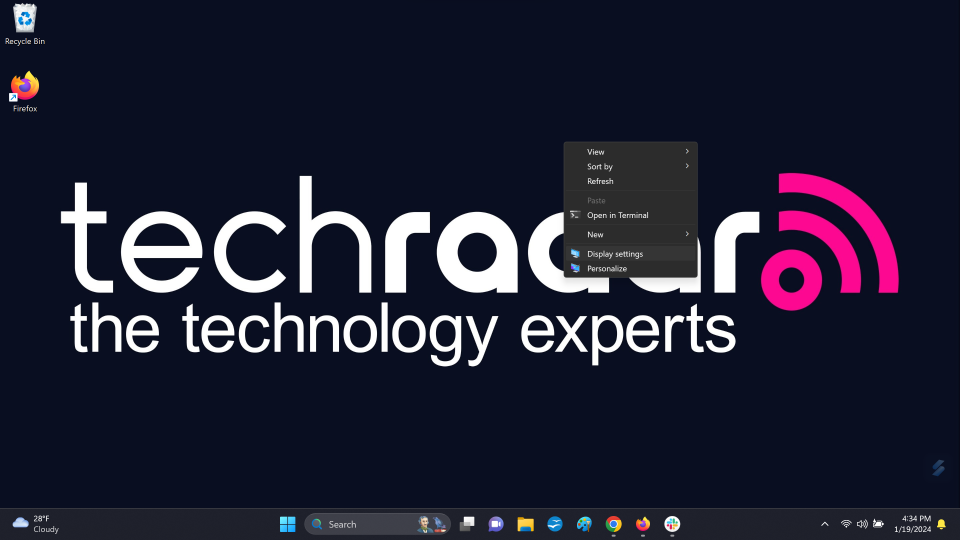
3. Set your resolution and refresh rate
(Image: © Future)
Now that your monitor's hardware is set, it's important to set the resolution and refresh rate to ensure that you're maximizing your gaming. To adjust resolution in Windows 11, simply right-click on the desktop and select Display Settings, then scroll and select Scale and layout, open Display resolution and choose your monitor's native settings.
To set the refresh rate on the same menu select Advanced Display Settings and under Refresh Rate choose the maximum refers rate.
4. Enable any Variable Refresh Rate (VRR) technology
(Image: © Future)
Some gaming monitors support VRR technology like Nvidia G-Sync or AMD FreeSync, which matches your display's refresh rate to what your graphics card puts out.
To enable G-Sync manually on Windows 11, right-click the desktop > Show more options > Nvidia Control Panel > Display > Set up G-Sync > Enable G-Sync, G-Sync Compatible > choose your display > Enable settings.
To enable FreeSync manually on Windows 11, right-click the desktop > Show more options > AMD Radeon Software > Display > turn on FreeSync.
5. Adjust color settings
(Image: © Future)
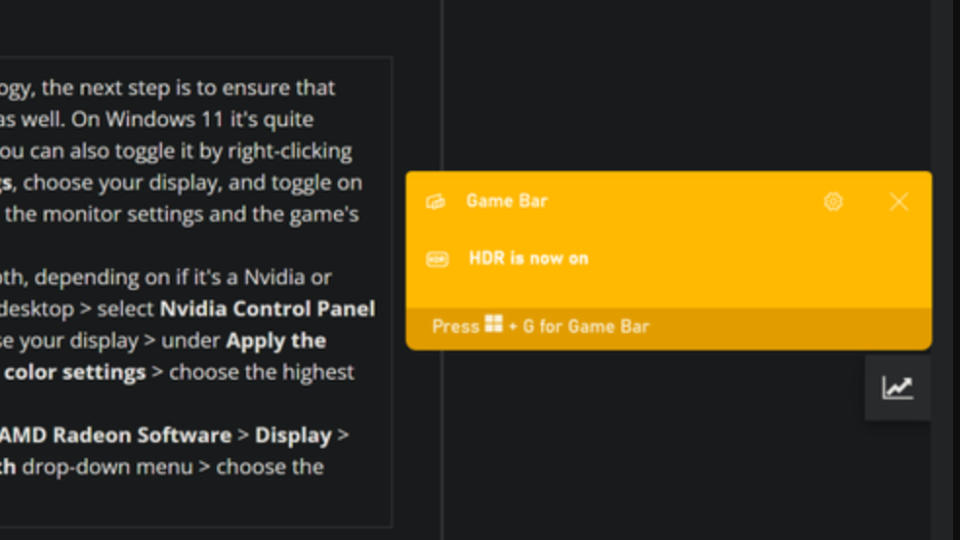
Now that you've turned on VRR technology, the next step is to ensure that HDR and color bit depth are turned on as well. On Windows 11 it's quite simple: press Windows Key + Alt + B. You can also toggle it by right-clicking on your desktop, select Display Settings, choose your display, and toggle on Use HDR. Make sure to turn on HDR on the monitor settings and the game's settings as well, or it won't work.
There are two ways to enable Color Depth, depending on if it's a Nvidia or AMD machine. For Nvidia right-click on desktop > select Nvidia Control Panel > Display > Change resolution > choose your display > under Apply the following settings choose Use NVIDIA color settings > choose the highest color setting.
For AMD right-click on desktop > select AMD Radeon Software > Display > choose your display > select Color Depth drop-down menu > choose the highest color setting.
Final thoughts
There are a few other points to look out for when setting up a gaming monitor. For instance, some monitors come with a host of other settings. For instance, some monitors allow for users to configure settings with a keyboard and mouse instead of only the hardware buttons.
There's also aim stabilizer, which corrects and then displays motion blurring. This is a feature invaluable for those who play first-person shooters as actions like gun recoil, running, and taking damage cause motion blur. Black equalizer divides the screen into sections, then equalized to view dark areas clearly. GameAssist lets you create custom crosshairs, useful for shooting games that don't have crosshairs.
Finally, more and more monitors are offering eye care features that help reduce eye strain when playing or using your monitor for long sessions. When shopping for your ideal gaming monitor, it's best to look at what features each one has and which ones best suit your needs.

