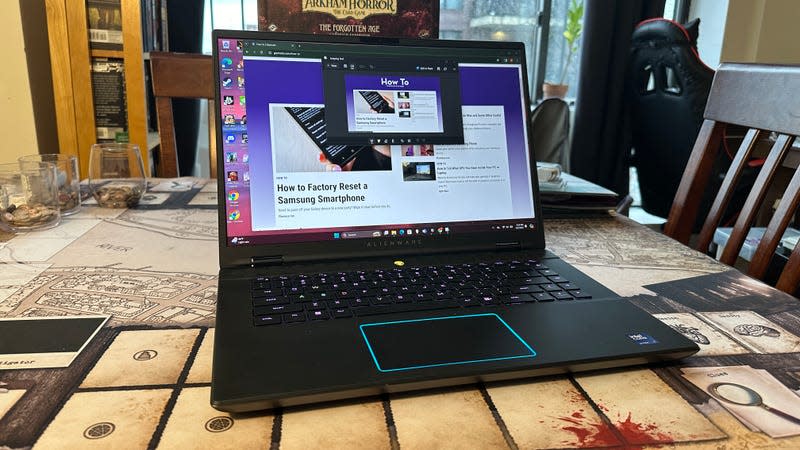
How to Screenshot on a Windows Laptop or Desktop
Want to capture that fleeting content flying past your screen? There are a few simple commands you can use to screenshot on Windows PCs or desktops. On Windows 11 and Windows 10, it’s all about the Snipping Tool, though the latest version of Microsoft’s OS offers some easy shortcuts to avoid the Print Screen button if you so choose.
If you want to take a screenshot on Windows 11, hit the Windows Key + Shift + R. You should see a small drop-down menu at the top of your screen, and your cursor will turn into a crosshair. The same thing happens if you hit the Prt Scrn button, which still exists on most laptops and keyboards. Depending on your setup, you may need to hold the FN key in order to access the function row. Once you access the app, you’ll see your screen darken slightly and you’ll have access to the Snipping Tool. The default Rectangular mode lets you take a screenshot of your screen selection. Just hold down the left click and drag over the area you wish to screenshot. All screenshots are automatically copied to the clipboard and saved to a specific folder in your Pictures directory.
There are a few other tools in the screenshot section. One, called Freeform mode, lets you draw any shape around the content you wish to screenshot. Window mode allows you to take a screenshot of any specific app or window just by clicking on it. Lastly,Fullscreen mode does what it says on the tin, that being takes a screenshot of your full screen.
Every time you take a screenshot, you should see a popup on the bottom right of the screen. If you click on it, you’ll open the Snipping Tool, which should allow you to save the screenshot to another folder, annotate the screenshot with a pen or highlight tool, crop the image, and export it to the Paint app.
How Do I Screenshot on Windows 10?
Windows 10’s Snipping Tool is very similar to Windows 11, but it’s slightly more cumbersome. You can still hit the Windows Key + Shift + S to load up the Snipping Tool, where you can then use the same snipping tools as Windows 11 to take screenshots.
You can choose a different screenshot mode from the app as well. This should appear in Mode, letting you take a Free-form snip, Rectangular snip, Window snip, or Full-screen snip. You’ll also need to save each screenshot manually after you take it.
You’ll capture your entire screen once you hit the Prt Scrn button once. This will save a screenshot in your clipboard that you can then use CTRL + V to paste into any document or photo editor. If you hold Alt + Prt Scren you can make a screenshot of a selective window instead.
Need More Help?
How to Tell What Kind of GPU You Have Inside Your PC or Laptop
Here are Some Easy Ways to Make Windows More Secure
How to Use Google Password Manager on Any Device
How to Get Better Framerates for PC Gaming
How to Get Started Running Emulators on PC and Mac
Want more of Gizmodo’s consumer electronics picks? Check out our guides to the best phones, best laptops, best TVs, and best headphones. If you want to learn about the next big thing, see our guide to everything we know about the iPhone 16.

