Raspberry Pi Pico used in 'Back to the Future' time circuits replica
- Oops!Something went wrong.Please try again later.
This Raspberry Pi project is as timeless as the movie franchise it's based on, Back to the Future. The maker behind this movie prop replica is known as Traveling_fred. Using one of our favorite microcontrollers, the Raspberry Pi Pico, they put together a working replica of the dashboard hardware found in Doc Brown's DeLorean time machine.
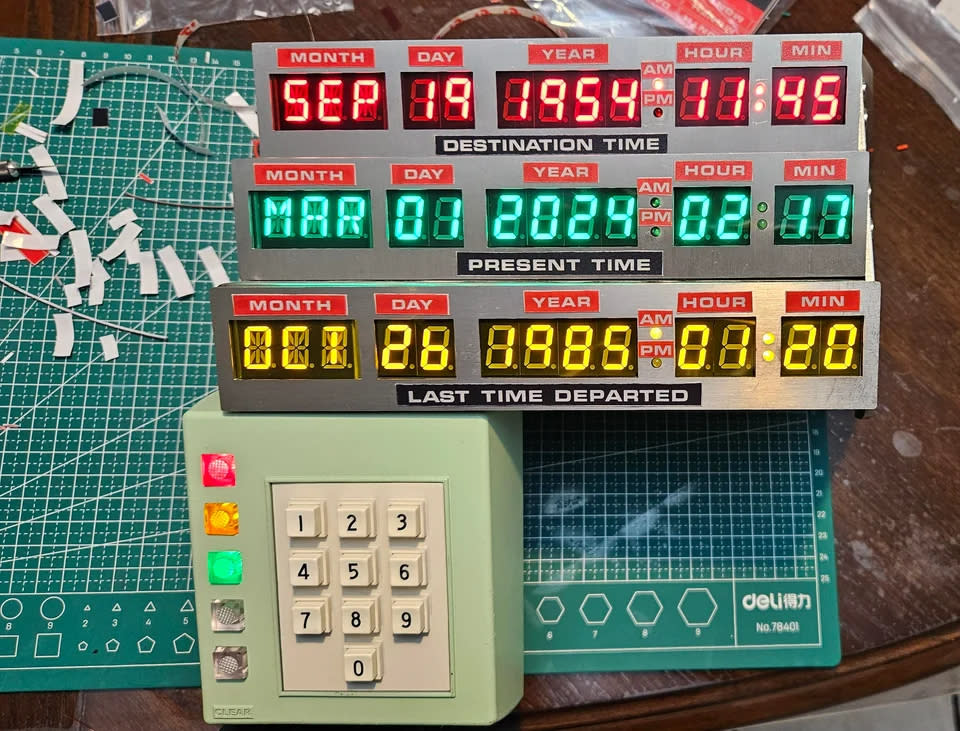
According to Traveling_fred, the designs for the outer shell and display PCBs are both open source. This makes it easy (or at least easier) to recreate it for yourself at home. If you want to make a non-working prop, just skip out on the input pad. However, the option is there to create one that operates just like the one from the movie—sans time travel of course.
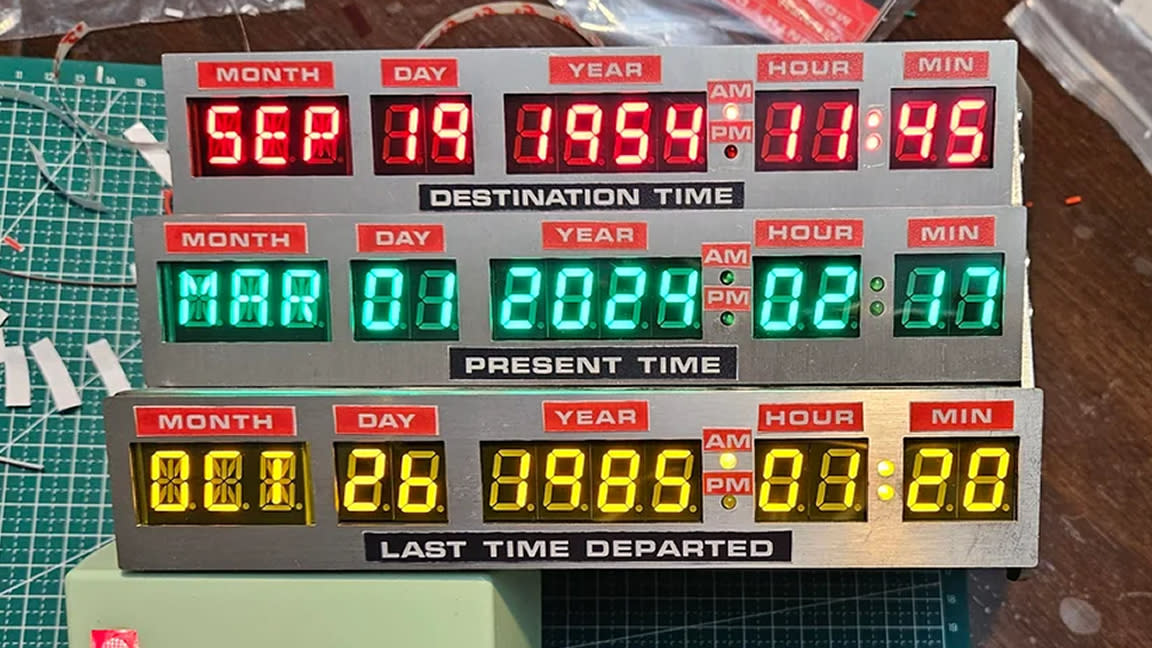
The dashboard hardware consists of three displays that output the current date, the desired date to which the user intends to travel, and the time it was when the traveler last left. This replica includes those displays as well as a numeric pad that features a few LEDs and is used to change the date information.
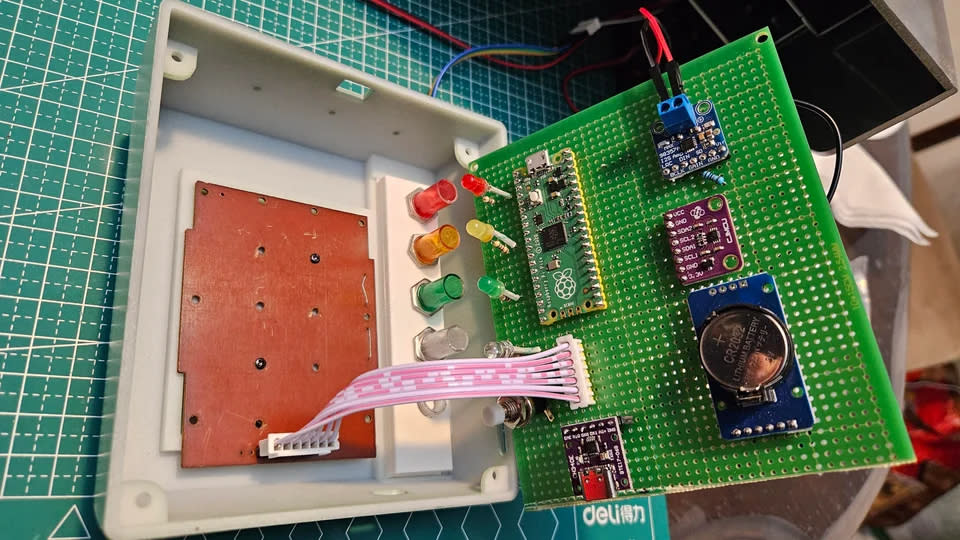
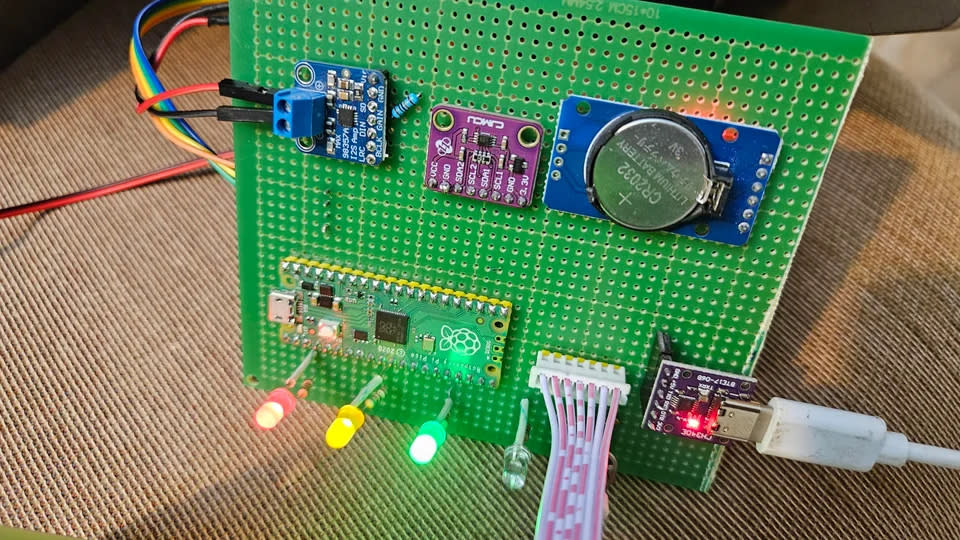
The Pico is connected to other modules, as well, including a shift level converter, an audio amplifier, a DS3231 RTC module to track time and a USB-C power module. Traveling_Fred sources the PCBs used for the LEDs as well as much of the hardware from circuitsetup.us. These can be purchased premade, or you can obtain the schematics for free and recreate them at home.
The software used to program the project is CircuitPython. You can read more about how it works in greater detail over at Circuit Setup. There you'll also find various kits and components that you can use to build this movie prop at home. The largest kit costs $559, but you can cut costs by creating some components from scratch.
To get a closer look at this Raspberry Pi project, check out the thread shared to Reddit where you can see what it looks like when the Circuit Setup kit is fully assembled.
