Raspberry Pi Pico brings Gundam to life with interactive LED light show
When it comes to anime-themed Raspberry Pi projects, it just makes sense there would be a natural overlap with the technological-oriented mecha genre. From giant robots to cool sci-fi gadgets, there's loads of potential for fans who want to bring a little piece of their favorite series home. Today we've got a really cool project to share from a maker named Rob who has spruced up his Gundam figurine using a Raspberry Pi Pico with what he calls a Gundam Cyberdeck.
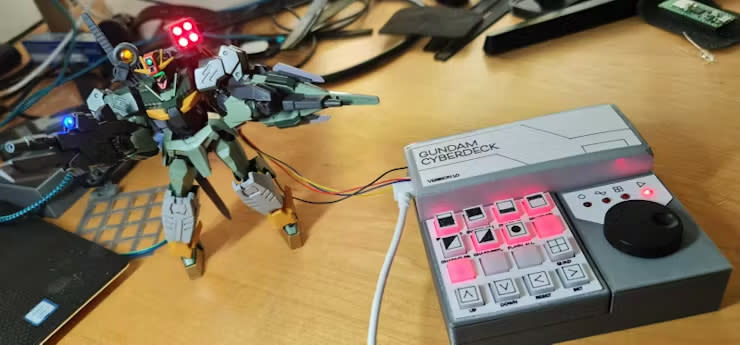
This project takes your average Gundam and transforms it into a much more illuminating experience by employing LEDs. While it's cool enough to see a Gundam suited up with lights, Rob wasn't satisfied with lights that simply turn on. He wanted something more dynamic and interactive that play on the storytelling elements of the Gundam. The end result is a fully customizable Gundam light show, complete with 16 individual LEDs and a control panel made from scratch.
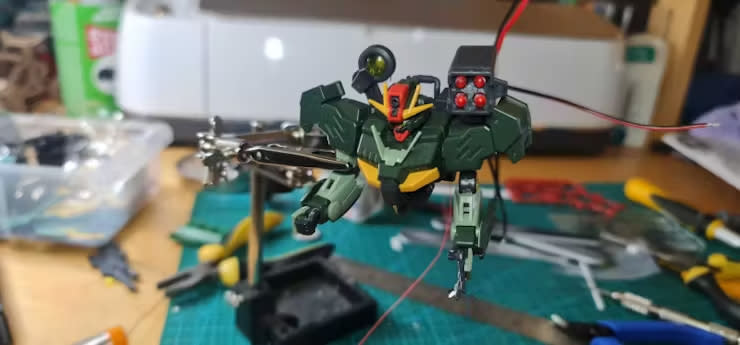
The final build uses 16 individual LEDs controlled by the Pico. They can be preprogrammed with up to 10 separate sequences that can be saved and loaded as desired. The control panel features a big rotary encoder that lets you quickly adjust and set things like brightness and speed. This makes it possible to light up individual components like the rocket launcher or eyes for animations.
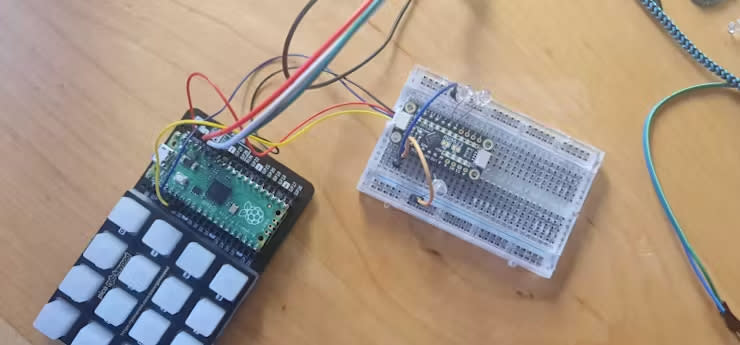
The Pico is connected to an AW9523 module, this is a GPIO expander which is convenient for this project as it doesn't require any resistors to operate LEDs. All the hardware, including the buttons, Pico, rotary encoder, etc, are housed inside a custom shell that Rob designed and 3D printed just for this project.
The software was programmed by Rob, as well, and was built using CircuitPython. It handles the LEDs and can save custom sequences locally to the Cyberdeck. Loading a sequence is as easy as pressing the button you've assigned it to on the keypad.
If you want to get a closer look at this Raspberry Pi project, you can see it in action over on YouTube and peruse the full build tutorial over at Hackster.

