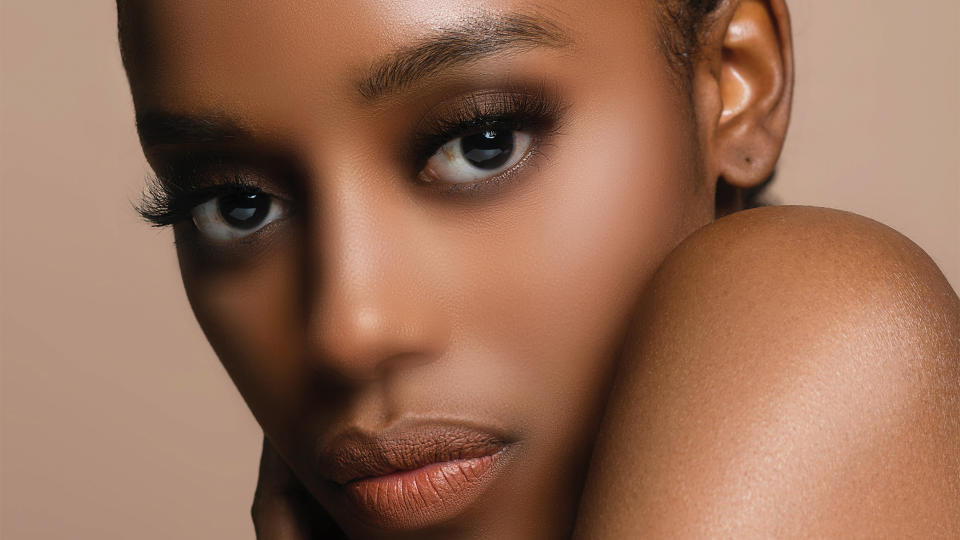
Portrait photographers watch out: How to retouch skin so it looks natural using frequency separation

When editing skin tones, it is best to avoid too much retouching. We often focus on removing spots with the clone or smoothing tools, but these can affect the skin texture.
To avoid unnatural-looking results, Affinity Photo 2.0 has a Frequency Separation filter, where low and high frequencies are separated, so that colour spots (Low Frequency) and skin texture spots (High Frequency) can be edited separately.
What you'll be using:
Frequency Separation
High Frequency
Low Frequency
Paint brush list
Before and after

Editing steps
1. Copy Background layer
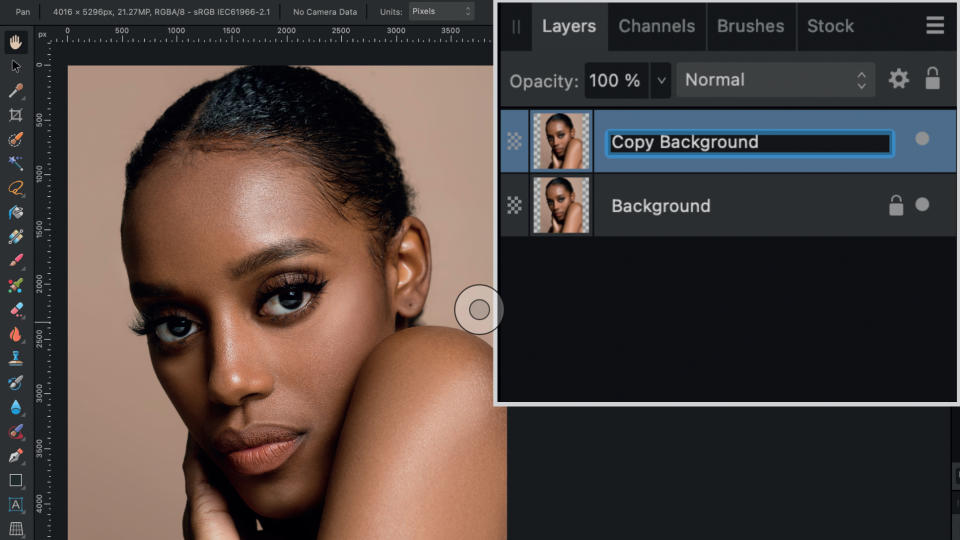
Keep track of the retouching edits you make. To do this, start by duplicating the original background layer. This will create a copy that you can use to compare the ‘before’ and ‘after’ versions of the photograph. It also helps identify if any edits you make are too extreme.
2. Select Frequency Separation filter
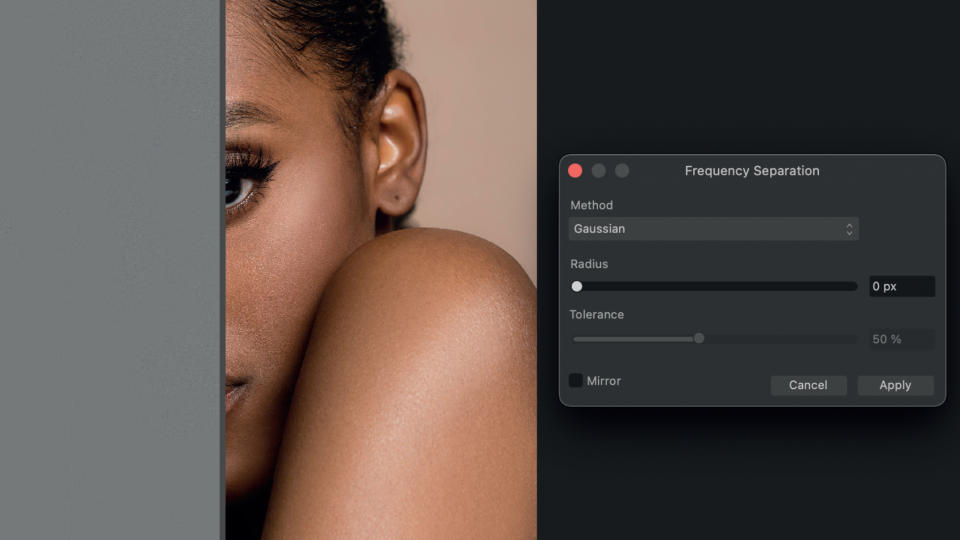
Go to the top bar, select the Filter option and choose Frequency Separation filter. Now, the image is split into two parts. On the right, you can see the high frequency, which displays the texture. On the left, the low frequency is visible, which contains the image colors.
3. Apply filter
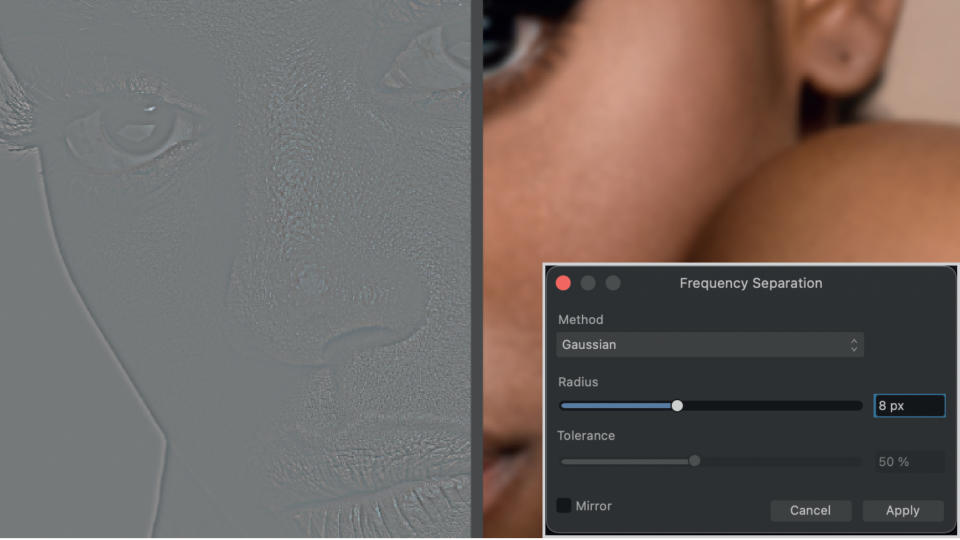
To adjust the texture, use the radius slider. By increasing the radius, the high-frequency side gains structure, while the low-frequency side appears blurry. This allows you to enhance the skin texture while blurring out the structure of spots that only contain the colours so you can smooth them separately.
4. Work on structure
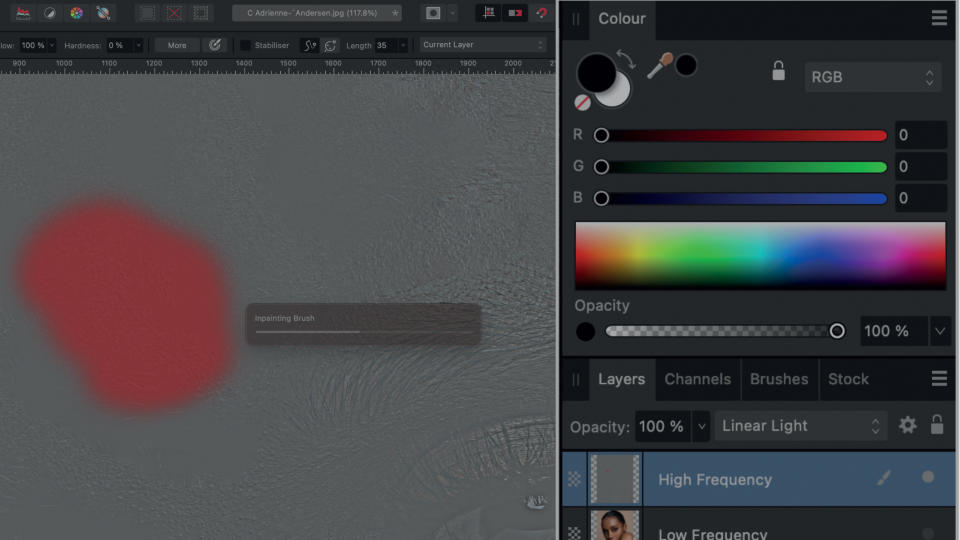
By applying the filter, two layers are automatically added. To start retouching, untick the visibility of all layers while leaving the High-Frequency layer active. Select the paintbrush tool and make sure black is selected. Leave the Current Layer option
on and paint over any irregular structures.
5. Correct tone irregularities
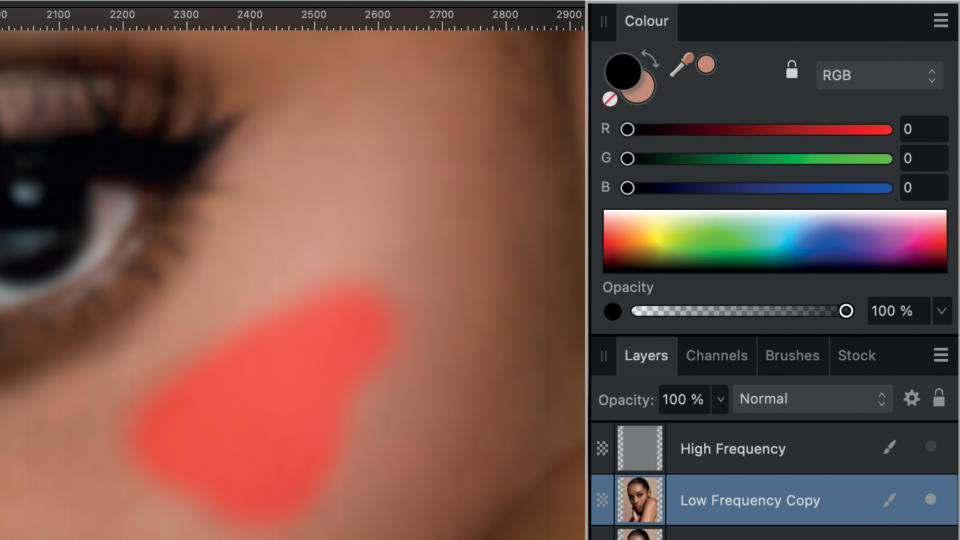
Activate the visibility of the Low-Frequency layer. Duplicate this layer and work on the copy. Focus on one area that shows spots. Select the paintbrush with a low flow and hold down the alt/option key to sample the skin colour. Paint over the areas that need touching up.
Key tip
Use frequencies to edit the shadows
By applying lighter or darker skin frequencies, you can increase or decrease the appearance of shadows. Stay on the Low-Frequency layer, sample a skin tone and paint it in using the brush tool over the shadow areas you want to optimise.

This article originally appeared in Digital Photographer, a monthly magazine, and the kitbag essential for pros, enthusiasts, and amateurs alike!
Inside, you'll find practical guides, shooting tips, and techniques from working photographers, plus all the latest industry news.View Deal

