Got a new Android phone? You need to check these two settings right away
While I’ve been an iPhone user for the past two years, I’m never far from an Android phone, often dual-wielding some of the best Android phones you can get today alongside my aging iPhone 13 Pro.
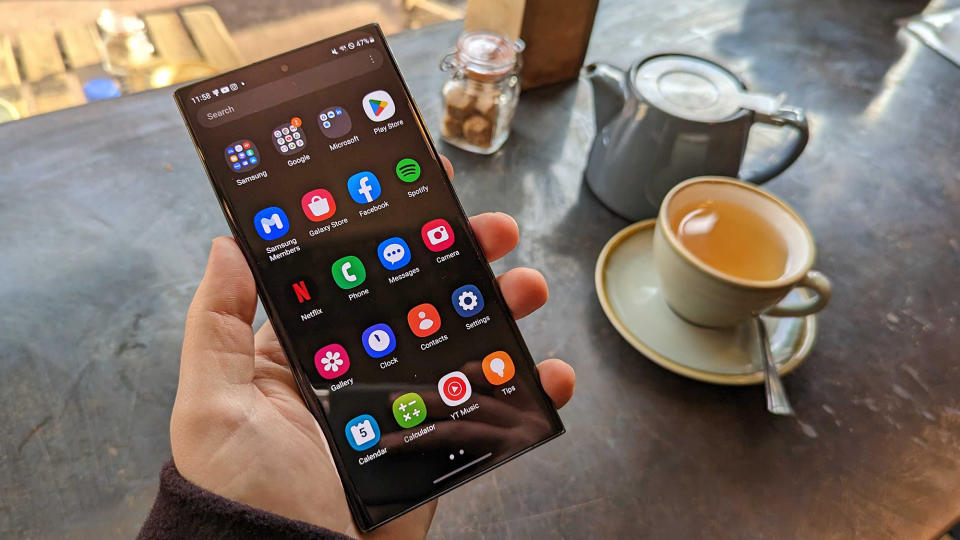
Android phones still appeal to me thanks to their variation, lack of specs compromise in flagship models, and interesting features – stand-out models being the Samsung Galaxy S23 Ultra, OnePlus Open, and Google Pixel 8 Pro.
But there’s at least one thing I do first when I get set up with a new Android phone, regardless of the phone’s brand: check the display settings.
Color calibration, resolution ramping

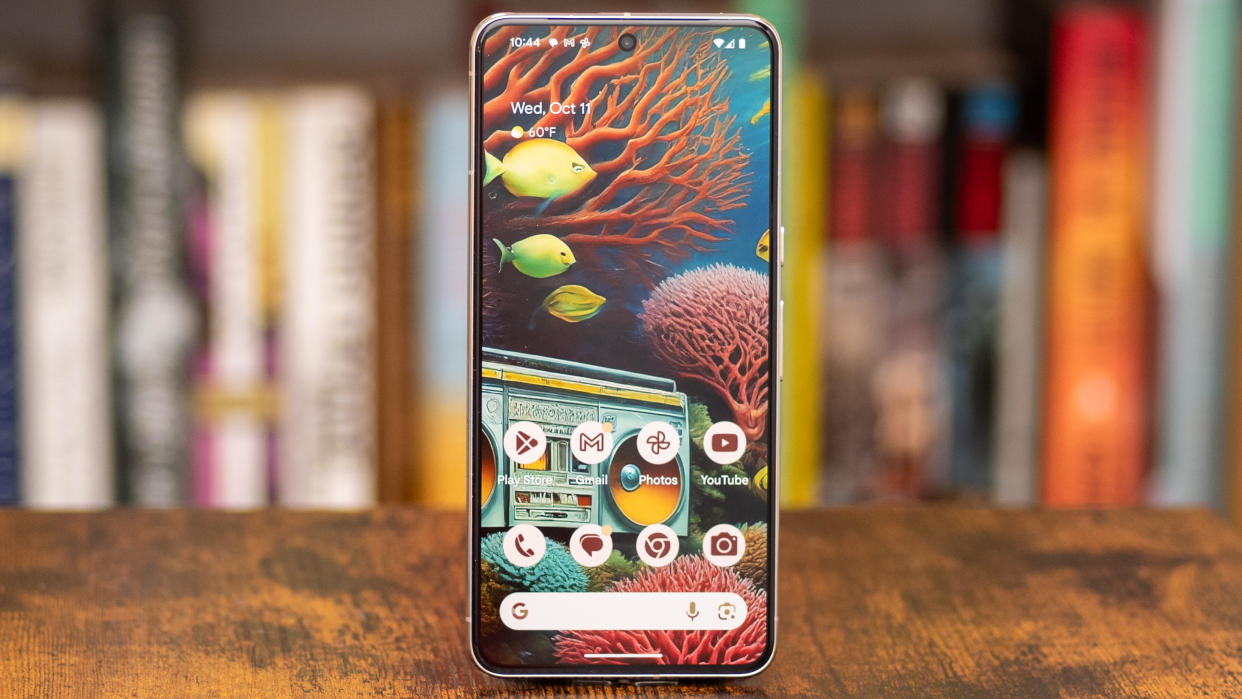
A good slew of Android phones now come with OLED displays capable of a bounty of colors and QHD+ resolution. But out of the box, these screens can be set to a lackluster color setting and only use FHD+ resolutions to keep power consumption down.
However, I do like a bold, bright, and colorful display. And at larger sizes, I do appreciate a QHD+ resolution (or at least if it’s on offer I want it switched on, even if it can be hard to tell at times).
So I have to go into the display settings, knock up the resolution, unless it has an adaptive mode, and make sure that the available color profile works for me.
For OnePlus phones, this has often seen me select modes that offer or err toward the cinema-level DCI-P3 color gamut. Samsung phones have me choose the Vivid mode, as I do like the bold, if occasionally over-the-top colors, of its AMOLED screens.
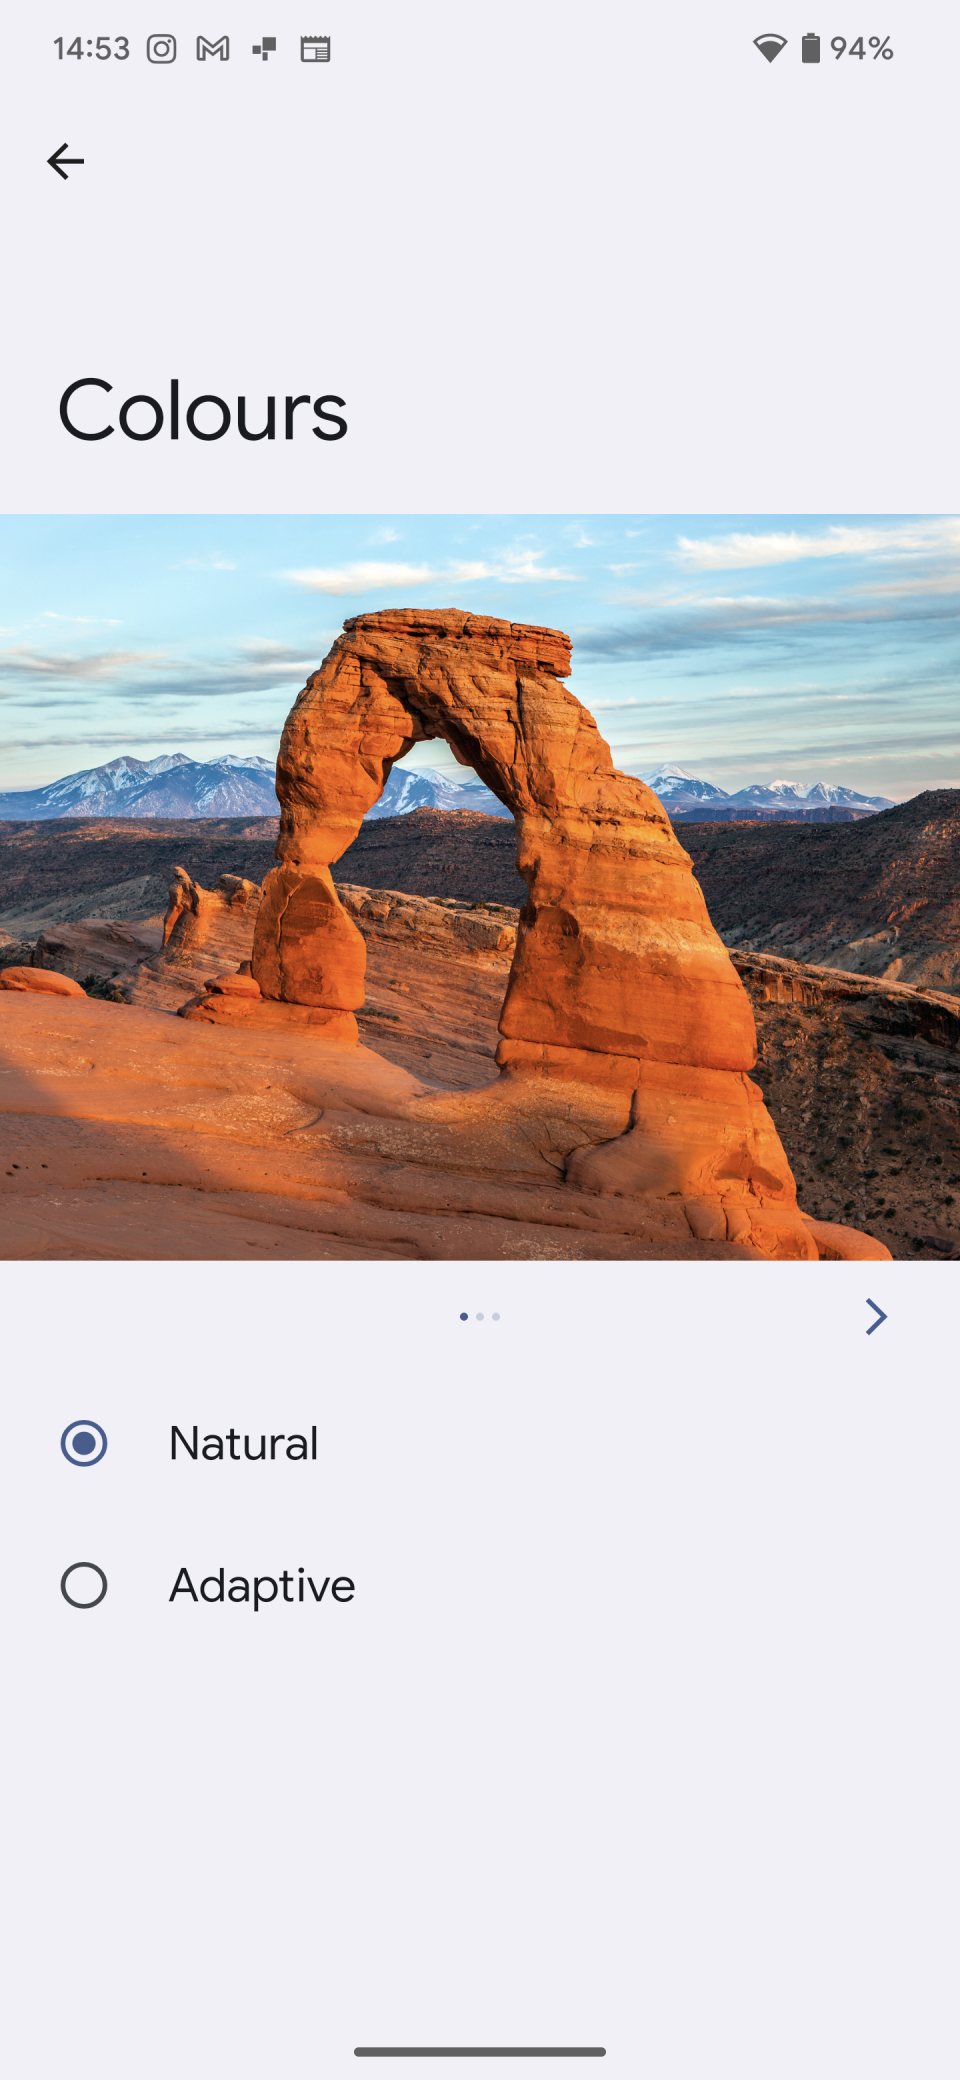
And on Google's Pixel phones, I tend to prefer the default Natural mode that compliments the HDR-y photos Google’s computational photography tends to spit out regardless of camera lenses or specs.
Running to refresh
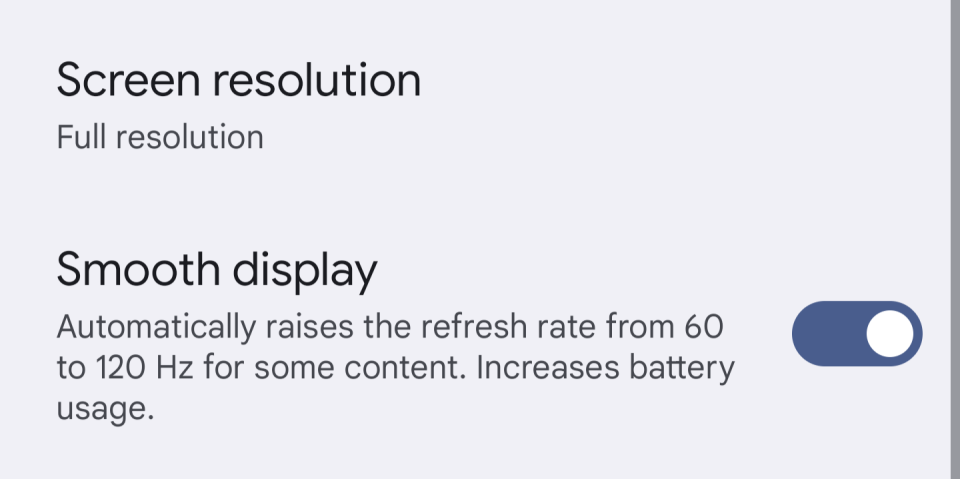
Thanks to the evolution of panel technology, a lot of Android phones now come with high refresh rate displays, usually offering 90Hz or 120Hz refresh rates. But often these aren’t enabled by default or use adaptive modes that can be rather temperamental, meaning the phone gets saddled with a 60Hz refresh out of the box.
So it’s off to the display settings to make sure that either the high refresh rate mode is enabled or that the adaptive mode is working as it should. It might seem like a small change and tends to lead to more battery consumption, but once you get used to 120Hz it hurts to go back to 60Hz. However, I do like the option to switch it off when my phone is low on battery and I’m not near a power outlet.
If you’ve not checked these settings, then it’s trivially easy.
Simply open the settings app on your Android phone or use the quick pull-down menu in recent Android versions to access the settings icon, then scroll to the display menu and tap it to get access to a range of display options.
The screen resolution option will likely be named as such, while colors will be under options like ‘Colors’ or ‘Screen mode’. As for refresh rate, that can be found under options with names like ‘Smooth display’ and ‘Motion smoothness’ usually accompanied by a toggle for on or off, or adaptive or standard.
I wish you good luck with your next Android phone, and any questions please let me or the TechRadar team know.
You might also like
Samsung Galaxy S24: latest news, rumors and everything we know so far
iOS 17.2 finally gives me a reason to use the iPhone 15 Pro’s Action button
6 things the Galaxy S24 needs to steal from the iPhone 15 (and 1 thing it better not)

