datacolor SpyderCube review: smarter than a gray card for overall accuracy
To me, photography is a movable feast. There are endless parameters that I can monkey around with for creative effect, which is all for the good and makes life fun. Sometimes though, I just want things to be ‘right’. Inaccurate white balance, blown highlights, and lost lowlights can ruin a good shot. As well as accuracy, I find that consistency throughout a series of shots is really important if I’m creating prints that are going to be viewed in a book or hung next to each other on the wall.
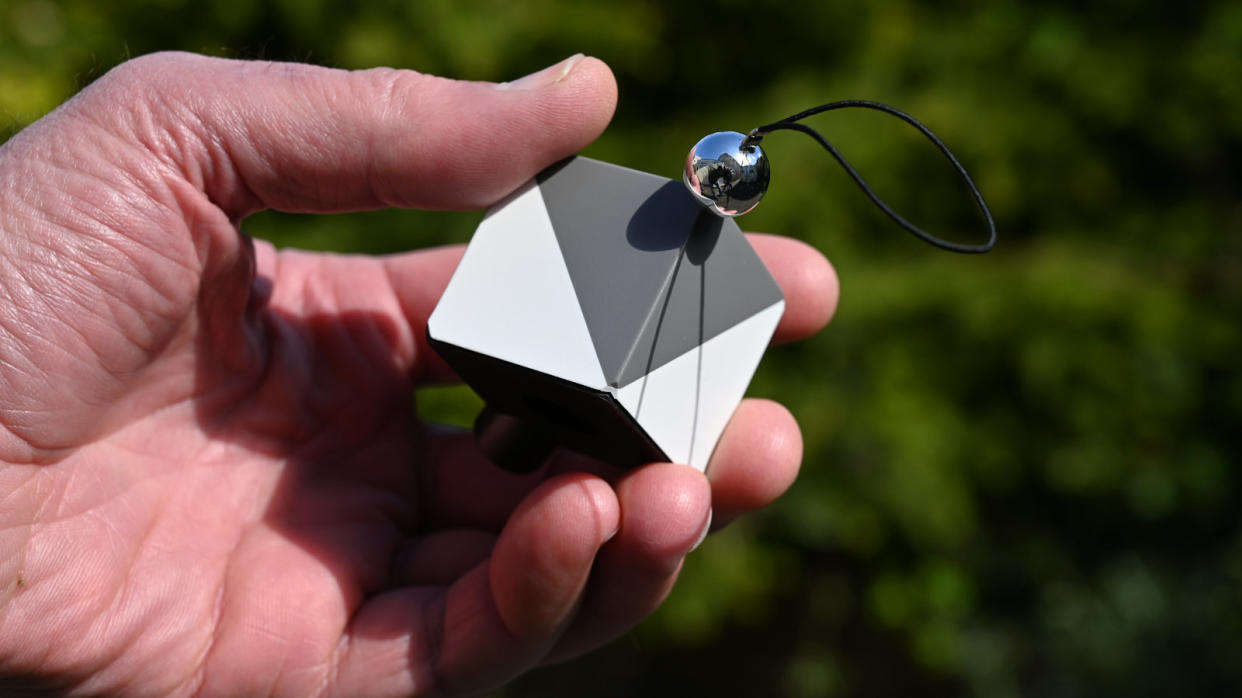
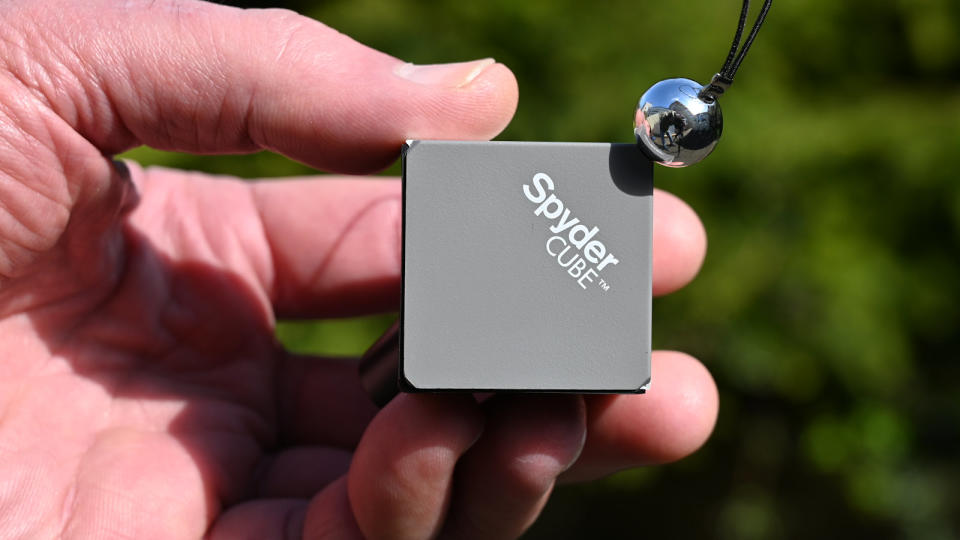
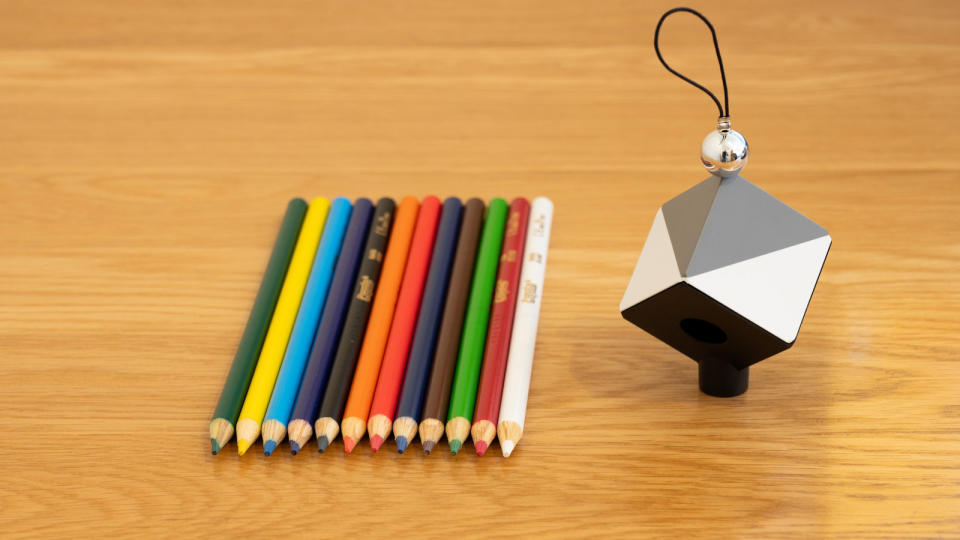
That’s where the datacolor SpyderCube comes into the equation. It’s a little resin cube measuring 1.5 inches on each side but, despite looking pretty basic, it can help me to easily nail white balance, color, brightness, and contrast under even the trickiest of lighting conditions. I’d expect nothing less from the datacolor company. It’s a world leader, renowned for making some of the best monitor calibrators and the best photo editing tools and accessories on the market.
datacolor SpyderCube: What's changed?
If you’re serious about accuracy in your photography, especially under challenging light sources, you’re probably no stranger to the ‘gray card’. Often sold as conveniently collapsible panels that have an 18 percent neutral gray surface, they enable you to set your camera’s white balance manually, as well as giving you a good starting point for exposure settings. The datacolor SpyderCube goes a lot further, enabling a range of adjustments at the editing stage, and it’s small enough to fit in a spare pocket.
datacolor SpyderCube: Specifications
datacolor SpyderCube: Price & Availability
The SpyderCube is available direct from datacolor’s online store as well as from photographic retailers around the world. The list price is around $54 / £50 / AU$99, which is about twice as much as I’d expect to pay for a basic collapsible gray card. Even so, I think it’s good value and you’ll sometimes find it at a discounted price.
datacolor SpyderCube: Design & Handling
The datacolor SpyderCube is small and lightweight but it’s certainly not flimsy. A bit like the opposite of ‘single-use plastic’, the cube itself is made from hardy ABS Cycoloy and it’s built to last. The material is a tough hybrid resin that’s claimed to be fade-proof, extremely durable, shock-resistant, water-resistant, and spectrally neutral to respond to all lighting conditions. I like that the various white, gray, and black panels are made from a solid material all the way through, rather than just being painted over with the respective colors on each surface. That makes the SpyderCube much more durable.
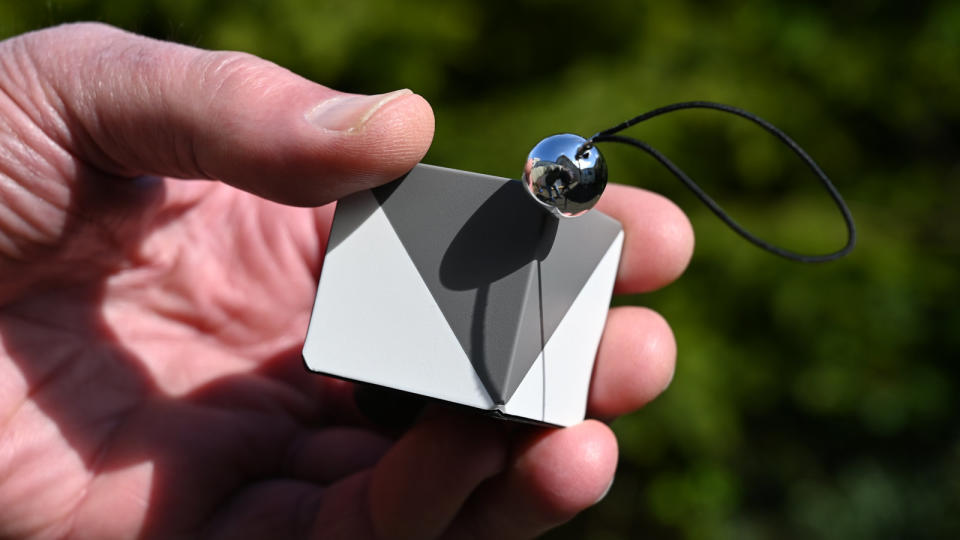
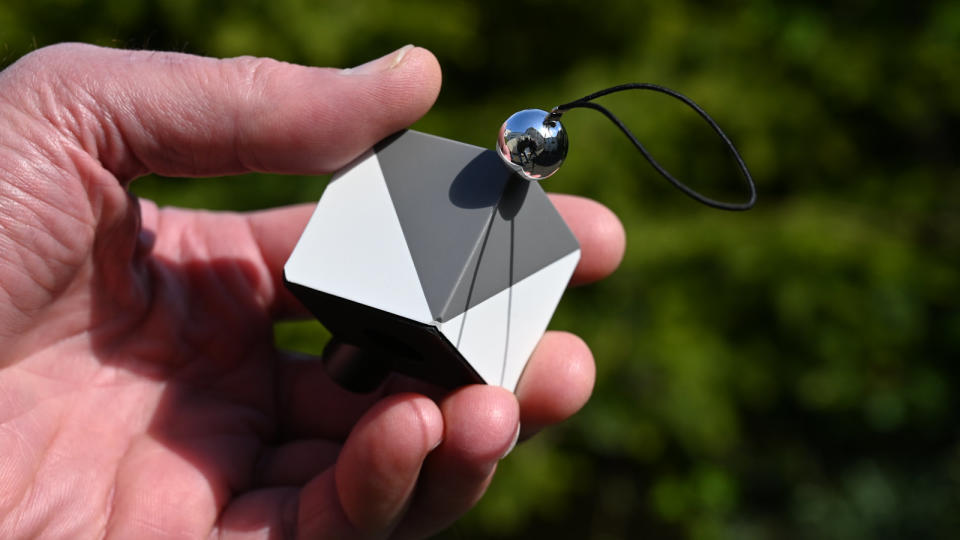
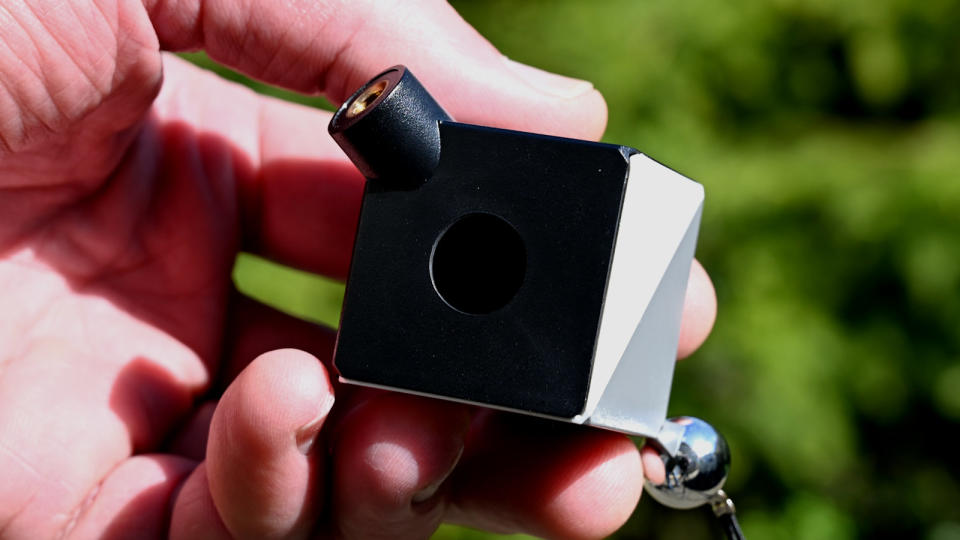
The layout of panels around the cube enables you to see white and neutral gray areas on two sides, as well as a black area underneath. The idea is that you place the cube in a prominent area of your photo composition and take a test shot. At the editing stage, the gray and white panels can act as click-on areas for setting the white balance and highlight/white point respectively. It’s generally best to use the gray and white areas on the brighter side of the cube, as these are lit by the main light source in the shot.
It's easy to assume that the black surface on the lower side represents what should be absolute black in the photo but the cube actually has a ‘black trap’ underneath. It’s basically a circular hole with a half-inch diameter and gives a more accurate representation of black, without any risk of reflections which might brighten or add color to the surface.
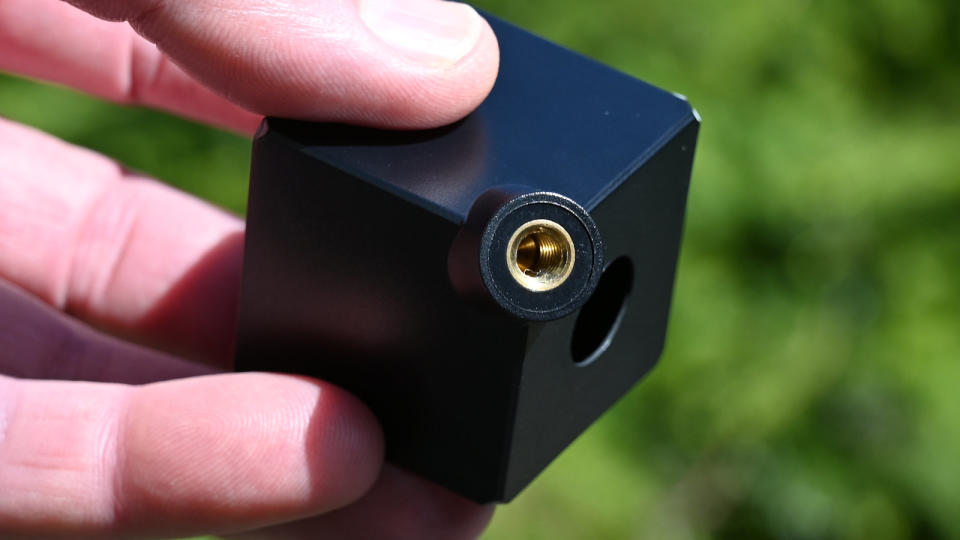
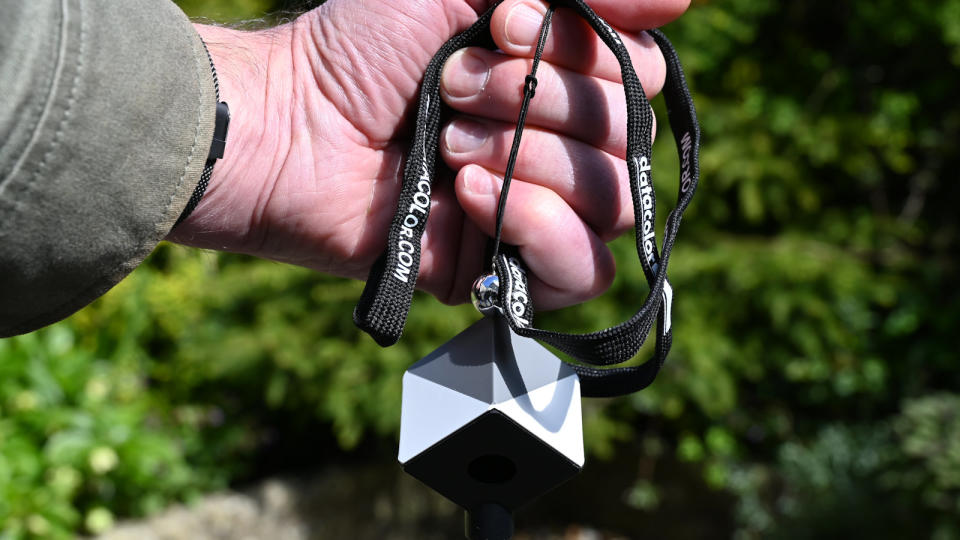
To get all the sides correctly orientated, the cube needs to sit on one point. To achieve this, there’s an elasticated loop you can hang it from but that can be a bit tricky, as it can tend to rotate on its axis. Even so, it’s easy to see ‘which way is up’ with the loop at the top, which also connects a small chrome ball. You can use this to keep a check on specular highlights. On the opposite corner of the cube there’s a ¼” threaded socket. This enables you to fix the cube to a tripod, selfie stick or any other kind of camera support to make sure it stays put, exactly where you want it.
datacolor SpyderCube: Photo Performance
It’s quick work to take a test shot with the datacolor SpyderCube in the frame, before removing it take your actual photos. Naturally, you have to repeat the process for different scenes and each time the light changes, especially when shooting outdoors. However, if you’re shooting a series of images indoors, under controlled lighting conditions using anything from room lighting to a strobe, studio flash or LED panel, you can take a single test shot. You can then work out the necessary alterations in your editing program, based on that one test shot, and save the changes as a preset. It’s then easy to apply the preset to all of the other images in the series, which can be a big time-saver.
So how do you actually make the changes at the editing stage? With most editing apps, you can make alterations to JPEG images but, as always, shooting in RAW mode gives you much more latitude for making adjustments, along with far greater accuracy. For the sake of testing, I used Adobe Camera Raw (ACR) to make the edits.
One niggle is that, straight out of the box, there’s virtually no information on how to use the SypderCube or make the necessary changes in an image editing package. However, datacolor does offer a SypderCube User Guide and Quick Start Guide that you can view online and download in PDF format.
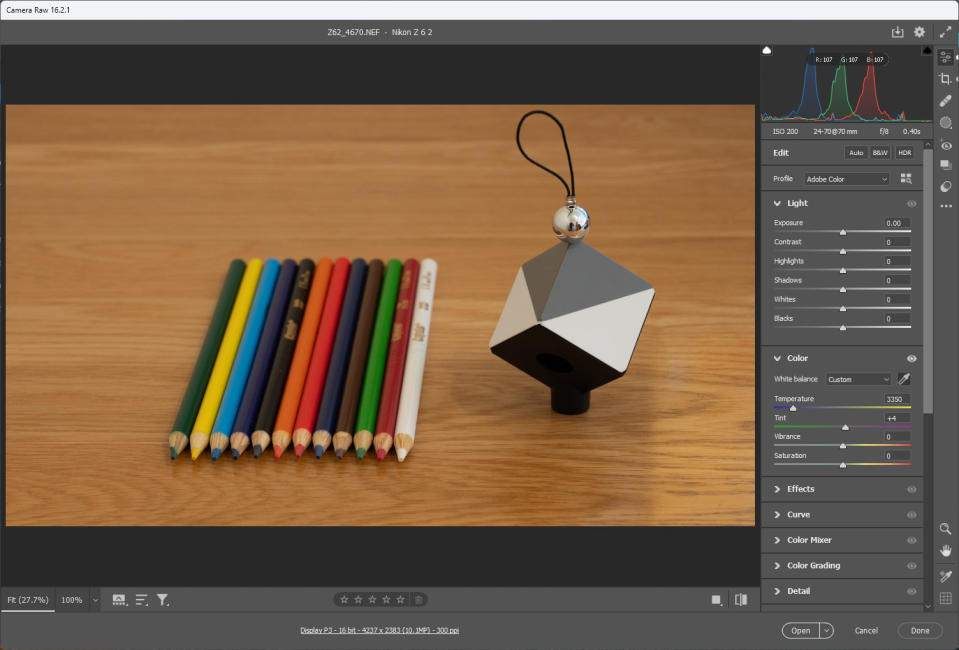
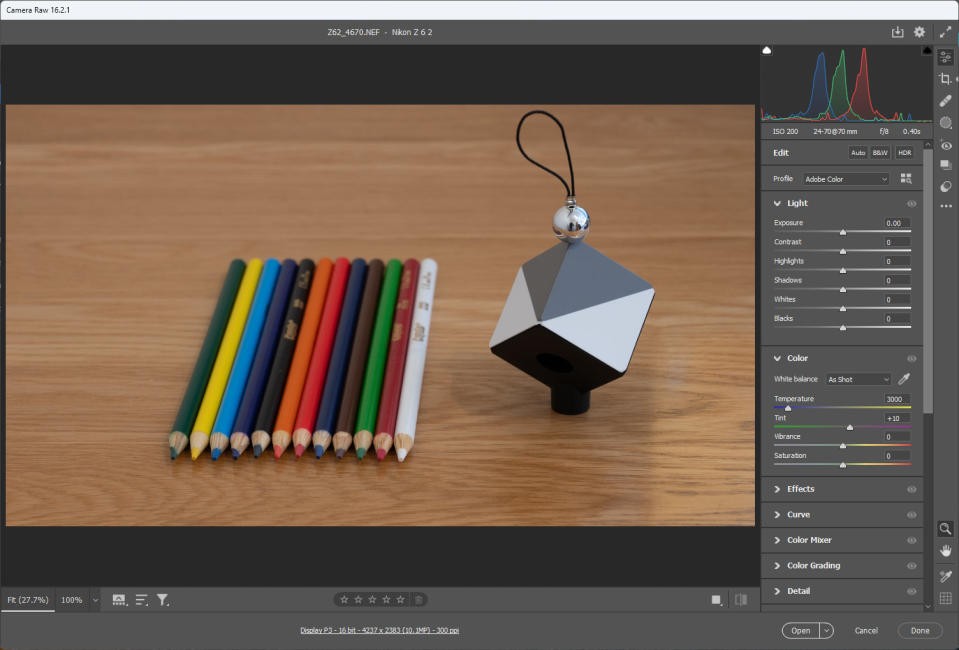
datacolor recommends making any necessary adjustments to white balance as the first step in the process. I did this with the white balance tool in ACR, using the eye-dropper on the gray area on the brighter side of the SpyderCube, which corresponds to the color temperature of the main light source.

For adjusting brightness and contrast, the white faces, black side, black trap and chrome ball can all play a part. You can turn on highlight/lowlight warning if featured in your image editing software, as a guide. I’m generally not fussed about highlight warnings in the chrome ball, which represent specular highlights. It’s more important to adjust the ‘exposure’ slider so that the brighter white face is white but not completely washed out. I find it similarly useful to adjust the contrast and black level so that the lower black surface of the cube has some detail and is distinguishable from the absolute black of the ‘black trap’ hole.
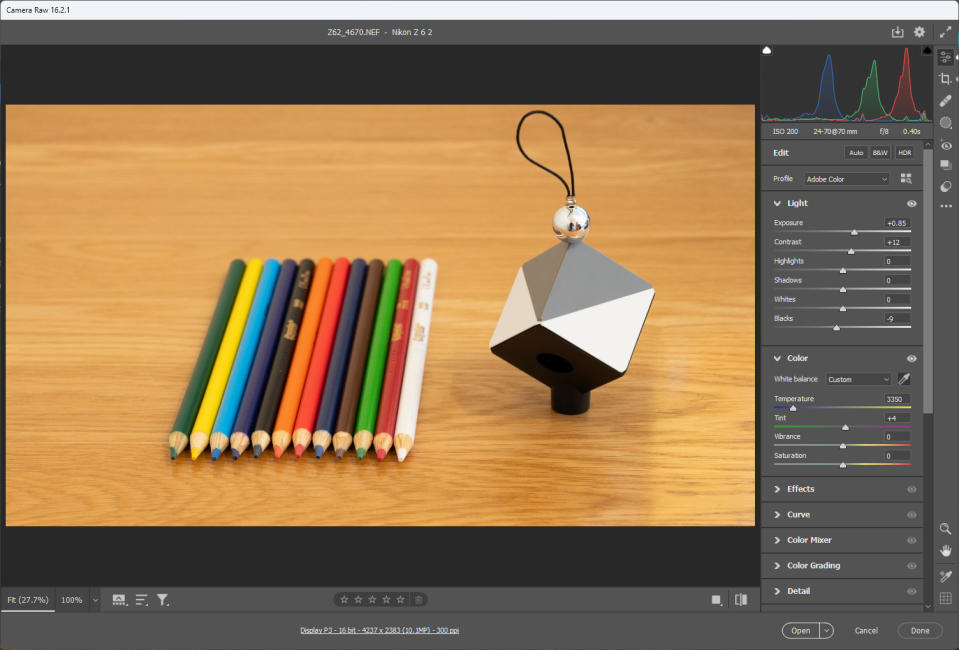
The complete editing process is based on adjusting white balance/tint, exposure, brightness and blacks, in that order. Naturally, it’s important to keep a visual check on progress so that the image looks like you actually want it to look, and I found that it can sometimes pay to revisit earlier adjustments for a slight tweak. Ultimately though, the SpyderCube is quick, easy and effective, and enables excellent accuracy and consistency throughout a series of images taken in the same place under the same lighting conditions.
datacolor SpyderCube: Sample Images
The sample shot below was taken with a Nikon Z 6II under LED room lighting, using the camera’s auto white balance setting. The following pair of resulting images show the difference between the uncorrected photo straight off the camera, and the same picture with adjustments made in Adobe Camera Raw, based on use of the datacolor SpyderCube.
datacolor SpyderCube: Verdict
I’ve been trying to cut down on gadgets recently. There seem to be way too many of them nowadays. But the datacolor SpyderCube has found a useful place in my life, and in my pocket. Like very few other gadgets these days, no batteries are required and it doesn’t need charging up. It’s just there when I need it for getting accurate and consistent results in my photography. It’s quick and easy to use, and inexpensive to buy. And most of all, it just works, and works really well.

Should you buy the datacolor SpyderCube?
✅ Buy this...
You need accurate and consistent results
You want to process a series of images
Color and white balance accuracy matters to you
🚫 Don't buy this...
You’re happy with results straight off the camera
You don’t like fiddling with settings while editing
You’re content with automatic editing adjustments
Alternatives

If your primary concern is maintaining consistent color accuracy, even when using different cameras, the Datacolor Spyder Checkr Photo is a better tool for the job.

