How To Create AI Images on Midjourney
There are plenty of apps you can turn to to generate pictures using artificial intelligence. Still, Midjourney remains one of the best and one of the most popular options, having launched in beta form in July 2022.
It’s not free to use: The price of admission starts at $10 a month or $96 a year, which gives you 3.3 hours of image generation time per month (images usually take around a minute to render). However, the quality of the end result may well tempt you into a subscription if you need a lot of AI art.
Assuming you’re ready to sign up (for a month at least), here’s how to get started with Midjourney—the commands you need to know, how to save and browse your images, and some of the capabilities of the generative AI tool.
Getting started
Midjourney works through Discord: You can join the Midjourney channel here, and you’ll need to sign up for a (free) Discord account if you don’t already have one. The next steps involve two bits of admin—agreeing to the Midjourney terms of service and signing up for one of the Midjourney subscription tiers. You’ll get a neat little table outlining the differences between each tier.
Midjourney does a decent job of explaining how everything works with all that out of the way. Unless you’re on one of the more expensive plans, you’ll be writing your prompts and getting your images through a channel that’s open to other users, so don’t be shy—it actually works well for getting inspiration from what other people are doing, and seeing what’s possible with the AI engine.
To begin with, you’ll need to get involved in one of the #newbie channels, which are clearly linked on the left of the web interface. Click to jump to any one of them and see what’s happening—look at how different art styles are described to get different results, from “abstract expressive” to “hyper-realistic” and everything in between.
The other online location you need to know about is the official Midjourney website. While all of your image generation is done on Discord, this website is where you can find an archive of all the pictures you’ve made and browse through some of the other artwork that’s proving popular on the Midjourney network. From here you’re also able to read about updates to Midjourney.
Writing prompts
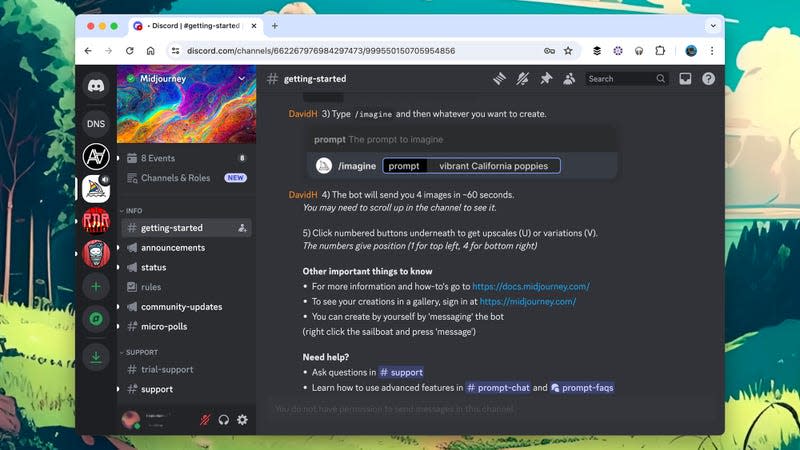
Head to a #newbie channel, type “/imagine” followed by a space, and you’re ready to start prompting. If you’ve never used an AI image generator before, describe what you want to see: You can be as creative as possible, putting any kind of person or object in any kind of setting and using any kind of artwork style.
As usual with generative AI tools, the more specific and precise you can be, the better. However, you can be vague if you want to (it’s just less likely you’ll get something close to what you were imagining). See a watercolor of an elephant in a boat, or a photo of an apple on a table, it’s up to you.
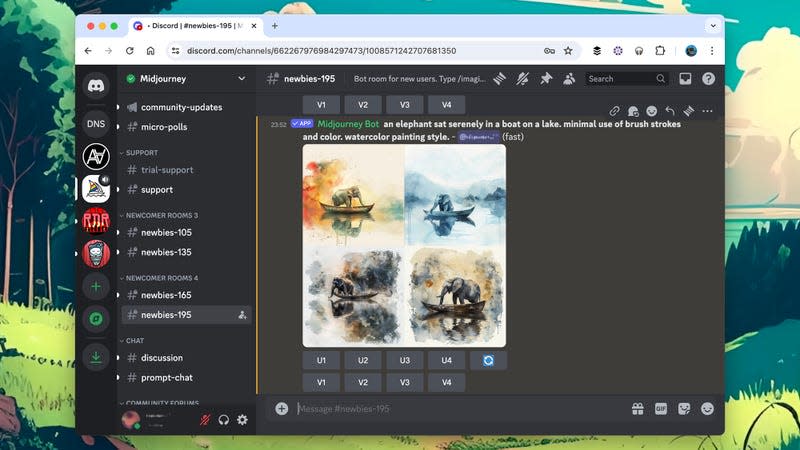
After a few moments of thinking, you’ll get four generated images based on your prompt—if you want Midjourney to try again, click the re-roll button (the blue-and-white circle of arrows). If you like one of the images more than the others, you can click one of the V1-V4 buttons to see four variations on it (the images are numbered from left to right and from top to bottom).
Click on any of the U1-U4 buttons to take a closer look. Here, you get access to some editing features: You’re able to create new variations on all or just part of the image, zoom out on the image (and have AI fill out the canvas), or extend the image in any direction using the four arrow buttons. Click on any image to see it in full-size mode, then right-click to save it somewhere else.
Going further
You can add a variety of parameters to your prompts, and there’s a full list here. They can be used to change an image’s aspect ratio, create images that will tile, or create more varied results, for example. So, if you need a wide rather than square picture, you might append “—aspect 16:9" to the end of your prompt.
Also worth knowing about are the parameters “—cref” and “—sref”, both of which can be followed by a URL pointing at an image. Use the former (character reference) to show Midjourney a character you want to use in your pictures and the latter (style reference) to show Midjourney the style that you’d like your pictures to look like.
There are also a couple of other commands that you can use instead of “/imagine” on Discord. Use “/describe” to get Midjourney to return a text prompt based on an image you supply or “/blend” to have Midjourney combine up to five different images into something new. You can point to images on the web or upload them from your device.
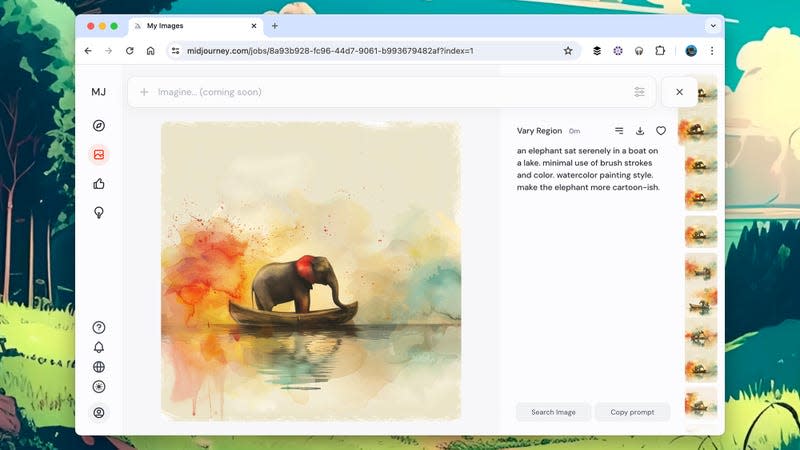
Head to the Midjourney website to find all of your pictures and to download them whenever necessary—eventually, you’ll be able to generate images from here too, but the feature hasn’t been fully launched yet. You can use the filters on the right to sift through the artwork you’ve created, and it’s also possible to download multiple images at the same time or sort them into custom folders if required.

