This is The Only Guide You'll Ever Need For Painting Your Ceilings
Ceilings are the middle child of design canvases—they're often forgotten, but have tons of untapped potential to make your home stand out. A ceiling can tie together any room, whether it’s painted brilliant white, an unexpected pattern, or a bold and bright color of your choosing. Once you’ve decided on exactly what you want your ceiling to look like post-paint job, you need to take the first steps—and we're here to help with some expert advice from Jeff Winters, the VP of Marketing for Sherwin-Williams, and designer Rasheeda Gray of Gray Space Interiors. So read through all of Winters' advice and watch Gray's simple step-by-step instructions for painting a ceiling in the video above for a visual demonstration.
What should I do to prep the area?
Before you tackle the so-called fifth wall of your room, make sure you're painting it first if you're planning on also painting the walls in the room. “You want to paint your ceilings first and then your walls," said Winters. "You certainly don’t want to spatter a freshly painted wall with your ceiling paint." As for your furniture, you'll want to either entirely remove it from the area or push it into the center of the room and cover it with plastic tarps.
The best drop cloth to use, according to Winters, is a canvas drop cloth with a rubber backing. "The canvas allows the paint to absorb in so you’re not tracking it around the house," he said. "And the rubber backing makes it nonslip." If you use a plastic drop cloth—which you shouldn't—the drip from the ceiling could get tracked along the floors, creating a mess.
You'll also need a paint roller, a roller frame, and a handheld brush to paint places like tight ceiling corners where rollers can't fit.
What other materials should I be getting?
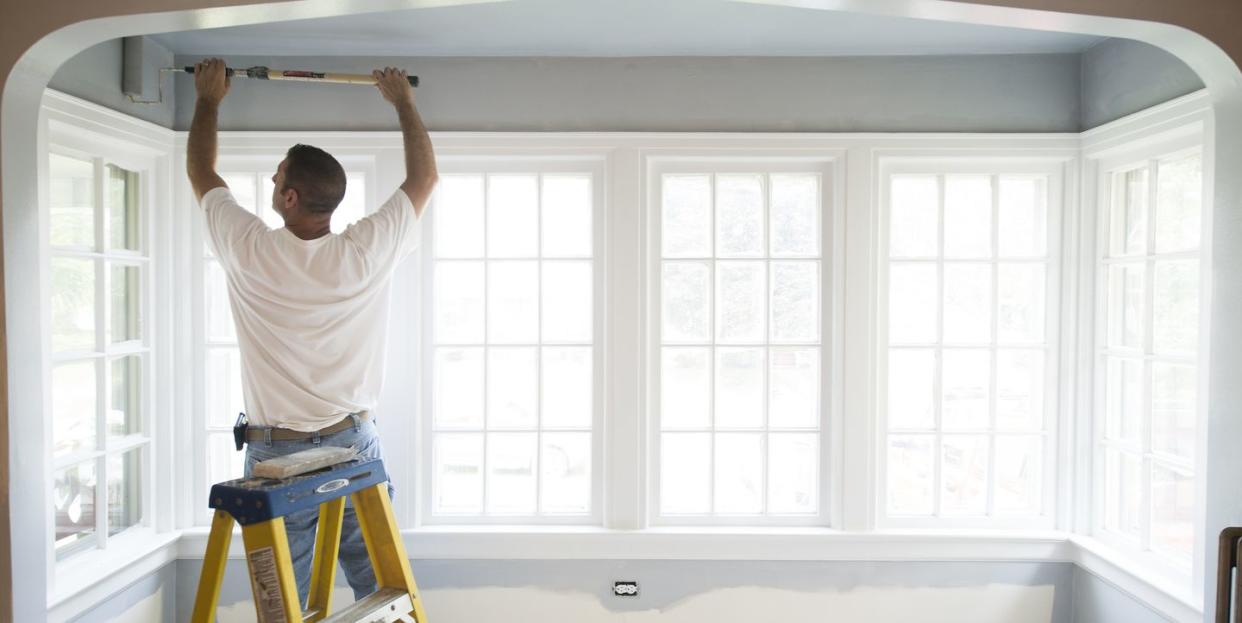
Although you may be thinking that you need a ladder for the entire project, Winters says that's not the case. While a 6-foot ladder is a good thing to have for those hard-to-reach places in this project, like the corners, you actually won't be using it much to paint your ceilings. The best thing you can purchase to reach up above is a paint roller extension pole—what's recommended are extension poles that are 6 to 8 feet high, depending on the height of your ceiling.
When it comes to primer, the kind you should use varies based on if you have water or nicotine stains and what color you've decided to paint your ceiling. You should be using oil or shellac-based primers if your ceiling has stains and a gray-shaded primer if you're planning on painting your ceiling in a bold color, like a navy or a sable. Believe it or not, the gray is actually better to paint over than a white primer for brighter colors.
"It’s almost like painting a car," Winters said. "Most car primers are some shade of gray, either a light-medium or dark gray and what we learned was that they worked really well, even with architectural wall paint."
If a white primer is used with a bright color, Winters says that you might have to do as many as four coats to get the color you want. With the gray, you'll only need about two coats for your desired look.
As for the perfect paint finish, go for flat. Smooth ceilings have a tendency to have some ripples and waves in them, so the flat finish helps minimize those imperfections. Winter says the flatter the finish, the better—and the less likely your eye will pick up those blemishes in the ceiling.
"When we think about painting a ceiling, technique is everything."
What about actually painting?
The technique that Winters and the rest of the Sherwin-Williams team stands behind is painting in 4 foot by 4 foot sections.
"We like to work in 4 foot squares. Always try to keep what we call a wet edge. Work back into that wet area that you just painted and try not to let areas dry and then roll back into them—keep the wet edge," Winters explains. "That really helps with the lap marks and imperfections that sometimes won’t show up until the end. Also if you're working in those 4 by 4 areas and you're overlapping, you’ll be sure you don’t miss a spot, which can be easy to do."
Follow these tips, and your ceiling will look professionally done—you might even fool some of your house guests.
Follow House Beautiful on Instagram.
You Might Also Like

