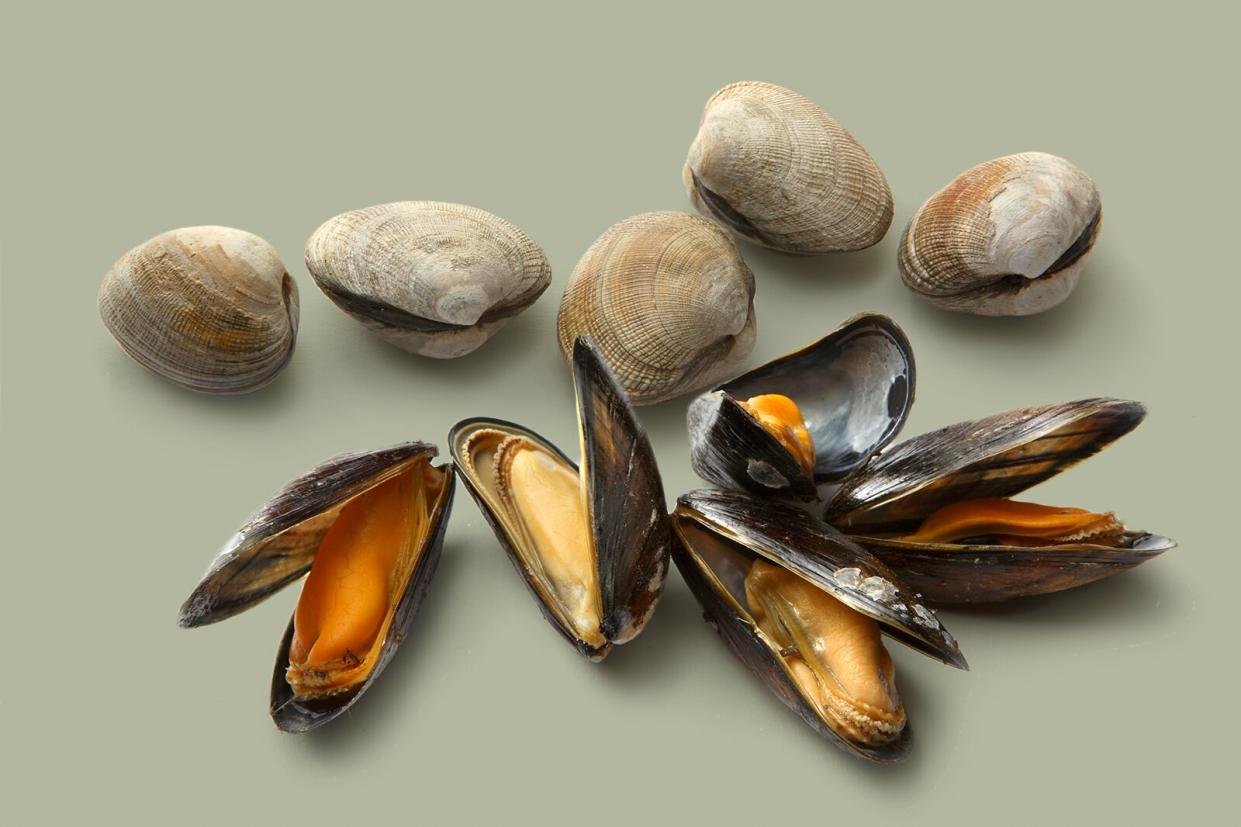
How to Clean All Kinds of Clams, Mussels, and Oysters

Floortje / Getty Images
Shellfish is a gift to hot weather cooks. In its purest form—raw—it requires no cooking at all, and platters of icy, briny shellfish have special appeal when appetites are in a heat-induced torpor. And cooking shellfish is speedy, so even if you're firing up your stove or grill, you'll make short work of it. Before you even get to the cooking (or not cooking), you'll need to clean and sometimes store your shellfish. This, despite what you may have read, is quite simple. Here we cover the ins and outs of cleaning clams, mussels, and oysters, and share guidance on what you need not and should not do.
Related: Here's Why You Should Cook Whole Fish
To Purge or Not to Purge
There are a few instances where you'll want to purge, but for the most part, this isn't necessary. Purging refers to removing sand from shellfish, and today, specialty shellfish purveyors have large tanks of circulating ocean water in which they purge the products they sell that require purging. This is a good thing, and they do it well.
We're assuming you don't have this kind of setup in your kitchen, so do not soak your shellfish in water, soak your shellfish in water with flour or cornmeal, or soak your shellfish in milk. Even if you salted the water—and using sea salt—you would not successfully recreate a marine environment, so don't bother doing this, either. When you put shellfish in water that is not the ocean water it came from, you are slowly killing the animal—and you want your shellfish to be alive until you eat it raw or cook it.
How to Clean Shellfish
Now that you know what not to do, the best way to clean shellfish depends largely on whether they are hard shelled or soft shelled. It is important to remember to keep your shellfish as cold as you can. Have the tools you need ready before you start, and once you've started your task, work quickly and efficiently. This is not a job you'll want to do in advance; plan to clean your shellfish just before you want to eat or cook it.
Hard-Shelled Shellfish: Oysters and Quahogs
Hard-shelled shellfish, like oysters and quahogs (hard-shelled clams), should be kept cold in the fridge until you're ready to serve or cook them. Make sure they are firmly closed, and discard any that are open.
There are many different types of hard-shell clams. From smallest to largest are count neck, little neck, top neck, cherrystone, and chowder clams (also sometimes called quahogs). Hard-shell clams should always get a cold rinse and scrub; concentrate on their hinges, as this is where grit tends to get stuck.
Many oysters are very clean these days, so you may not need to do anything at all before you shuck or cook them. If your oysters are muddy or especially sandy, give them a scrub under cold water; a dedicated nail or vegetable brush does this job nicely.
Related: Our Guide to Buying and Cooking Bivalves
Soft-Shelled Shellfish
Examples of soft-shelled shellfish that you're likely to find are mussels, manila clams, steamer clams, and razor clams.
It's worth noting that soft-shelled animals do gape—open and close—when they are alive. This is normal. This tends to happen when they get a little dehydrated, and they will close if you shake or tap them (which you'll do when you clean them). Discard any individuals that are wide open, they are likely dead.
Mussels
Like hard-shell clams, mussels can be muddy or sandy and will need a good rinse. They generally don't need a scrub, but use your best judgement here. Mussel recipes frequently instruct cooks to de-beard their mussels. The "beards" are technically the byssal, or byssus threads that the animal uses to attach itself to a solid surface. They do look like fuzzy little beards. That said, most mussels sold today are farmed, and they will come to you largely de-bearded. It's a good idea to give them a once over to see if there are any strays. If you find a beard, pull it out. That's the entire process, and you'll definitely need to do it if you are buying wild mussels.
Manilla Clams and Cockles
Manilla clams and cockles are generally very clean and will only need a good rinse.
Steamer Clams
These will require a little more work, and may require a purge. When you're purchasing steamer clams, ask your fishmonger if they have been purged, and if not, you'll want to do this at home.
How to Purge Clams
20 to 30 minutes before you plan to cook the steamers, place them in a bowl of cold water, covered, in the fridge.
Give them a good toss a few times during this period to encourage them to spit out any grit they may hold.
Don't purge for longer than 30 minutes, and don't add anything to the purging water.
Razor Clams
Atlantic razor clams can be purged using the steps above. Alternatively you can skip a purge by removing the bellies of razor clams. This is a little fussy, but worth the effort, especially if you plan to eat your razors raw. To do this, just before eating or cooking, gently detach one half of the shell from the clam by running a sharp paring knife along the inside of the shell. Razor clam shells are thin and can crack, so use a soft touch here. Once the shell is detached, you'll be able to gently open the halves of the shell. You'll see the black belly of the clam once you've opened it up. Use the same knife to cut the belly out and continue with your preparations.

