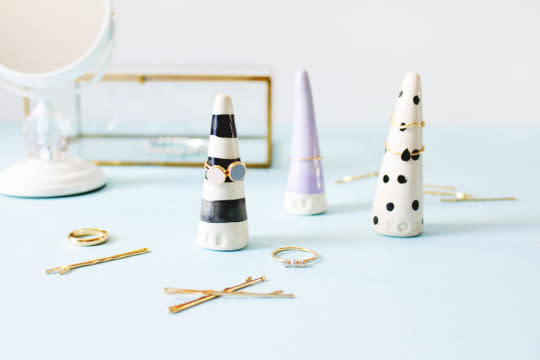
Organize Your Rings With DIY Monogrammed Ring Cones
Whether you prefer delicate stacked rings, bold baubles or sweet and sentimental rings, you need to keep them organized. For a long time, my rings were scattered all over the place… until now! DIY monogrammed ring cones are super easy to make and useful too. All you need is a little clay, paint and glaze to get a faux ceramic look for a fraction of the price!

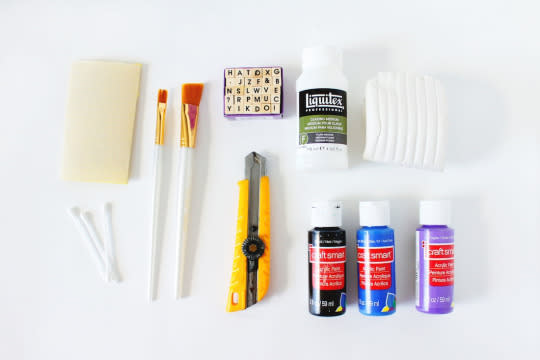
Materials and Tools:
— oven-bake clay
— acrylic paint
— paint brush and/or Q-tips
— alphabet rubber stamps
— glazing medium
— sandpaper
— X-ACTO knife
Instructions:
1. Roll a piece of clay into a cylinder using the palm of your hand.
2. Add more pressure as you roll away from the base.
3. Cut the bottom of the cone to make a flat surface using an X-ACTO knife.
4. Cut the top of the cone to the desired length. You may have to roll it out more to get a cone shape you like.
5. Smooth the edges of the bottom and top using your finger or a flat surface.
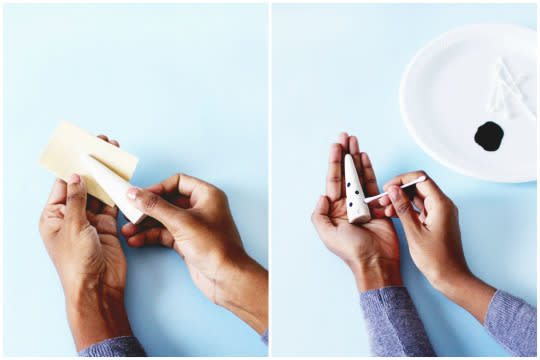
6. Use small rubber stamps to stamp the initials of the recipient on the ring cone.
7. Bake the ring cone according to the package instructions.
8. Once you’ve removed the ring cone from the oven, let it cool for a few minutes. Use sandpaper to sand off any rough edges.
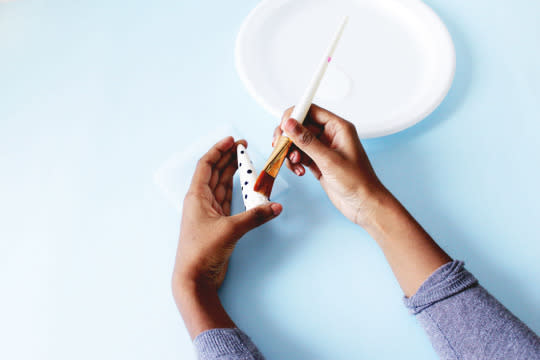
9. Paint your chosen design on the ring cone. No primer is necessary for this step.
10. Once your paint has dried, apply three thin coats of glaze on top, letting each layer dry before adding another layer of glaze.
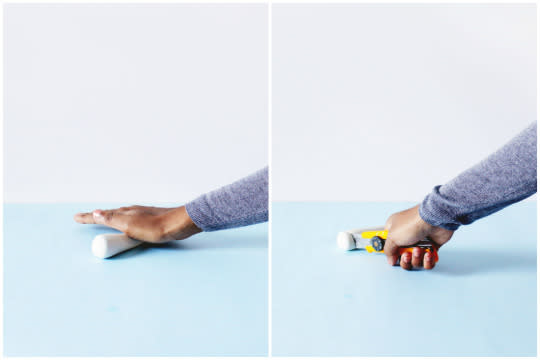
Roll a piece of clay into a cylinder using the palm of your hand. Then continue rolling out the clay but add more pressure as you move away from the base — this will create a tapered cone shape. Cut the bottom of the cone to make a flat surface using an X-ACTO knife. The knife will slice through the clay like butter. Cut the top of the cone to the desired length. You may have to roll it out more to get the cone shape you like.
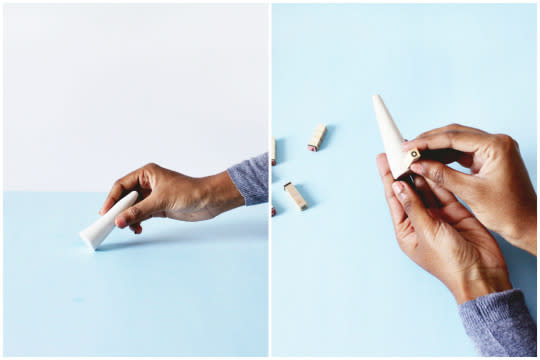
Smooth the edges of the bottom and top using a flat surface or your finger. Use small rubber stamps to stamp the initials of the recipient on the ring cone. Don’t limit yourself to just using initials — personalize it with a nickname or a little message. I stamped F & B, for my blog Fish & Bull, and XOXO. Bake the ring cone according to the package instructions.
Once you’ve removed the ring cone from the oven, let it cool for a few minutes. Use sandpaper to sand off any rough edges and to create a smooth curved top. Paint your chosen design on the ring cone. No primer is necessary for this step. Simply use acrylic paint and a flat paint brush for stripes or a Q-tip for polka dots. I left the monogram section white for a subtle look, but for a little pop, add a dark color or paint just the letters.
Once your paint has dried, apply three thin coats of glaze on top, letting each layer dry before adding another layer of glaze. This step is optional, but the glaze adds an extra glam sheen.

Now your rings can sparkle and shine in style!