
Genius! DIY Murphy Bed

There's something kind of fascinating about the Murphy bed. Is it a bed? Is it a closet? And just how do you manage to get that hefty mattress so tidily tucked away and out of sight? Yes, the Murphy bed is pretty cool, enabling you to convert a home office or craft area into a mini hotel room. Best of all, you can reclaim the room for your own purposes as soon as your guest leaves. Genius.
So when we saw this DIY murphy bed by Brooke at Creative Decor by Brooke, we had to know more. Here's what she had to say about the project.
"We just worked on it in our garage, because we don’t have a wood shop. It took us approximately eight hours to build, and then I painted it and that took about three hours." If that sounds do-able to you (this is not necessarily a beginner project), Brooke recommends that you remember, "the most important thing in making a Murphy bed is the mechanism.... I would search online and find the mechanism you want, then it will have instructions on making the bed to the right size."
If you're not quite ready to build your own DIY murphy bed, follow Brooke's advice. "I started off small with a drill and scroll saw... and advanced to table saw and router, as I got more courage and wanted to try making bigger things." If you want to increase your skills, "start small and master one tool at a time," she says.
Take a lesson from Brooke and remember: safety first! "I drilled through my hand one day…. I was holding a piece of wood in my hand and drilling.... The drill hit a soft spot in the wood and zipped right through, and because I was holding it, my hand was next." She was fine, luckily, but adds, "Just learn from your mistakes and be safe." Truer words were never spoken.
Take a look at Brooke's simply genius DIY Murphy bed. Who knows, maybe it will inspire your next project!
MATERIALS
- Spring mechanism
- Wood (to measurements)
- Crown molding
- Cabinet hardware
- Paint and primer
- Paintbrush
- Mattress
STEP 1
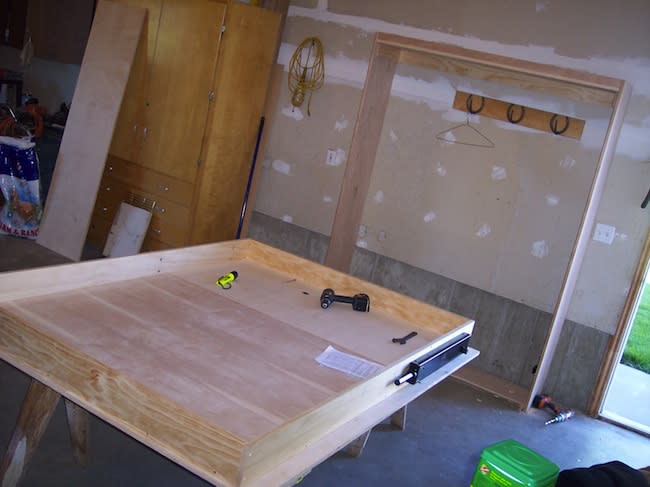
This is where it all started. We purchased the mechanism for the Murphy bed and with it came instructions on making it and the wood we needed to purchase.

STEP 2
Screw together the wood pieces according to your measurements.
STEP 3
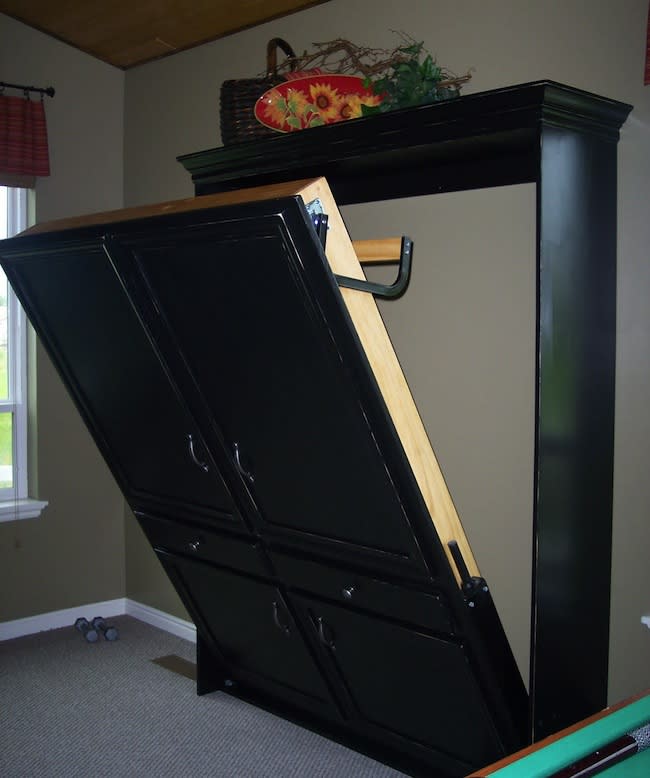
So when the bed is up in the cabinet, the front is supposed to look like an armoire. You can have cabinet doors made, but that is expensive, so I decided we could make fake doors and drawers with just some trim and fake drawer fronts. Use crown molding along the top of the Murphy bed to create the look of cabinet doors. Put handles and knobs on them, and they look real.

STEP 4
I then started the yucky job of painting. I hate to paint. I decided black was the color.

STEP 5
Do a little sanding around the trim (I mean doors) and crown molding.
STEP 6
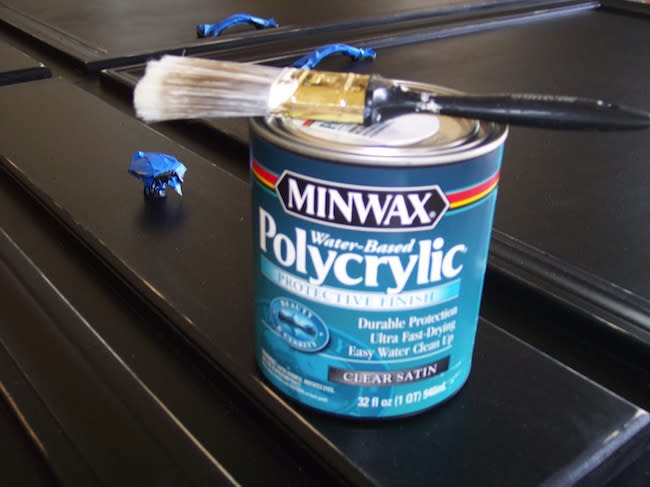
Then I put two coats of polyurethane in satin finish. It recommends three coats on the can, but I had had enough!
STEP 7
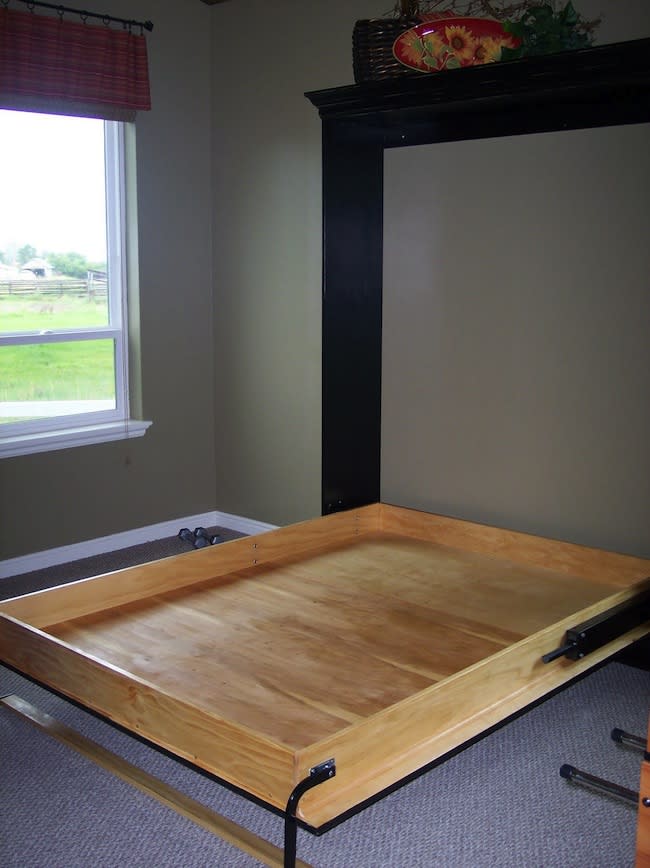
"Where is the mattress?" you ask. Well, we had to order it, because it is a full/double size, and the store we went to didn't stock them because they aren't that popular. I do love how it looks in the room, and it will be great for an extra bed when needed.
Thanks, Brooke! If you loved this post, check out her site for even more inventive DIY projects.
Related Articles

