How to Build a Fence
by Dina Rudick
This article originally appeared on Modern Farmer.
Brian Reiff has been in the fencing business for most of his life, but if you ask him to build you a fence, he’ll just throw you a bunch of questions.
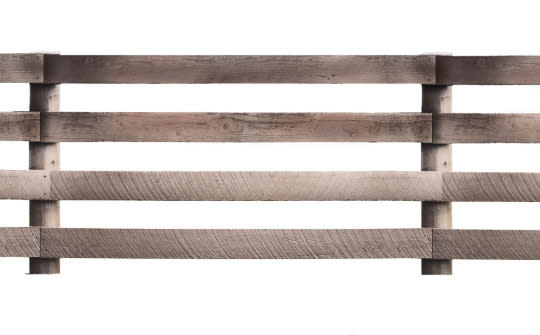
“The first thing I do is ask what kind of animal the fence will house, how important aesthetics are and how much you want to spend,” says Reiff, owner of Profence, a family-run fencing company in Shippensburg, Pennsylvania. “Most people like the look of a board fence the best,” adds Reiff, “but those can be pricey because they’re so labor-intensive to install.”
Labor-intensive, yes, but not terribly complicated. And the good news is that with a few tools and a lot of elbow grease, you can fashion a handsome and durable board fence at a fraction of the contracted rate. Just don’t scrimp on the materials. “Your fence is only as strong as its weakest component,” cautions Reiff. “If your nails rust out, the fence fails even if you’ve got the greatest posts in the world.”
What You’ll Need To Build Your Fence
Tools
Post-hole digger
Shovel
Measuring tape
Level
Pencil
Circular saw
Screw gun
Hammer
Twisted nylon line
Materials
Treated wooden posts, either round or Square, at least 5 inches in diameter
Rails: 1-inch-by-6-inch-by-16-foot boards; Oak or treated pine for pasture areas and Only treated wood for moist environments Like barnyards
Galvanized 3-inch-long wood screws or Galvanized 3.5-inch ring-shank nails
Quick-set concrete (two 50-pound bags per Post)
Paint/stain (optional)
First, map out your fence. Mark the location of the corners as well as any place the fence will change directions. Use a line stretched between the marked points as a guide for where to place the posts, which should be spaced 7.5 feet apart.
Next, dig your holes. Find out what the frost line is in your area, and then dig at least 6 inches below that — usually about 3 feet. To the best of your ability, dig the base of the hole wider than the top or else the frost heave (when soil is lifted out of the ground due to freezing and thawing) will push the concrete plug out of the ground like a splinter. Also, don’t dig more holes than you can fill in a day — an overnight rain can easily undo your hard work.
Now for the posts: Working in batches of 10, set posts in the holes and backfill the holes with concrete, stopping just below ground level (two 50-pound bags per hole should do it). You could do it the long way by buttressing the posts with temporary braces, mixing concrete and packing it in wet, but Reiff offers a time saving fix. He prefers a no-mix quick-set concrete that you pour into the hole and around the post before adding water. Once you’re sure the posts are perfectly vertical left to right and front to back, douse the dry, concrete-filled hole with water, triggering the curing process.
After the concrete has cured — for 48 hours to be safe — your next task will be to tame the posts to a uniform height. For this, reach again for the line. First, cut the corner posts to the desired overall height, then string a line between them, tacking it 1 inch from the top. The line represents where the top rail will intersect each post and should fluidly trace the terrain. If it doesn’t, adjust the placement of the line on the intervening posts. Make a mark where the line hits each post, then use a circular saw to cut at an angle 1 inch above the mark, thereby eliminating a site for water to pool and rot the wood.
Each 16-foot-long rail will span three posts, but you’ll want to stagger them top to bottom so they don’t always begin and end on the same posts. (Also, by spacing the posts 7.5 feet apart, you’re leaving some wiggle room to cut the rails to size in case a post isn’t perfectly centered in its hole or a measurement is slightly off.) For a fence with three rails, cut one rail in two and use one of the halves to start the middle-rail row. If your fence has four rails, stagger the second and fourth rails the same way. For the strongest fence, place your rails on the inside of the posts. This way, when your mare decides to scratch her back, she’s resisted by concrete-set posts rather than rails fastened only by hardware.
The rails will be secured to the posts at each juncture with either screws (use a screw gun) or ring-shank nails — just be sure they’re galvanized and stay an inch away from the ends of the boards so the wood doesn’t split. Space the rails evenly from top to bottom, but be sure that the bottom rail clears the ground by at least 4 inches to forestall rot and allow for easy mowing.
After the fence is up, take a well-deserved break. You need to wait three to four months before painting it, anyway. “Most likely, the wood you buy is coming straight from the sawmill and is pretty wet, so it won’t absorb the paint well,” says Reiff. In other words, go scratch your DIY itch somewhere else for a while.
More from Modern Farmer:
The Flowchart to Finding Your Perfect Fence
(Re)Born to Be Wild: Coaxing Patagonia Back to Its Natural State
