How to Clean Your Headphones
Consumer Reports has no financial relationship with advertisers on this site.
Consumer Reports has no financial relationship with advertisers on this site.
Like anything else that you wear on your body, headphones can get dirty. They seem to be magnets for everything from earwax to lint to dust—and the grime is more than just gross. It can affect the function of your headphones or even lead to their early demise.
Debris can muffle the sound coming from a headphone's driver (the part with a diaphragm that produces sound) and lead to lasting damage as well. Oil from your skin can also cause plastic and rubber components to become discoloured and even disintegrate after long periods of exposure.
“To a certain degree, headphones are consumables,” says John Chen, director of sales for Grado Labs, a Brooklyn-based manufacturer of headphones and audio products. “Eventually, they’ll break down from regular use.” But with simple maintenance, he says, you can extend the life of the product. Chen recommends you clean your headphones once a month.
Make sure to unplug headphones before cleaning them, and turn off a battery-powered pair. Then follow the instructions below.
What You’ll Need
You'll want a paper clip and cotton swabs for cleaning earphones (models that fit in your ears). The same tools will help get at the nooks and crannies of larger home/studio style headphones that fit on or over your ears. A soft, clean toothbrush will also come in handy.
Chen recommends using unscented baby wipes, but make sure they’re alcohol-free. Or you can use a towel with warm water and a drop or two of soap or mild detergent. In some cases you may want to use alcohol or hydrogen peroxide—read on for specific instructions.
You’ll also need a second towel for drying things off when you’re done. Use a cloth that won’t leave behind any stray fibers or dust.
Tips for All Models
Except for a handful of models marketed specifically for swimming, headphones should never be submerged in water, and even "water-resistant" models shouldn't get more than slightly damp. (Electronics and water don't mix well.)
Don't apply any liquid directly to the headphones, and when you do wipe them down, be sure to keep any moisture on the surface. Don't let any interior parts get damp.
According to Chen, you usually don't need anything stronger than soap and water.
"You can also use a little alcohol, but on certain things you shouldn't because the material itself will dissolve," he says.
Alcohol may destroy any part made of foam, but it's fine for plastic, rubber, or silicone. You’ll only want to use it occasionally though, and dry any alcohol off carefully. Letting it air-dry can lead to damage.
The Bose company website recommends hydrogen peroxide to remove earwax. Look for a solution of no more than 3 percent. Apply it with a cotton swab, and merely dampen the surface. Wipe the solution off quickly and carefully when you're done. Even at that low concentration, hydrogen peroxide can sometimes cause bleaching and discoloration.
No matter what you use on the headphones, towel them off, making sure they are completely dry before using them.
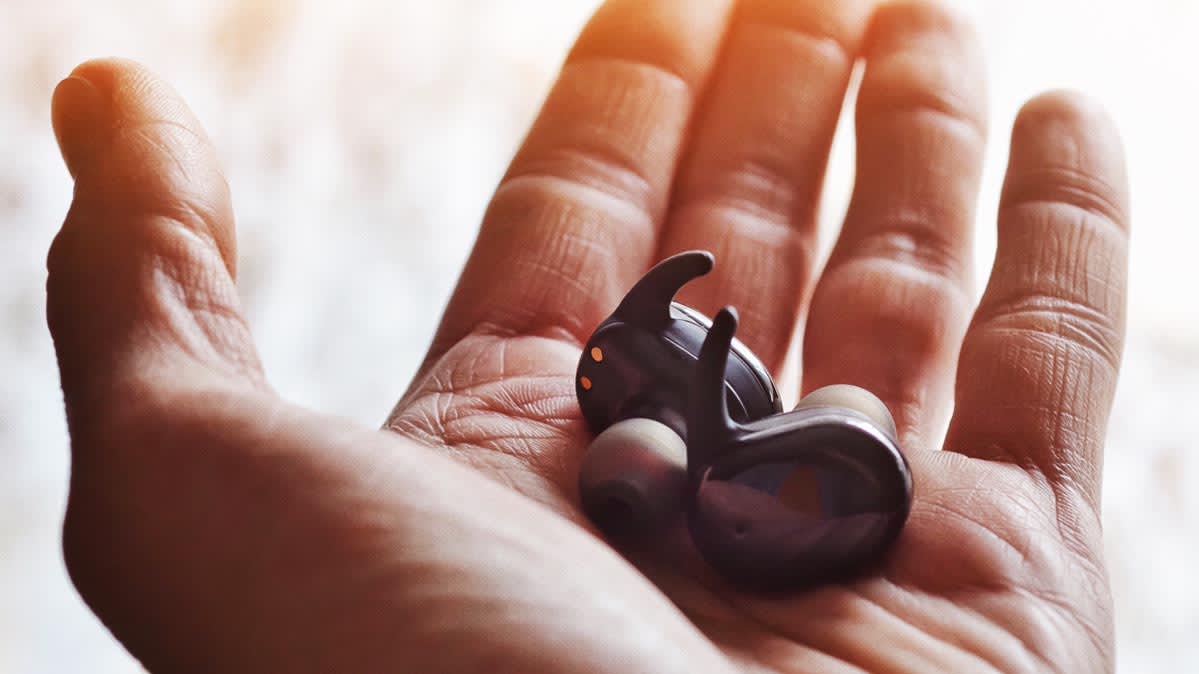
Earbuds and In-Ear Earphones
For earphones with removable tips or ear supports, manufacturers recommend taking them off and cleaning them separately. The first step is to clear out any earwax that's lodged inside them. A paper clip should to the trick—just be careful not to scratch or puncture the earpieces.
Once you’ve removed excess wax, wipe down ear tips and ear supports with baby wipes or soap and water. You can turn some ear tips inside out without damaging them for a cleaning as well, and cotton swabs can help with the detail work.
Again, alcohol is an option for rubber and silicone, but it will destroy foam. No matter what, use alcohol sparingly and wipe it off right away.
Next, take a look at the body of your earphones. There's usually a mesh screen made of cloth, plastic, or metal to protect the drivers. Those screens can be a hot spot for wax.
Chen says he often gets questions about earphones that are quieter on one side, and a simple clog is usually the culprit. He recommends taking care of this problem sooner than later, because earwax can become impacted and hard to remove.
Use a clean toothbrush to gently wipe away anything that’s stuck, but be careful not to push debris deeper into the screen. A dab of hydrogen peroxide will help to get things moving, if necessary, but apply it carefully and don't let it drip inside.
Some in-ear style earphones don't have a screen, and there's just an opening at the front of the cylinder that extends into your ear. You can use a paper clip to remove any visible contaminants. Handle the job delicately, and make sure not to make contact with the inner workings of the earphones, which can be easy to damage.
Over-Ear and On-Ear Headphones
Home/studio style headphones tend not to get as dirty as in-ear models, but they still benefit from regular clearing.
Soap and water or those trusty baby wipes will be all you need to clean the casing. Spend a little extra time wiping off oils from areas that come in contact with your hair or skin. If you have a wired model, give the cable the same treatment but stick with a dry cloth for the jack.
Some headphones that fit on or over the ears have removable ear pads, which you’ll want to take off and clean separately if possible. You can also find inexpensive replacements online for some models.
To clean your earpads, first wipe them down gently with a dry towel or a brush to remove superficial dust and dirt. Then clean with baby wipes or a towel dampened with soap and water. Use cotton swabs to get at hard-to-reach areas in any folds or stitching. When you’re done, dry the earpads by hand.
Bang & Olufsen, one of the few companies that sells headphones with earpads made of real leather, recommends leather cleaner applied with a soft cloth.
Just like earphones, most over-ear and on-ear headphones have screens covering the drivers. If the screens are dirty, turn them face-down and use a soft brush to gently clean them off. Be careful not to press the screen or the brush into the drivers.
If the screens are removable, clean them separately. But don't attempt to clean the drivers if there's any visible dirt, says Rich Fisco, program manager of electronics testing for Consumer Reports. "That's a delicate job you should leave to a professional, assuming your headphones are worth spending the money on," Fisco says.
More from Consumer Reports:
Top pick tires for 2016
Best used cars for $25,000 and less
7 best mattresses for couples
Consumer Reports is an independent, nonprofit organization that works side by side with consumers to create a fairer, safer, and healthier world. CR does not endorse products or services, and does not accept advertising. Copyright © 2019, Consumer Reports, Inc.

