9 Ways To Fix Up Your Home...And Still Enjoy Your Weekend
Nicole Guzzardi
Updated
It's definitely a downer when you want so badly to relax but know there are afewthings you should take care of first. Well, we certainly don't want to deprive you of much-deserved downtime, but you'll feel great after getting a few quick fixes out of the way! if you're looking for some weekend projects that are sure to make you pleased with your space, we've got the goods. Among our DIY projects this week are patching a rip in a leather sofa and installing whimsical garden lighting. These are just two of the nine to-dos to change up your home in a flash. Just click through the slideshow to learn how to do them all!
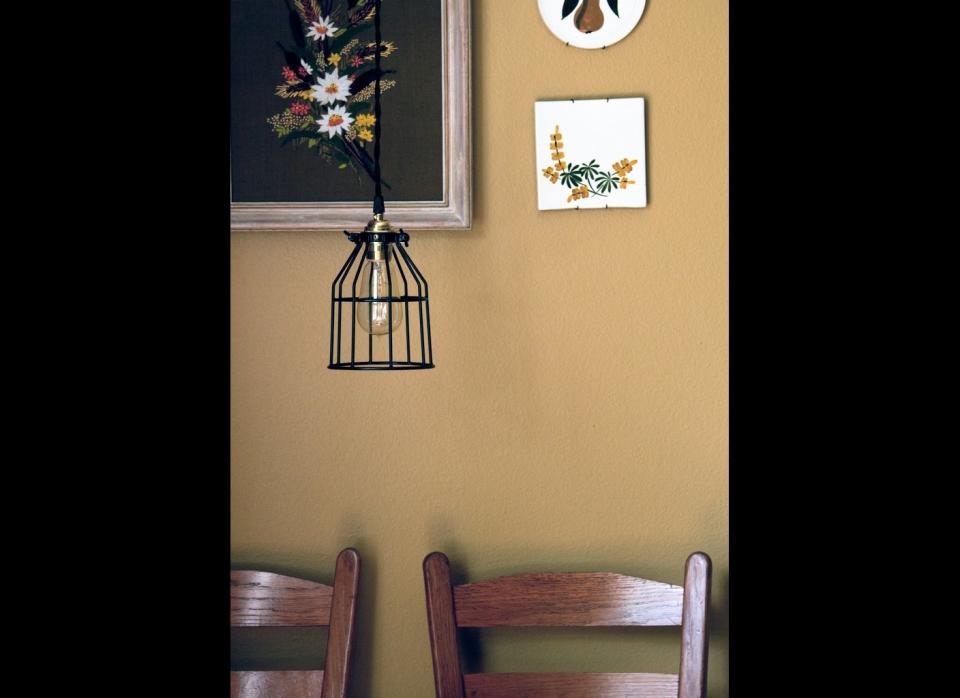
Install A Pendant Light Fixture
Pendant lights are a great way to add a focal point to your room and easier than they look to install! First, purchase the light (and a lighting kit if it doesn't come with one). Make sure to turn off the electrical power source or consult an electrician before handling any wiring. Then, remove the old light fixture that you are replacing. Now, attach the mounting bracket using the screws and instructions provided. Afterward, attach the wires together and secure them with wire nuts. Finally, screw the light into place and you're all set! For the full tutorial, visit DIY Network.
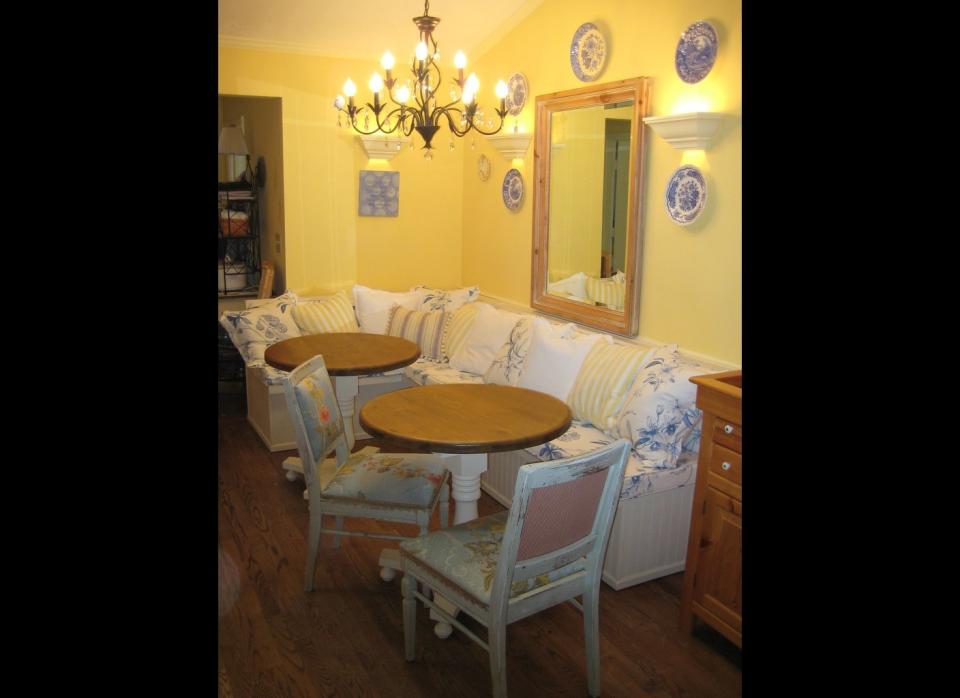
Create Banquette Seating
Getting the family together can be difficult if you've got a large bunch, but banquette seating will offer space in a stylish way! First, measure the length, height, width and depth of where you'd like the seating. Using 3/4" birch plywood, construct the frame based on the measurements you collected by carefully cutting the wood with a table saw and circular saw. (A circular saw will allow you to make a cut over 10 inches in length). Next, use a nail gun to assemble the seating. After nailing the unit together, reinforce it using wood screws. If you are creating L-shaped seating, you should create two separate boxes and then join them together. Now, just paint or stain the seating however you'd. Then, secure the unit to the wall using 3-inch wood screws. Add a cushion for a comfy feel! For the full tutorial, check out this 5 minute video clip.
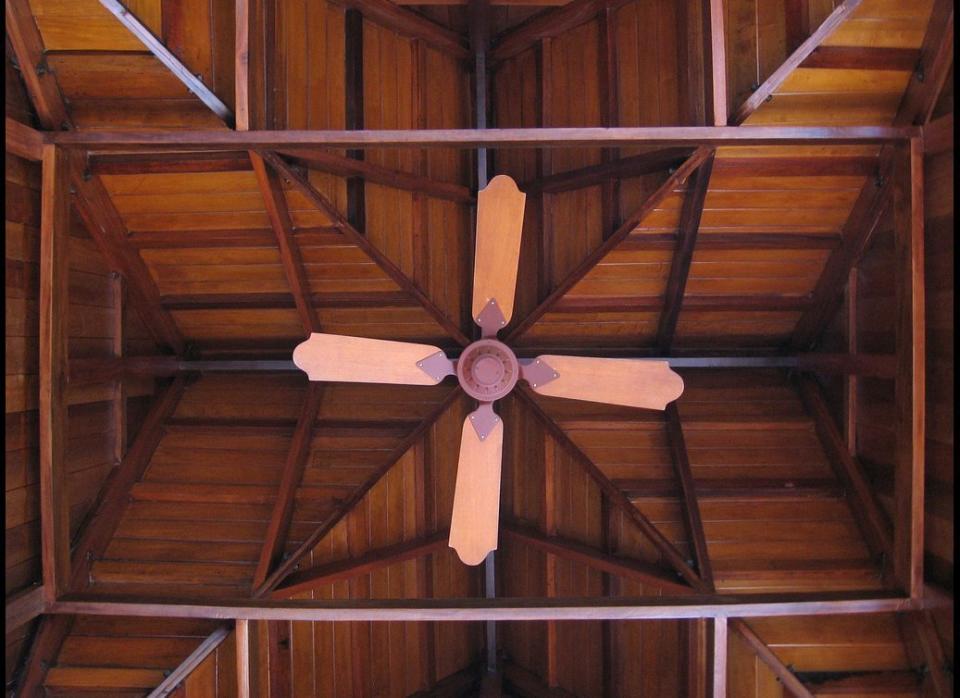
Install A Porch Fan
If you think the weather is getting too hot to sit outside on your porch, think again. Installing an outdoor fan will make the space more enjoyable. First, purchase the outdoor fan of your choice. If you already have an electrical setup and junction box in the roof of your porch, you're ahead of the game. (If you don't you may want to have an electrician come in to help install). Attach a medallion of your choice to cover up the box. Then, mount the ceiling plate. Afterward, assemble the fan components according to the instructions given. Next, make the wire connections, using twist on wire connectors. Join the white with the white, and so on. Swing the fan into position and secure it with the two canopy screws provided. Finally, attach the blades and light (if included). For the full tutorial, head over to This Old House.
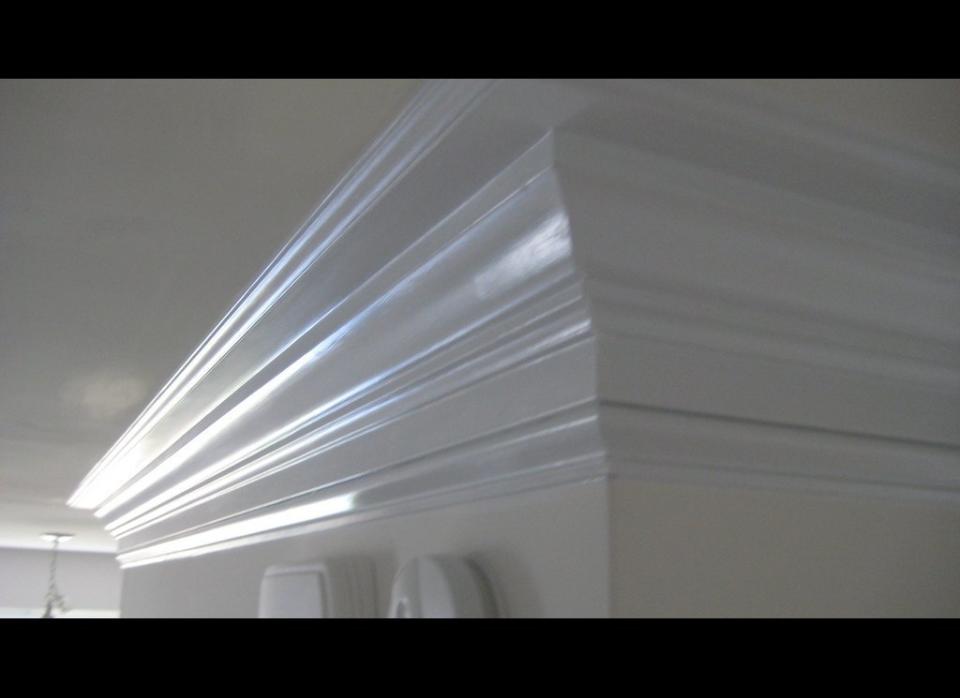
Add Crown Molding
Nothing adds architectural interest to a space like crown molding. So if your space needs sprucing, adding some might do the trick. First, choose the style that will best fit your space. Then, measure the room to determine how much molding you will need (always round up to the next foot). Molding can be bought and cut at places such as Home Depot. Then, determine the order in which the molding will go by drawing the room out on paper. For the corners, use a miter saw to cut the wood at an angle. Locate your studs and joints, and mark their locations. Then beging installing, piece by piece, using a power drill. For the full tutorial, visit This Old House.
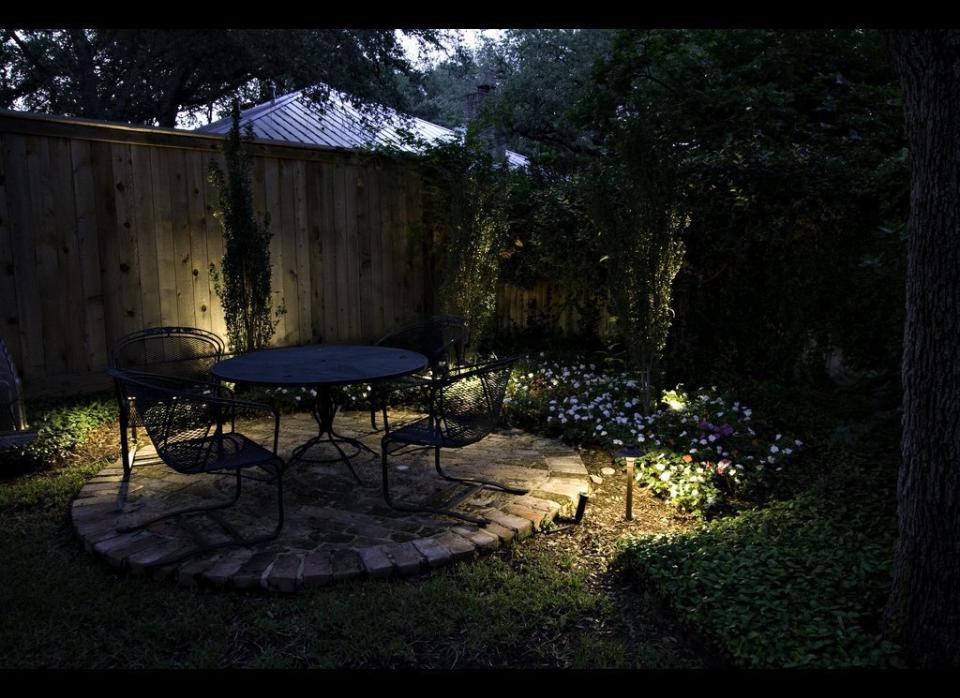
Outdoor Lighting
We love the look of a lighted garden, it's pretty and allows us to enjoy the space at night. Plus, it's simple to create. You can purchase small spotlights and place them in areas you'd like to illuminate, or flood lights to cover a larger space. But, as an easy alternative, you can purchase tube lighting and wrap it around the perimeter of your garden or on outdoor furniture. For a full tutorial on installing landscape lighting, visit This Old House.
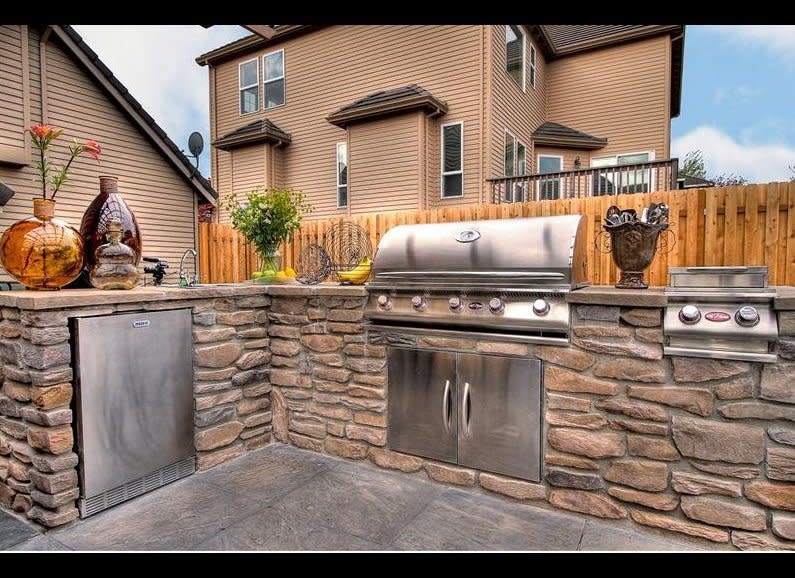
Create An Outdoor Kitchen
The beauty of an outdoor kitchen is it can be as simple or high-tech as you'd like. If you are working with a strict budget, then opt for a stainless steel table as an island next to your grill instead of installing a counter top. To add a sink or other appliance, you'll want a plumber or handy man to install a water line (for a dishwasher, hot water, and other needs). To save money you can choose a sink that connects to a garden hose, and chill drinks in an elevated tub or trough rather than a fridge. For shelter, you can install an overhang or simply purchase a tent. Finally, for grilling purposes, go as simple as a free-standing charcoal grill or have a large complete with stove top burners installed into the countertop area. For a complete tutorial, visit This Old House.
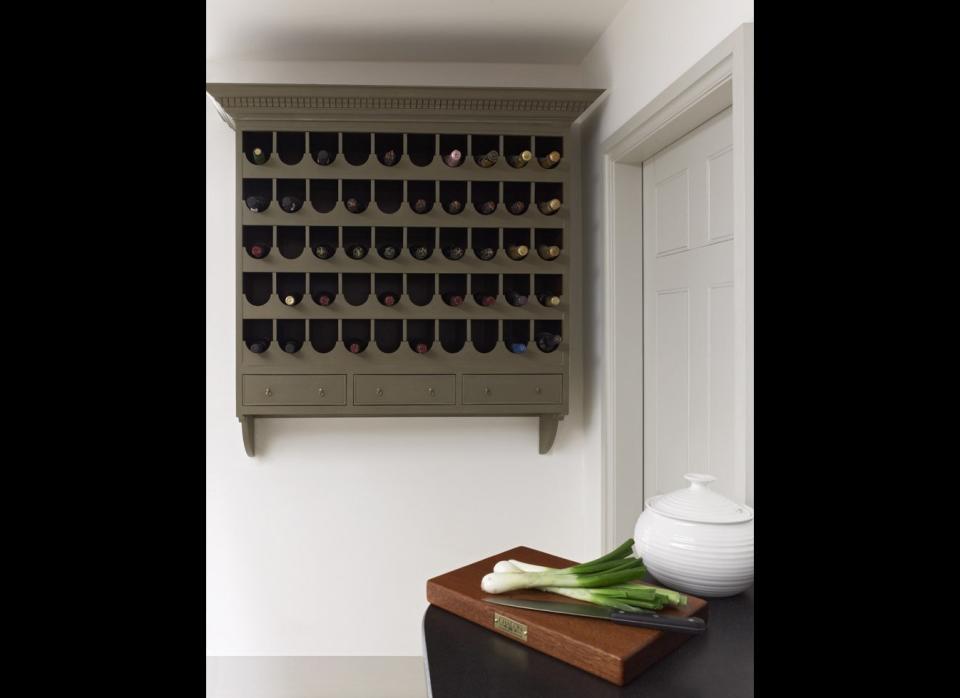
Hang A Wine Rack
Installing a wine rack is useful to neatly organize your collection and allow bottles to rest on their side, keeping the cork damp. To do so, simply pick out the rack of your choice (we like this one that hangs right on the wall and holds 30 bottles!) Find an area on the wall that will fit the rack properly and is not in direct sunlight, making sure the wall can support the rack (finding studs and drilling in those areas will help). Then simply drill the rack to the wall. It's that easy!
Repair A Tear In A Leather Sofa
If that glaring rip in your leather sofa or chair is making it hard to relax, don't worry, there is a quick fix! First, cut a sub-patch (this can be any strong fabric) about the size of the rip and attach it using a straight sticking it into the cushion. Then, push the sub-patch through the hole underneath the leather. Afterward, glue the sub-patch in place using Tacky Glue (or another strong craft glue), by rubbing it underneath the leather in the hole and on the edges of the rip. Next, roll the rip flat using the wooden end of a paintbrush. Press it firmly with your finger and wipe off the excess glue with a damp cloth. Place something fairly heavy on it while it dries, and you're all set! For the full tutorial, check out Leather Help.
Buff A Scratch In Wood Floor
It's actually pretty simple to remove those hard-to-live with surface scratches from your wood floor. First, clean the scratched area with a soft cloth and hardwood floor cleaner. Then dry completely. Afterward, rinse the area with a cloth moistened with clean water. Once the area is completely dry, apply a new layer of protective wood coating. (This can be shellac or sealant). Now, just allow the space to dry overnight and you're all set. For the full tutorial visit How To Clean Stuff.
Marvin Harrison Jr., Fanatics said, “rejected or ignored every request” from the company while refusing to fulfill obligations of their contract that was signed last May.
Nvidia's quarterly results blew away estimates again on Wednesday, and as the company moves to its next-generation chips its CEO sees supply, not demand, serving as its biggest challenge.
All five of these hitters were drafted highly in fantasy baseball leagues. So far, they have not lived up to their ADPs — and that's an understatement. Scott Pianowski analyzes.
Jake Mintz & Jordan Shusterman talk about Oneil Cruz's smashing night at the dish, Kyle Tucker and Shohei Ohtani leading the league and are joined by Royals broadcaster Jake Eisenberg to talk about Kansas City’s success in 2024.
Clark set the Indiana Fever’s franchise record for turnovers (10), shot 5-of-15 from the floor and struggled with the Connecticut Sun’s physical defense.