3 Home Improvements Even a Beginner DIYer Can Tackle
New homeowners rapidly learn an expensive lesson: The handyman costs money — and that running list of home fix-its adds up quickly.
Fortunately for beginner do-it-yourselfers, you don’t have to invest in a trunk full of tools for basic upgrades and fixes; most require minimal investment in time and equipment.
Taking control and transforming your living space into a reflection of your own personal taste can be both simple and rewarding. Try it this weekend with any of these straightforward home projects that even beginning DIYers can master.
By BobVila.com for Zillow
Create open storage with floating shelves
Sleek, open shelving is not only fashionable, but functional, too. Wall shelves are some of the trendiest additions in the homes of today’s DIY decorators, holding displays of cherished photos in the living room or bedroom and laden with dishes and bowls in the kitchen.
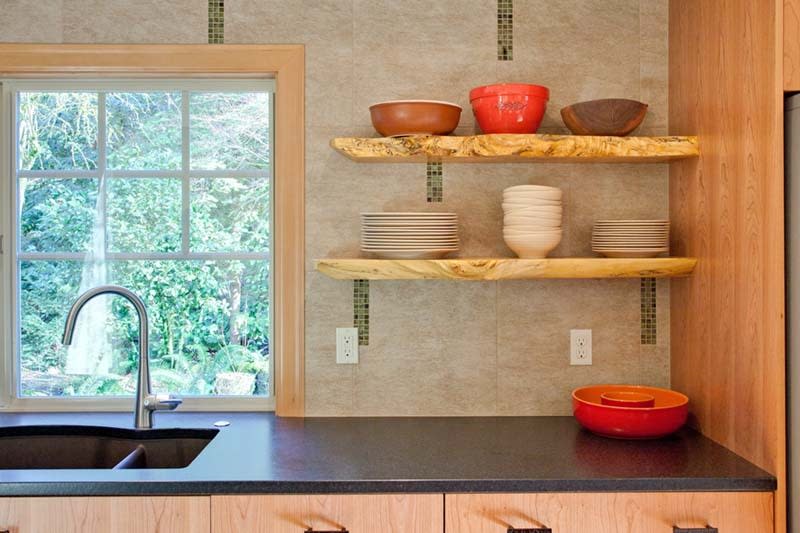
Courtesy of Fraley and Company.
The first step in installing this wall storage — or anything that hangs, for that matter— is to determine the composition of your walls. If the wall sounds hollow when you tap it with your fist, it’s likely drywall; if it sounds solid, it’s probably plaster.
For either, you’d ideally want to attach the shelf brackets securely to a wall stud, which can be located using a simple stud finder. If you can’t, affix it with anchors: hollow ones for plaster walls, butterfly or toggle varieties for drywall.
Now, measure and mark the spaces on the wall (on both ends) of where you want the shelf to go, and use a level to pencil a line across the wall where your shelf will sit.
Drill pilot holes into the wall for the anchors, and insert them following the manufacturer’s directions on the package. Then align your bracket with the anchor-filled pilot holes and mount using a regular screwdriver.
To finish, top your brackets with a simple shelf — glass, metal, or wood — and put your new storage spot to work.
Enhance energy efficiency and privacy with window film
While bright, sunny spaces can certainly be attractive, too much of a good thing can be bad. A flood of natural light fades rugs and upholstery over time, and causes air conditioning bills to skyrocket in the summer.
Fortunately, a compromise exists, and it’s stocked in the aisles at your home improvement store: window film. Applied directly to the glass, this thin polyester or vinyl layer can help shrink energy bills, enhance privacy, and even strengthen a window — all under the guise of a decorative touch.
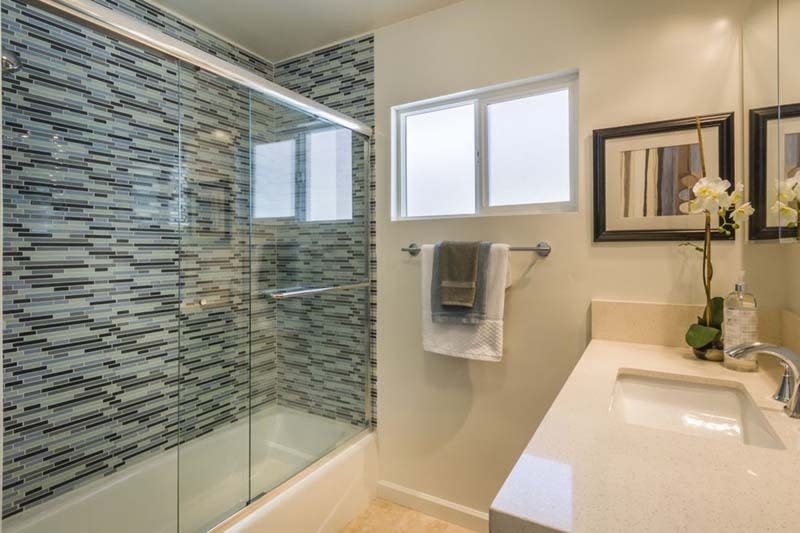
Courtesy of Zillow Digs.
To adhere window film, spray both it and the inside surface of the window with a soapy solution. Stick the film to your window glass and then trim around the border, leaving about 1/16 inch between the film and the window frame. This will allow the window glass to expand and contract with changing temperatures.
Smooth out any bubbles in the film with a squeegee, and let it dry completely. After the few days it takes to cure, you can resume cleaning the tinted window once more — just stick to a soft cloth and non-abrasive cleanser to avoid scratching and prolong the film’s effectiveness.
Brighten with new light fixtures
Searching for a surefire way to dress up a room? Look up: Swapping out old, “builder’s special” light fixtures for something more stylish — a funky-modern chandelier or chic pendant lighting — can reinvent a space’s mood, all without the help of an electrician.
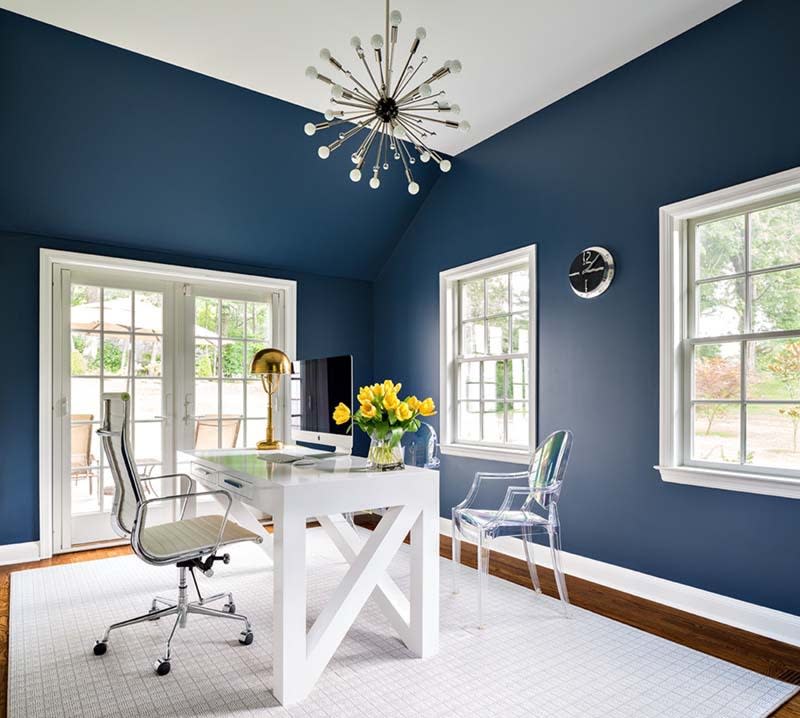
Photo by Donna Dotan Photography, courtesy of Claire Paquin.
As with any electrical project, first flip off the lights and cut power to the room via the main breaker panel. Then, climb atop a sturdy ladder to detach the old fixture cover, remove wire connectors, and untwist the light’s wires from the main power wires. Finally, take down the remaining base or trim.
Next, new light fixture in hand, follow the manufacturer’s instructions for matching its wires to the main wires installed in your home. (Hint: Corresponding colors typically connect.)
Use a wire stripper to remove the protective coating from the ends of the light’s wires, then wrap each newly uncovered wire around the metal end of its match, and screw on the connectors. At the same time, attach the fixture’s grounding wire (often green) to the existing grounding screw.
Fold all wiring back into the electrical box, and use the new light’s included hardware to attach the fixture base or canopy over it.
Once you’ve screwed in the recommended bulbs, turn on the circuit at your electrical panel and flip the light switch to the fixture. When you’ve confirmed that it works properly, attach the trim and cover to your new ceiling light, and bask in the glow of your finished project.
See more home design inspiration for your next project.
Related:
Bob Vila is the home improvement expert widely known as host of TV’s This Old House, Bob Vila’s Home Again, and Bob Vila. Today, Bob continues his mission to help people upgrade their homes and improve their lives with advice online atBobVila.com. His video-rich site offers a full range of fresh, authoritative content – practical tips, inspirational ideas, and more than 1,000 videos from Bob Vila television.

