3 DIY Ways to Make Your Face Look Brighter, Fresher, Younger
Sure, going out for dinner or drinks on a Friday night is lots of fun, but sometimes, all you really want to do is stay in and pamper yourself.
The good news is you don’t have to spend a fortune on high-end beauty products to give your face a little bit of a lift. Chances are, you already have most of what you need!
So, kick your shoes off and take a moment for yourself … you deserve it!
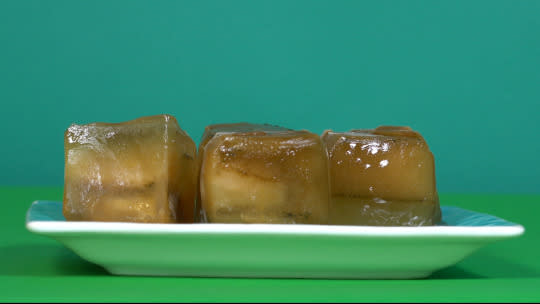
Green tea ice facial
Ice cube facials are some of the earliest spa treatments known to man. The cool cubes bring down swelling and tighten pores.
The addition of green tea gives your tired skin a little jolt of caffeine and a healthy dose of antioxidants, making your face look fresh and bright.
Materials:
Green tea bags
Loose-leaf green tea, dried
Ice cube tray
Soft cloth
Instructions:
1. Make a pot of very strong (in fact, too strong to drink) hot green tea, and let it cool slightly.
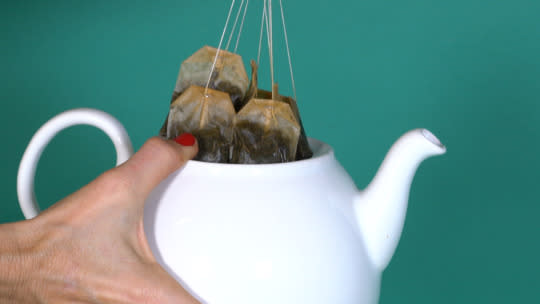
2. Pour it into an ice cube tray, filling the tray all the way to the top.
3. Sprinkle some fresh dried green tea on top of each compartment.
4. Freeze the tray of green tea ice cubes.
5. When frozen, pop a cube out, hold it with the soft cloth for a grip (and to collect drips) and caress your entire face with the cube until it is melted.
Related on Yahoo Makers: Beauty Mythbuster: Should You Make DIY Makeup Remover Wipes?
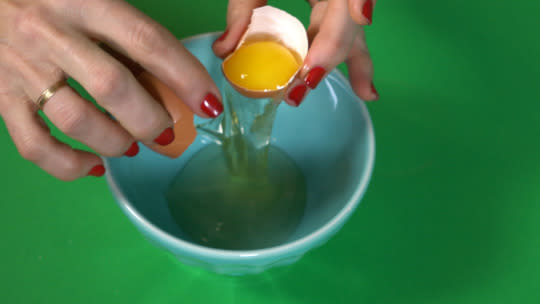
DIY face-lift facial
Want to temporarily tighten your face? Look no further than egg whites. Packed with protein, whipped egg whites will leave your skin baby-soft and taut. The addition of lemon juice and honey, a natural antiseptic, will create a mixture that also acts as an astringent, which is perfect for oilier skin.
Materials:
1 egg white
1 tablespoon honey
2 tablespoons lemon juice
Tools:
Whisk
Instructions:
1. Mix the honey and lemon juice together.
2. Add the egg white and whisk into soft, white peaks.
3. Starting at the top of your forehead and working your way across your face, apply the mask with your fingertips in an upward stroking motion.
4. Sit and relax while it dries, about 10-15 minutes.
5. Rinse with warm water and pat dry.
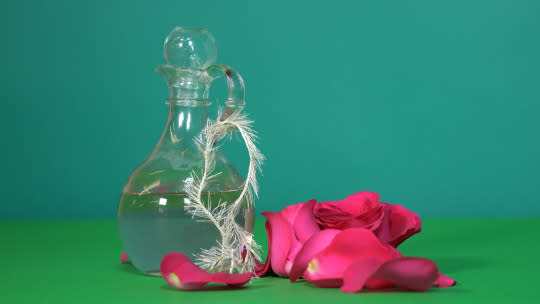
DIY rose water
If it was good enough for Cleopatra, it’s good enough for us. Used every day by this beauty who was renowned for her flawless skin, rose water is a natural astringent and an antibacterial, and it’s packed full of vitamin C, which heals and smooths the skin.
Materials:
Large pot with domed lid
Heat-resistant glass or stainless-steel bowl (small enough to fit inside the pot)
Smaller bowl to set larger bowl on top of, or a brick.
Ice
Distilled water
2-3 quarts fresh rose petals
Instructions:
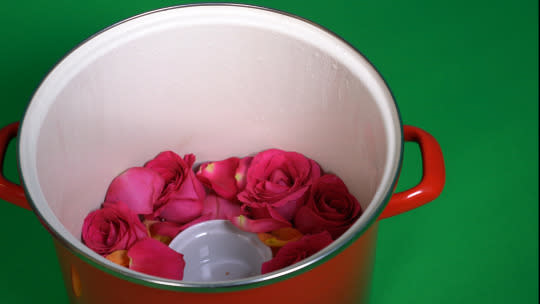
1. Place the smaller bowl upside down in the center of the pot. Alternatively, you could use a brick.
2. Place the petals inside the pot, all around the inverted bowl, and pour in enough distilled water to cover them.
3. Set the larger bowl on top of the inverted bowl, in the center of the pot, with the rim higher than the water by a few inches.
4. Cover the pot with the lid flipped upside down, and bring the rose petals to a boil. Once the water is boiling, fill the top of the lid (still flipped so it’s like a big bowl too) with ice cubes.
5. Reduce the heat and simmer for 2 hours.
When the heat hits the cold lid, it causes condensation, which then drips into the collector bowl in the pot. The result is pure rose water.
6. Add more ice as needed. The yield should be between one pint and one quart of fragrant rose water.
6. Store the rose water in a glass bottle with a spray top or tight-fitting lid.
Hint: If you didn’t use red roses, you can add a drop of beet juice to give it a pink glow.
Also on Yahoo Makers:
Let Yahoo Makers inspire you every day! Join us on Facebook, Twitter, Instagram, Tumblr, and Pinterest.
