Yes, You Can Reupholster a Chair Yourself
You just got home from a flea market or thrift store, and you’re so excited—you scored an old-school wingback chair! Its shape and silhouette are sure to bring vintage flair to your living space. But, what about the fabric? Maybe pleather or corduroy isn’t exactly your thing. (If cheerful florals are your fancy, you should totally check out Ree Drummond's Pioneer Woman fabric line at Walmart!) The fix is easy: All you have to do is learn how to reupholster a chair.
It only cost $20, which is why taking it to an upholstery pro may not make a whole lot of sense. After all, it can cost hundreds of dollars to professionally reupholster a chair. The good news is, if your chair doesn’t require anything that needs an expert's touch, like pleats or tufting, you can totally do it yourself.
If you don't know how to upholster a chair, taking on such a task might feel a bit intimidating. But it isn’t as difficult as you think, especially if you skip the sewing machine. Instead, with our tips, you’ll be turning to staples and tack strips to make the freshly upholstered chair of your dreams a reality.
This step-by-step guide will tell you everything you need to know about how to upholster a wooden chair, how to upholster a dining chair, and how to do corners when upholstering a chair seat. Let's get started!
You’ll need:
Phone for photos and video
Seam ripper
Work gloves
Staple remover, pliers, and/or flathead screwdriver
3-inch-thick foam (if needed)
Cotton batting (if needed)
Razor blade (if needed)
Vacuum
Odor-removing spray (if needed)
Wood paint or stain (if needed)
Marking pen
Upholstery fabric
Straight pins
Chalk
Scissors
Plastic putty knife
Staple gun
Tack strips
Pliers
Rubber mallet
Cambric
Instructions:
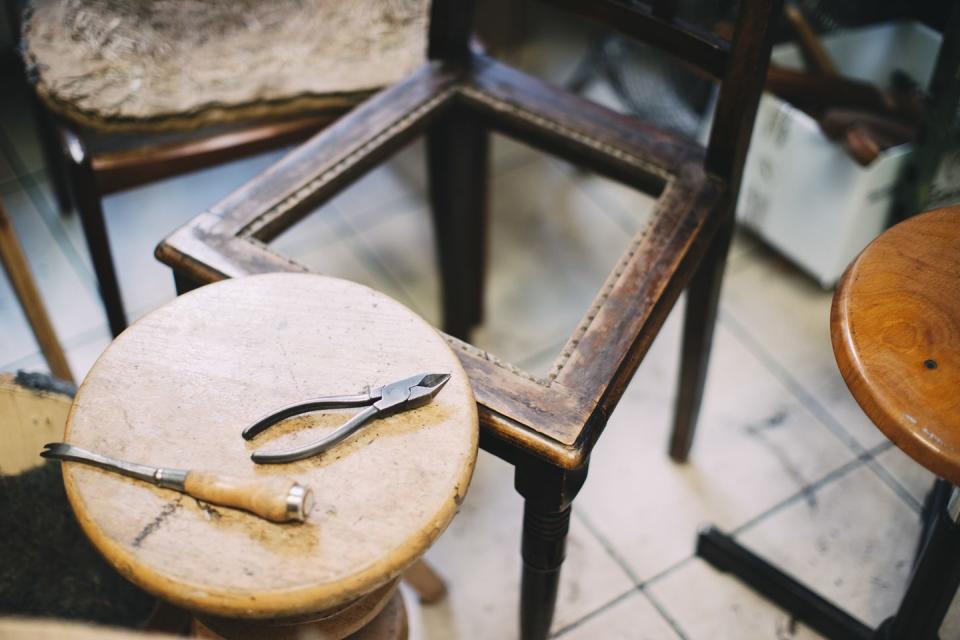
Step 1: Remove the fabric.
After taking some before photos or even video that will come in handy as a reference, it’s time to get down to brass tacks. Remove the fabric so you can see exactly what you’re dealing with. Although the starting place can vary according to the upholsterer’s preference, we suggest beginning at the back of the chair, which can offer a clearer picture of how the other fabric pieces are held together. Use a seam ripper to remove the fabric as you go.
Next, remove the front and side fabric panels, observing how those side panels were attached. This is when snapping a few additional pictures can be helpful.
Along the way, remove all of the existing staples and/or nails, using work gloves to protect your hands. Be careful to avoid ripping the fabric, which will later serve as your template. A staple remover works well; otherwise, a pair of pliers or a flathead screwdriver will do the trick.
Step 2: Remove everything else.
Once all of the fabric has been removed, you’ll be able to get a good look at the bones of the chair. This is when you’ll assess the condition of the batting and foam pieces. Do they need to be replaced? You can always purchase fresh batting and foam and use a razor blade to cut them to size.
Whether you decide to keep the existing foam and batting or not, we highly recommend vacuuming the chair top to bottom and using an odor-removing spray if necessary. Allow to dry after spraying.
You can take this time to unscrew the wood legs if your chair has them. Also, before upholstering, use this as an opportunity to clean up the woodwork on your chair, too. Could it benefit from a coat of paint or a stain?
Step 3: Make your pattern.
Making the pattern is a key part of this project. Use a marking pen to clearly label each of the original fabric pieces, using indicators such as “back/seat/arms” and so on. You should also write “top” or “front” to clarify the placement of each piece.
Step 4: Choose a fabric.
Understandably, you might be excited and want to buy your fabric before you begin this project. But we advise waiting until after you remove the old fabric pieces to make your purchase. That way, you can take all the correct measurements and buy enough fabric to meet your needs.
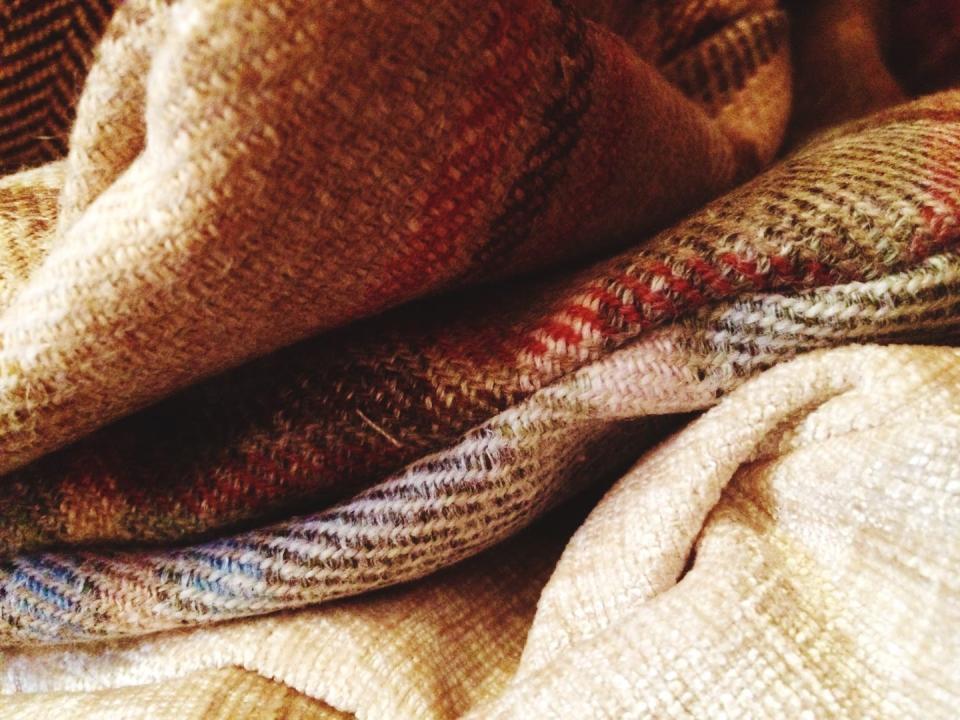
Focus on fabrics intended for upholstery and consider the intended purpose for your chair. If little ones and pets will occupy the chair often, we say the more durable, the better. And of course, consider the existing color palette in your space as you choose a hue or pattern for the fabric.
It’s also a very good idea to buy way more fabric than you need. This will allow for tucking in pieces or cutting away excess material. And if you make a mistake, you’ll have more material waiting in the wings.
Step 5: Cut out the new fabric.
So, you have your new fabric in hand and you’re ready to cut. Here’s how to do it.
Place your original fabric face-down on the floor or on a large table, with the new pieces of fabric lying on top, also face-down. If the fabric is patterned, be sure to keep that in mind as you cut the pieces so the print will look centered and pretty.
Pin the new pieces to the original fabric pieces and cut around your pattern, making sure to leave a few inches around the new pieces so you’ll be able to easily staple them to the chair. Use chalk to mark the new pieces of fabric so you’ll know what goes where.
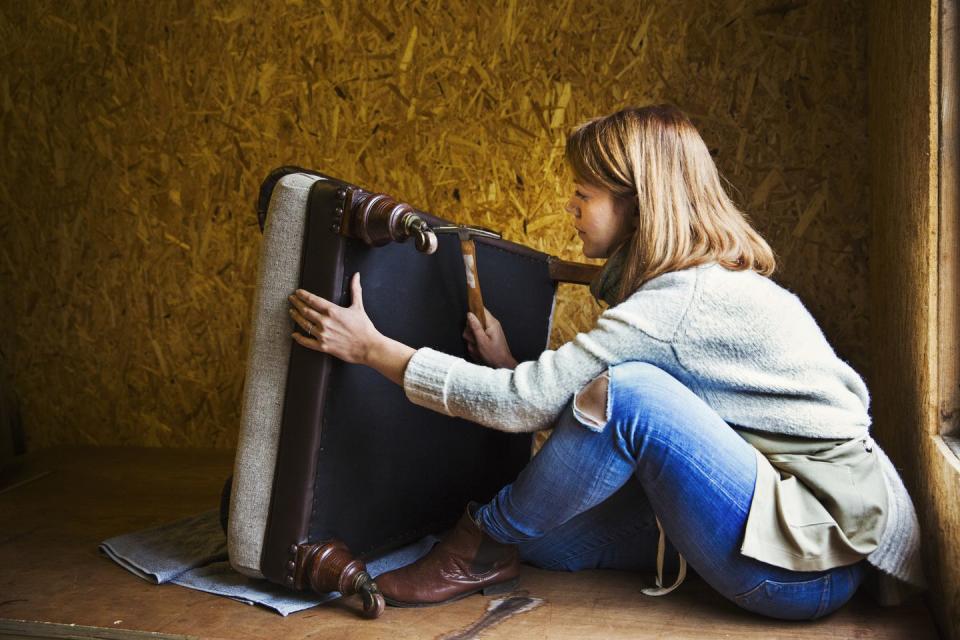
Step 6: Attach the fabric.
Before attaching the fabric to the chair, cut any new batting and/or foam to size with a razor blade. Staple down the batting and foam and tuck in any excess around the corners.
When attaching the fabric, start with the sides and arms. Drape each fabric piece over the corresponding portion of the chair and tuck the excess fabric into the inside crevices. You can also use a plastic putty knife to push in the fabric. Pull the fabric as tight as you can to avoid wrinkles and staple down the excess fabric using a staple gun.
As for the edges of the chair, since this is a no-sew tutorial, we recommend using tack strips, which will hold everything in place and make the chair’s edges look smooth and polished.
Put on your work gloves and begin by measuring the tack strips. Use pliers to cut them to the appropriate length and then simply bend the tack strips until they break.
When you have the cut tack strip ready, fold back the excess fabric along the edge of the chair and crease it. Place the tack strip along the edge of the fold and push the tacks through the fabric. This is where work gloves are especially helpful so you can avoid poking your fingers. Once you've pushed the tacks through the fabric, fold the fabric back so the tacks face the inside. Smooth out any bubbles or wrinkles.
After checking that the folded fabric and the edge of the frame are lined up, it’s hammer time. Use a rubber mallet to drive in the prongs of the tack strip until it’s fastened tightly to the chair.
Next, move on to the back of the chair. Tuck the corresponding fabric piece into the crevices using your fingers or a plastic putty knife and then pull it taut. Follow the curves and drape the fabric across the back of the chair, continuing to tuck the fabric into any crevices. Staple down the excess fabric to the underside of the chair so it will be out of view.
Now, here's how to upholster a chair seat. Simply place the corresponding piece of fabric on the seat cushion, pull it tight, and staple the excess fabric underneath. That's all there is to it!
Lastly, don’t forget about the underside of your chair. You'll want to use a piece of cambric to protect the bottom of your chair from dust. Staple this black, breathable fabric along the edges of the chair and voila! Your newly upholstered chair is ready to find a home in your living room, bedroom, dining room, or office. Once you're done, sit back in your chair and marvel at your own creativity and DIY prowess!

