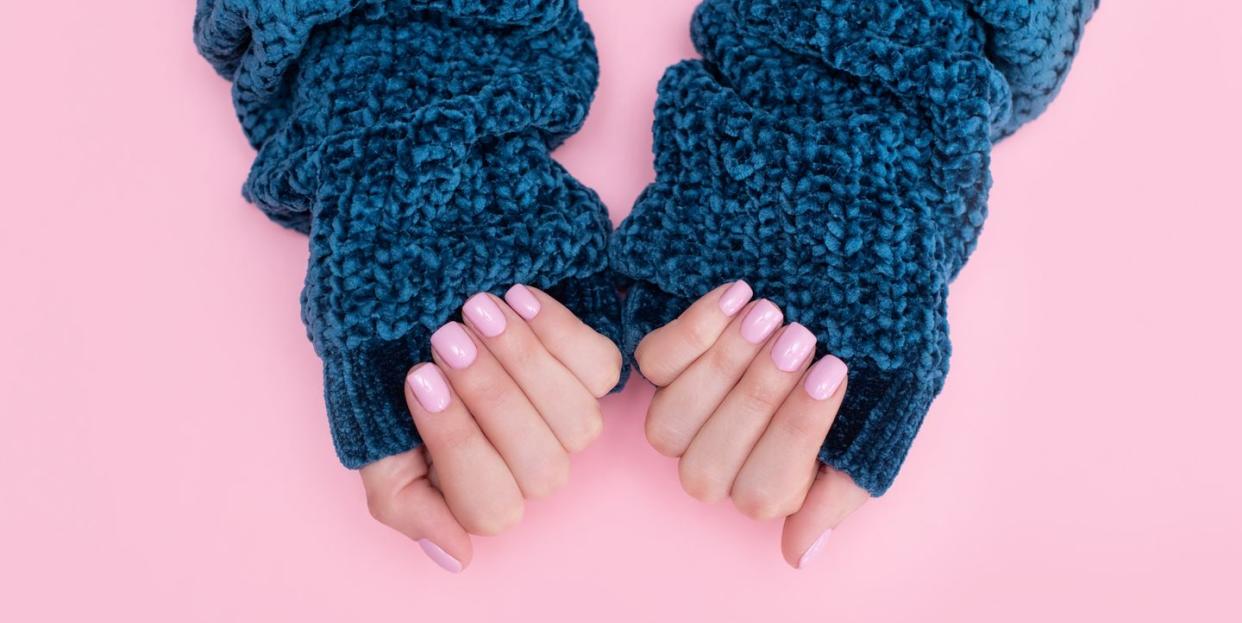
Why You Shouldn't Peel Off Gel Nail Polish (And What To Do Instead)
Getting your nails done is always a nice luxury, but depending on the kind of manicure you typically get, it's the removal process that can often be a pain. With gel manicures, for example, it may seem like the easiest way to remove the polish is by peeling if off—but while that may save you time and a trip to the salon, it can be a lot more damaging to your nails than you think.
Meet Our Experts: Syreeta Aaron, nail technician and brand educator for LECHAT Nails, Anastasia Totty, nail technician and brand educator for LECHAT Nails
"The products are supposed to make a really good adhesion between the base coat and the actual nail, so when you peel, you're basically tearing the upper layer of the natural nail off with [the paint] because that bonding agent holds on so well," says Anastasia Totty, a nail technician and brand educator for LECHAT Nails. "You're stripping parts of the keratin layers off of the natural nail."
Additionally, any cracks or openings from chipped pain can lead to bacteria growth, so once your nails start wearing down, it's best to head back to the salon for a fresh set. If you need the gel off quickly, you can also do so at home—it's not that difficult, and all you need are the right tools.
Ready to give it a shot? Read on for all the pro tips you'll need, along with detailed instructions on how to remove gel nail polish at home.
What you'll need
To remove gel nails at home, you'll need to stock up on the essentials. Here's everything you'll need in your kit:
Nail filer
Cuticle pusher
Cotton balls
Aluminum foil
Soak off remover or acetone
Cuticle oil
Glass bowl (optional)
Nail clipper (optional)
Once you have everything you need at hand, you're ready to get started.
Step 1: Prep your cuticles
Acetone can be harsh on the skin around your nails. To start, gently push your cuticles back. If you feel comfortable, follow that up with a cuticle nipper to cut away any dead skin. From there, you may or may not need to apply a light cuticle oil with a cuticle softener.
"The first thing to ask yourself is what are you planning on doing after you take them off because that can play a role," says Syreeta Aaron, a nail technician and brand educator for LECHAT Nails. "I wouldn't recommend using oil if you plan on putting gel back on. When you're putting gel polish onto your natural nails, the goal is to remove all natural oils so that the gel polish can adhere best."
Step 2: File off the first layer of paint
Filing your nails before soaking them will ensure the acetone can break down the polish. Aaron and Totty recommend using a filer that has 100/180 grits.
You'll want to file the surface so that it's matted. You may have several layers of polish depending on the color you're wearing, but there are still cues that will tell you when to stop. "You know you're done filing when it's not white anymore," says Aaron. "When you file the topcoat it's going to look white. Once it stops looking chalky white, you know you've gotten down to your shade of whatever color you have."
You can also file the topcoat off using an e-filer. Just make sure you're not applying too much pressure or filing them down for a prolonged time. If you feel any pain, stop immediately.
Step 3: Soak your nails in acetone
Unfortunately, regular nail polish remover won't work on a gel manicure. Instead, you'll need acetone or a soak off remover specifically for gel nails. "Regular polish remover will not contain enough acetone," says Totty. "It'll take forever and won't be very effective." She adds that some polishes are resistant to acetone, which is why it's so important to file over your nails beforehand.
There are two ways to approach this step. If you prefer to dip your nails, pour acetone into a glass bowl and soak your nails for fifteen to twenty minutes. If you want to avoid any potential mess that comes with dipping your fingers in the bowl, you can soak a piece of a cotton ball with acetone, place it on your nail, and seal it over the nail with a piece of aluminum foil.
Step 4: Remove the remaining paint
After soaking in acetone or remover, you may notice that the gel has started to break down. Use a cuticle pusher to push the remainder of the gel polish off the free end of the nail. If some paint remains, don't force it off. Instead, soak your nails for an additional ten minutes, and try again.
Step 5: Buff and shape your nails
Once the paint is gone, you can clip or shape your nails any way you please by cutting them with a nail clipper, filing them down, or prepping for a new set of gel. If you plan on filing, Aaron recommends opting for a glass filer instead of one with grits.
Important note: If you plan on getting another set of gel nails, you're done! You don't want want to apply any oils on your hands or nails before a new mani.
Step 6: Hydrate and strengthen your nails
Once you've shaped your nails, hydrate and restore them using cuticle oil; it's not just reserved for fresh manicures or post-removal aftercare—you should actually be using it regularly!
"That has to be your daily routine," says Totty. "Two to three times a day. It's absolutely safe to use, and it's great for nourishing that natural nail plate and replenishing all the vitamins." You can also follow up with a light hand lotion if your hands are dry from soaking in the acetone.
What if my nails are damaged?
If you've noticed your nails are damaged, you may have to take a break from manicures for a bit. Blood, bruises, or dents will indicate that it's unsafe to do any kind of service. In this case, Totty suggests waiting three to four weeks to allow the nails to heal. Doing so any sooner may lead to an infection, chemical burn, or other complications.
You Might Also Like

