TikTok Convinced Me I Needed to Learn to Sew and, Spoiler, It Was Not as Easy as It Seemed

A note about me: I interpret everything as A Sign. So when I pitched this story after absolute hours absorbing content on Sewing Tok *and* it got approved, it was basically the universe telling me I should drop everything and become a fashion designer.
Let’s forget about the fact that there may have also been other signs (some may call them red flags? IDK), like how pretty much every sewing machine I tried to buy was out of stock or how the one I did end up ordering (at an insanely marked-up price) arrived and didn’t turn on. NOTHING TO SEE HERE. Or, honestly, how the vintage tees I bought for my Very First Project™—cutting two shirts in half and sewing them back together Frankenstein style—straight-up never showed up. NOT DETERRED.
Where was I? Oh, yes, acquiring my second sewing machine was basically fate, in a “should I start my Etsy shop now or wait until I build up my inventory” type of way. Here, dear friends, is what ensued.
Oh, I should prob mention everything I had to buy:
A sewing machine
A beginner to get me through until my Etsy orders skyrocket. ($200)All the scissors
Small and large fabric ones, a rotary cutter, and Fiskars springy shears, which, honestly, I don’t know how these differ from regular fabric scissors, but they look cool. ($45)A cutting mat
So you don’t damage any surfaces. ($20)Rulers galore
A clear one for cutting straight lines + tape measures for creating patterns. ($15)A seam ripper
Exactly as fun as it sounds. ($8)Fabric
The more funky the pattern, the better. ($50)Thread
And a few extra needles. ($15)Pins
Plus a pin cushion. ($10)
My Total: $363

Day 1:
I get in the ~mood~ by rescrolling through my fave Sewing Tok creators: a few past Project Runway contestants, a woman who just finished making ball gowns for each of the Hogwarts houses, and some thrift flippers who take old things and make them way cooler. Then I succeed at step one: winding the bobbin, aka the thread spool on the bottom of the machine. (Did you know that sewing machines require top and bottom thread? Yeah, me neither.)
Day 2:
Maybe I should actually read the user manual? Done, and now I’m test-making seams on scraps of an old T-shirt, the results of which are best described as “What are these huge tangles of thread?” Then I join two strips of jersey scrap fabric together and learn why backstitches are so important (they secure your seam so everything doesn’t just, you know, fall apart).
Day 3:
I’m sticking to straight lines to boost my confidence, questioning how much I should sell my future pieces for (maybe, like, $1,000?) and watching about 500 YouTube tutorials on how to do a Franken-shirt—until my husband asks if I can just do it already so we can get back to streaming Virgin River. Rude.

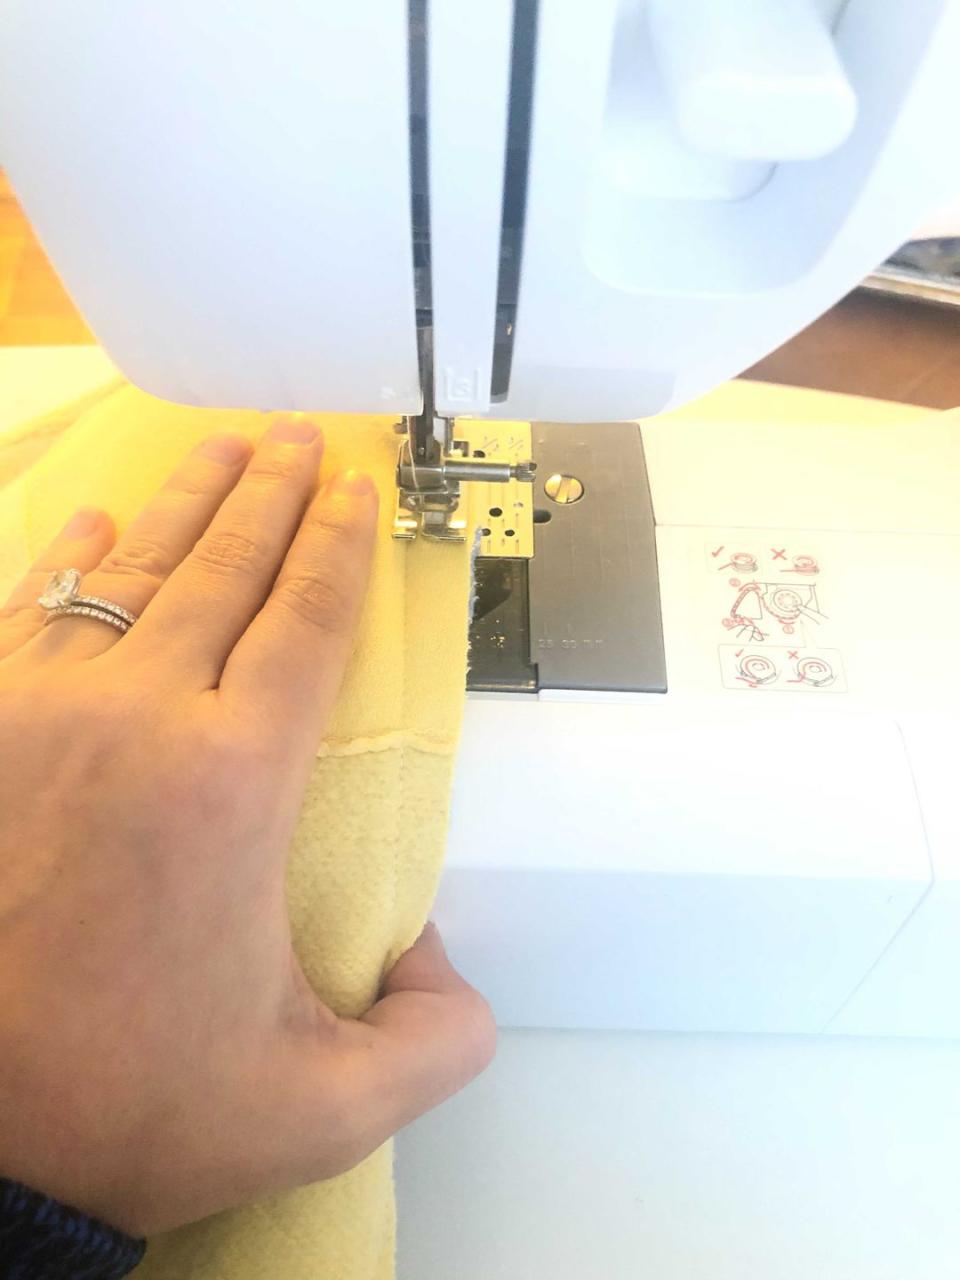
I cut up a pair of long-sleeve tees in two different colors, pin them together, and decide they are indeed going to look cool. Only I forget to put the presser foot down (it’s a metal bar that keeps fabric in place as the needle does its thing), and…another tangled mess. A do-over ends up pretty good—so good that I’m going to gift it to my BFF for Christmas. It’s like the more thoughtful, more time-consuming version of our matching broken-heart necklaces from middle school.
By the way, TikTok's great and all, but these YouTubers actually taught me how to sew my first project (and got me excited to continue with more complicated ones!):
Sewing Report
From setting up your machine to simple first projects, Jen Moore is your girl.
WithWendy and Dreadlock Wonder
These two calmed my Franken-shirt-related nerves before I was ready to take the plunge.
Annika Victoria and Ellie and Mac Patterns
Tune in for cool vintage flips and detailed techniques to try
Day 4:
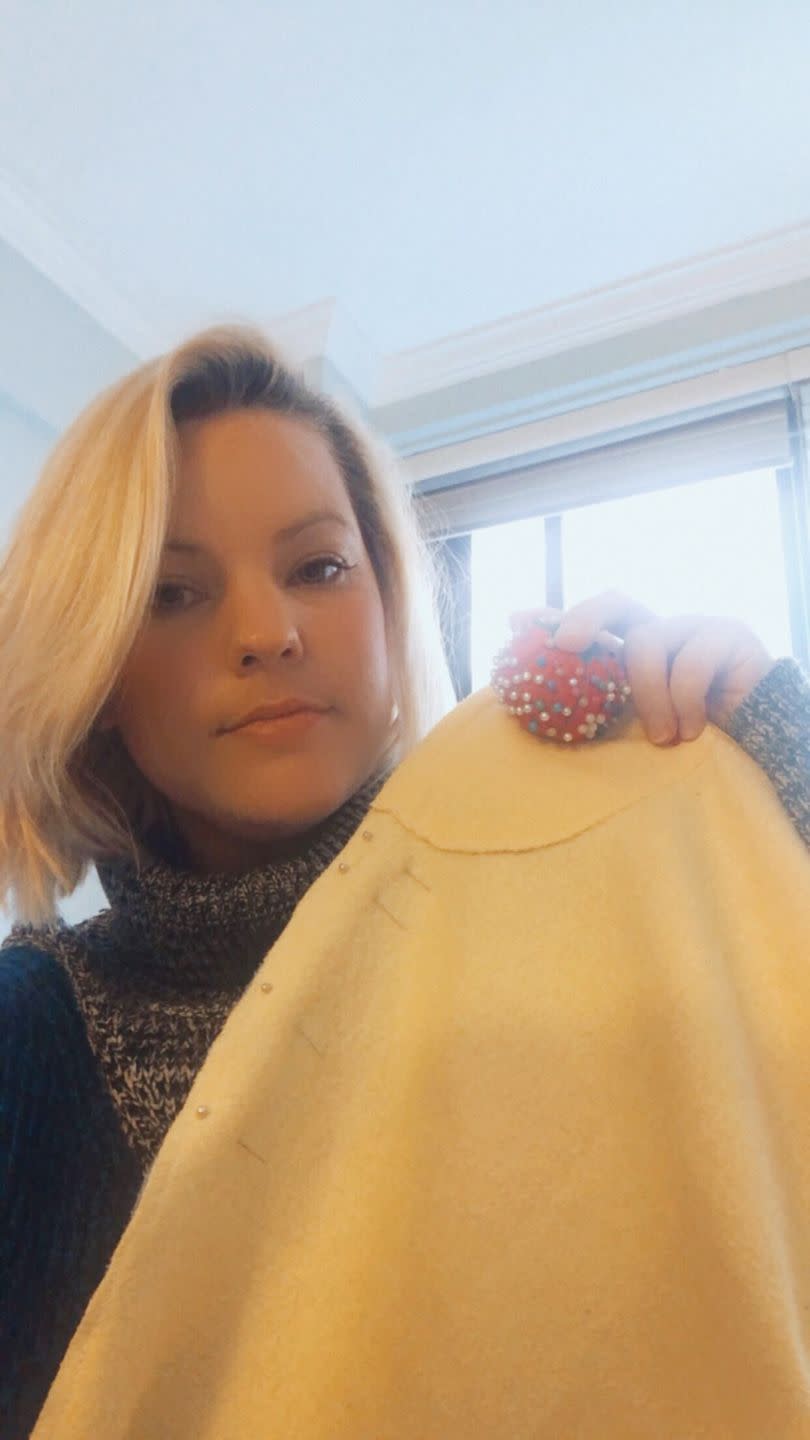
In the zone! I repeat yesterday’s steps with a pair of floral button-downs. And now, please bring your attention to the cropped yellow-and-blue beaut I’m modeling throughout (another potential career? MAYBE). Its pièce de résistance: an elastic waistband that I had the audacity to reattach.

Day 5:
Unforeseen problem: I’m trying to tamp down the urge to cut all my clothes in half and make an army of stitched-together pieces. I now have six different tops in this style and am wondering how weird it would be if everything in my wardrobe looked like this.
Day 6:
It’s true that I am easily impressed with myself…but I’m still calling this entire experiment a win, mostly because it’s nice to have a skill set that could truly come in handy one day. Next step: face masks. In the meantime, let me know if you’d buy a half-and-half top for $1,000?
You Might Also Like

