For a Smaller Batch of Granola, Your Stovetop Works Just Fine
There comes a time every year where it becomes our moral obligation to stop coaxing you into cooking projects that require a long, attended stint in the oven. Friends, we've reached that point.
We've traded in any wisp of a breeze for thick, still summer air. The AC is cranking. The ice cube trays are empty four times a day. So I am only eating—and cooking—things that are speedy, spicy, or come with some kind of built-in cooling agent. And what is more cooling than a bowl of tangy, well-chilled yogurt, topped with fresh summer fruit and the crunch of granola?
If you're stopping here because slowly roasting homemade granola is definitely a winter-only thing for you, wait! Please. Try the stovetop way instead.
The traditional method for making granola usually calls for 40 or so minutes in the oven, and one or two large sheet pans full of carefully spaced nuts and oats. But if you're okay with a smaller batch (less commitment! A good use for the dregs of the nut bowl! Ideal for small households!), a little granola fry-up can be done in 20.
I've riffed my way through a stovetop version a few times out of sheer laziness, but recently, I learned that this method actually gets the seal of approval from Great British Bakeoff winner, cookbook author, and cooking school host John Whaite. Read on for the method, which I can now happily say I follow based on Whaite's expert advice...and a bit of summertime sluggishness on my part.
Choose the Right Pan... and Keep it Small
You can make stovetop granola in a cast-iron skillet, a non-stick pan, or a stainless steel one. "It can be done in any frying pan, so long as it’s lovely and wide so that everything can get a little caramelized and crispy," explains Whaite. "If the pan is too small, your granola is more likely to steam, which will keep it softer."
Even with a roomy skillet, I wouldn't go beyond two of three cups of oats. You want enough room that everything can move around without getting crowded.
Select Your Base
For almost every granola recipe, you're going to want to start with rolled oats. Rolled oats are just raw whole grain oats (or oat groats) that have first been lightly roasted to make them shelf stable and give them a toasted flavor, and then steamed and flattened. The result is a chewy, slightly nutty grain that holds its shape well in granola.
You could, of course, try a different grain, or mix of a few. I like to mix in buckwheat groats when I have them, because they add an earthiness and a bit more textural interest. Buckwheat groats are also gluten free—they're actually highly nutritious seeds, not grains.
Granola can also be made without any grains or pseudocereals: just add in a lot more nuts, and perhaps some thick shavings of dried coconut to replace the satisfying chew of the oats.
Add Fat and Sugar
When you bake granola at a low temp in the oven, you get a dehydrating effect that helps the granola get crispy. In a pan, too little sugar often means no crunch, and too little fat means no toasty crispness. So don't skimp.
I tend to go for butter and honey because the depth of a slightly brown butter is much more satisfying to me than say, coconut oil, and I like the floral note of honey. Occasionally, I'll swap in olive oil to add some grassiness. Whaite is partial to a mix of brown sugar and maple syrup: "I use the brown sugar and maple because I like the earthy sweetness of maple and the toffee tones from the brown sugar," but he assures me that any sweet syrup could work.
And Be Bold With the Nuts, Fruit, and Spices
The other elements are up to you. Some mix of nuts, seeds, and dried fruit are needed, but you can play around with other flavorings like vanilla extract, matcha powder, or date syrup, and add in spices like turmeric, cardamom, sumac, or ginger. Some suggested flavor combinations are below. The beauty of a single pan's-worth of granola, though, is that you aren't stuck with many mason jars of one flavor. Your trial run might be gone before the week is out.
One other beautiful thing about pan granola is that it's a more intuitive process than the baked variety. You can taste as you go, layering in flavor. Making granola in a pan is more like making soup than baking cookies. I am arguably the worst baker at Epicurious, and I have yet to make a bad batch of pan granola. You can do this.
Stovetop Granola - IG
Measure Them Out
I'll admit that I eyeball this every time. My formula is about two cups of oats/groats to half a cup of nuts and seeds, a quarter stick of butter, two or so heaping tablespoons of honey, and a small handful of dried fruit at the end.
If you'd like a more precise measurement, Whaite's saved story on Instagram has a recipe highlight with weights—and, he has shared the essential formula below with us:
2 parts oats + 1/2 part nuts + 1 part seeds + 1 part dried fruit + 1/4 part brown sugar + 1/2 part butter + 1/4 part maple syrup
Toast Nuts and Seeds
If you take one thing away from Whaite's tips, let it be this: You must toast your nuts and seeds. Pour them into a dry skillet over medium heat, and let them toast for three to five minutes, watching carefully, and stirring until they become fragrant. If you've included pumpkin seeds, Whaite recommends keeping an ear out for the popping sound–that means they are finished. Pour nuts into a bowl for now.
Brown the Butter, Coat the Oats
With the flame still at medium, add the butter. Get a good foam and a light brown color before you add in your sugar, maple syrup, or honey, then give it a good stir. If you're adding a spice or vanilla, tip it into the pan now. Next, add in your oats, stirring frequently so they get coated in that syrupy-sweet butter and take on a bit of color. This should take about five minutes–you want the oats to be still a bit soft and a light golden brown. If you're using a different fat (olive oil or coconut oil, for example) feel free to add in the sweetener directly after the oil hits the pan.
Toss in Your Fruit
Remove the pan from heat and stir in your dried or freeze-dried fruit... and you're done. Let cool completely in the pan—it will continue to crisp up a bit as it cools. Then store in a wide mouth jar for up to two weeks.
Some Flavor Combos to Get You Started
Oats plus ...
Butter, maple syrup, roughly chopped hazelnuts, cocoa nibs, coconut flakes, and crystallized ginger.
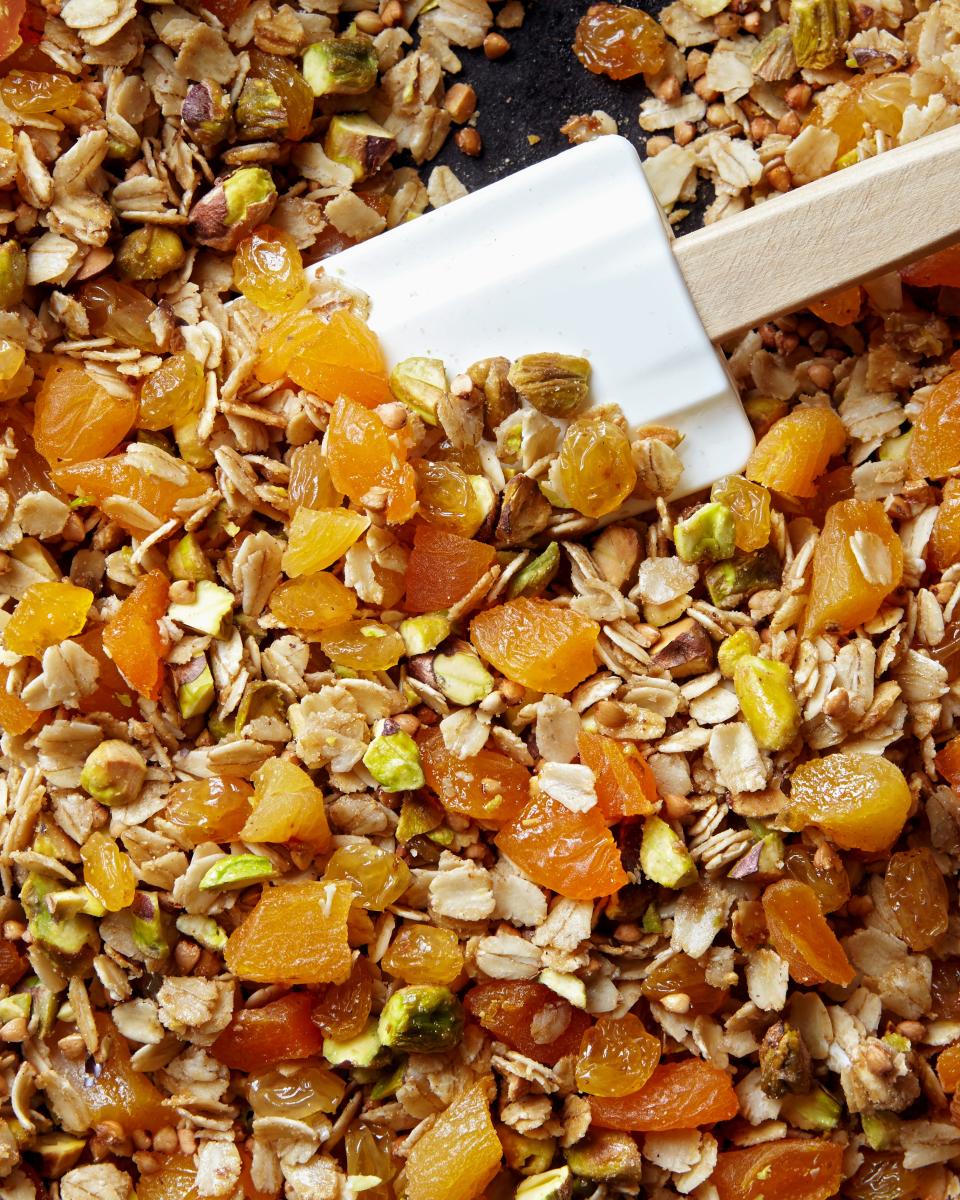
Olive oil, honey, walnuts, pistachios, pumpkin seeds, dried apricots, and mulberries.
Olive oil, honey, date syrup, almonds, cinnamon, and dried currants.
Butter, honey, pecans, almonds, coconut flakes, and freeze dried strawberries or raspberries.
Originally Appeared on Epicurious

