How to Make Scented Candles at Home
I've gone through dozens of scented candles while working from home during the pandemic. I always have at least one candle burning, and I can never finish one candle before I light the next one because I get too excited about the new scents. But large scented candles can be expensive.
To cut back on my spending without giving up my candle habit, I decided to try making my own at home from natural wax and essential oils—and I was amazed at how easy it was. While I'll likely still purchase a few of my favorite seasonal candles, I'll be swapping in the DIY version frequently because the process was so easy.
All you need is a candle-making kit (the entire kit was cheaper than the large 3-wick candles I normally buy), your favorite essential oils, and a pretty heat-resistant jar to pour the candle into. Once you have everything set up, it's easy to make several candles at once—which makes it so easy to knock out all your DIY Christmas and birthday gifts for the year!
Emily VanSchmus
How to Make DIY Candles
Supplies Needed
Candle wax
Heat-resistant glass jars
Double boiler pot
Silicone spatula
Essential oils
Candle wicks
Wick centering device or chopsticks
Wick trimmer
Step 1: Prep Your Container
Before you start melting wax or mixing scents, you'll need something to pour your wax mixture into. For safety, we recommend only making candles in sturdy glass containers. I used a set of 16-ounce Mason jars which are a good size for the candle, but not so big you'll use all of your wax on one candle. If you already have a candle jar you like, you can also clean out the wax from the jar and repurpose the container. Once your candle jars are clean, dry, and ready to go, it's time to melt the wax.

Emily VanSchmus
Step 2: Measure Wax
You can purchase all the candle-making materials separately, but I found it was most economical to buy a candle-making kit that includes all the wax, wicks, and wick-centering devices (more on these later!) you'll need for a whole set of candles. Plus, this kit uses natural soy wax flakes which are cleaner-burning than many scented candles you'd buy at the store.
It's easy to determine the amount of wax you'll need for each candle: Fill your container with wax flakes up to where you want the candle surface to start. Pour the flakes into a pot and measure the same amount again. Because the flakes melt down so much, you'll need two containers' worth of flakes for each candle.

Emily VanSchmus
Step 3: Melt Wax and Add Scent
Once you've measured out the wax flakes, melt them on medium heat using a double boiler. (If you don't have one, you can use a metal bowl on top of a saucepan filled with water.) Slowly stir the flakes using a silicone spatula. Once the wax is completely melted, add 10-20 drops of essential oils to the mixture. I used 6 drops of eucalyptus oil and 6 drops of lavender oil for a 16-ounce candle.

Emily VanSchmus
Step 4: Attach the Wick and Pour Wax
Before you pour the candle, you'll need to attach the wick to the bottom of the vessel. Each wick should come with a flat metal bottom; dip the metal part into the melted wax and place it in the center of the bottom of your jar or container. Hold it in place until the wax hardens and the wick stands up on its own.
Then, carefully remove the wax from the heat and pour it into your container. If the wick becomes unstuck from the bottom, you can use the wick centering device from the kit to hold it in place. (That way, the wick will be in the very center of the candle once the wax hardens.) If you're using a wide container, you can also balance two chopsticks over the top of your container to hold the wick in place.

Emily VanSchmus
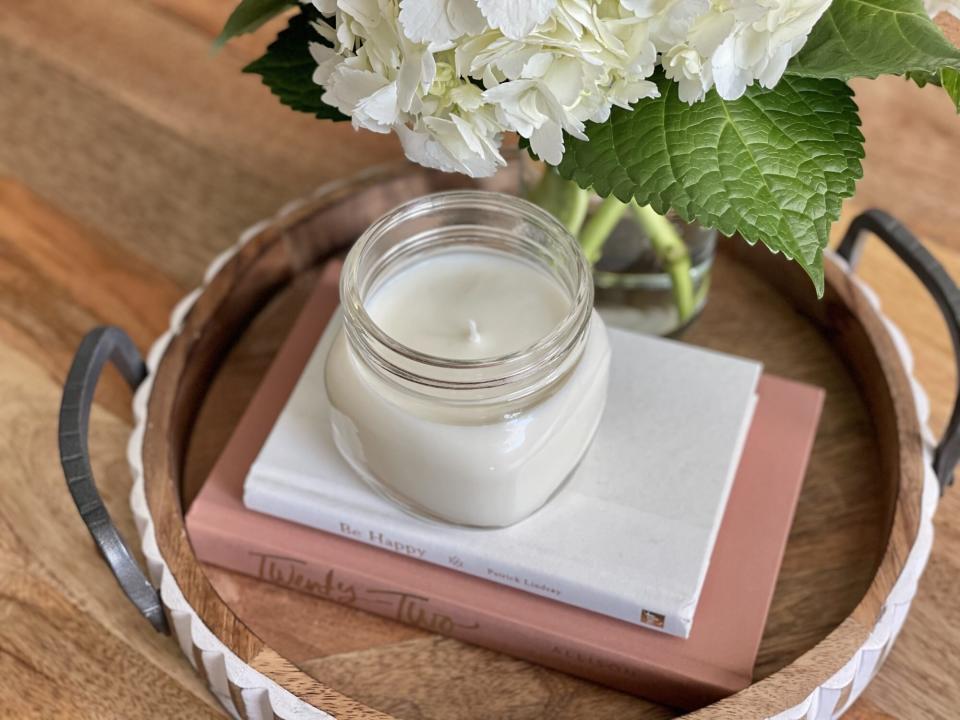
Step 5: Let It Set
It will take several hours for the wax to completely harden again, so I let my candles sit overnight. When your candle has completely set, you'll need to trim the wick. (You should always trim the wick of any candle before you burn it, even store-bought ones!) You can use scissors, but a wick trimmer is the easiest way to do it. Once you've trimmed the wick to about ¼ of an inch, your candle is ready to burn.

