This Rubber-Band Stitch Braid Needs to Be on Your Mood Board
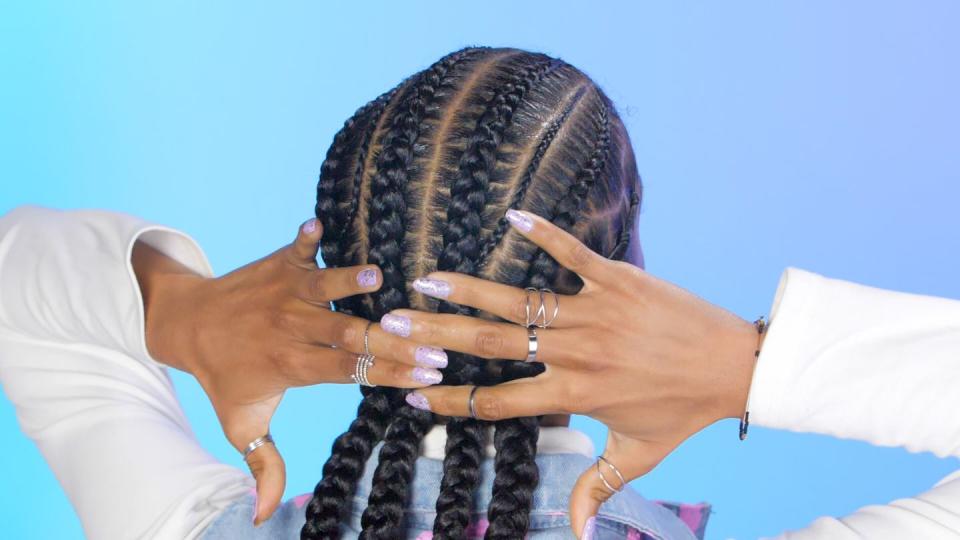
This week on The Braid Up, we're giving you a look that checks all the boxes: It's low-maintenance, cool, and doesn't take hours to install. Yup, dreams really do come true. The best thing about these rubber band stitch braids is that they only need a little bit of upkeep (kinda like a cooler, more IG-worthy version of your struggle bun). Plus, the rubber bands add a touch of playfulness to the sleek stitch-braid hairstyle—so this look basically deserves all of the fire emojis. And to show us how it's done, our hair expert, Stasha Harris, is passing off braiding duties to Knolesha Hammary.
Here's everything you need to keep in mind when trying out this look:
1. Start with a blank canvas. Before you start braiding, you want to make sure your hair is freshly washed, conditioned, and detangled. This will make sure that it's in tip-top shape for your new braids. P.S. When you're detangling, start from your ends and work your way up to prevent any potential breakage.
2. Prep your braiding tool kit. If you stay ready, you don't need to get ready—so make sure you have all of your supplies on hand before you get started. You'll need a rattail comb, hair clips, rubber bands, edge control, mousse, and sheen spray to nail this look.
3. Wrap your hair before you snooze. To keep frizz and flyaways at bay, slap on a silk or satin scarf before you hit the sheets. This will protect your hair from any frizz-causing friction while you sleep.
4. Touch up your braids with hot water. If your braids do start to get a little fuzzy after a week or two, bring a pot of water to a boil and gently dip your braids from mid-length to ends. Then, wrap a microfiber towel around your braids to dry them off. Re-dipping your hair into hot water will seal the ends, clean up any flyaways, and keep everything looking fresh.
Hair: Magic Fingers Studio; Beauty Assistant: Ama Kwarteng
You Might Also Like

