Raspberry Pi RP2040 Becomes a Mouse in a Pinch
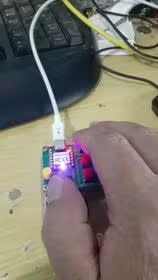
When it comes to solving problems, no one is better equipped to find a solution than makers. In the maker community, once you’ve made a project or 12, it’s common to have microcontrollers, such as the Raspberry Pi Pico and extra components just lying around. When Maker and IoT Ideas discovered their old mouse wasn’t working, it’s no surprise they threw together this makeshift mouse in a pinch using one of our favorite RP2040 boards.
In this project, Maker and IoT Ideas is using one of the best RP2040 boards, SEEED Studio XIAO RP2040 module to drive the custom mouse. Its super small form factor makes it an ideal alternative to the full sized Pico. There are tons of third party boards that use the same processor as the Pico, the RP2040, like the one found in this Pimoroni Keybow which would pair well with a XIAO RP2040 mouse.
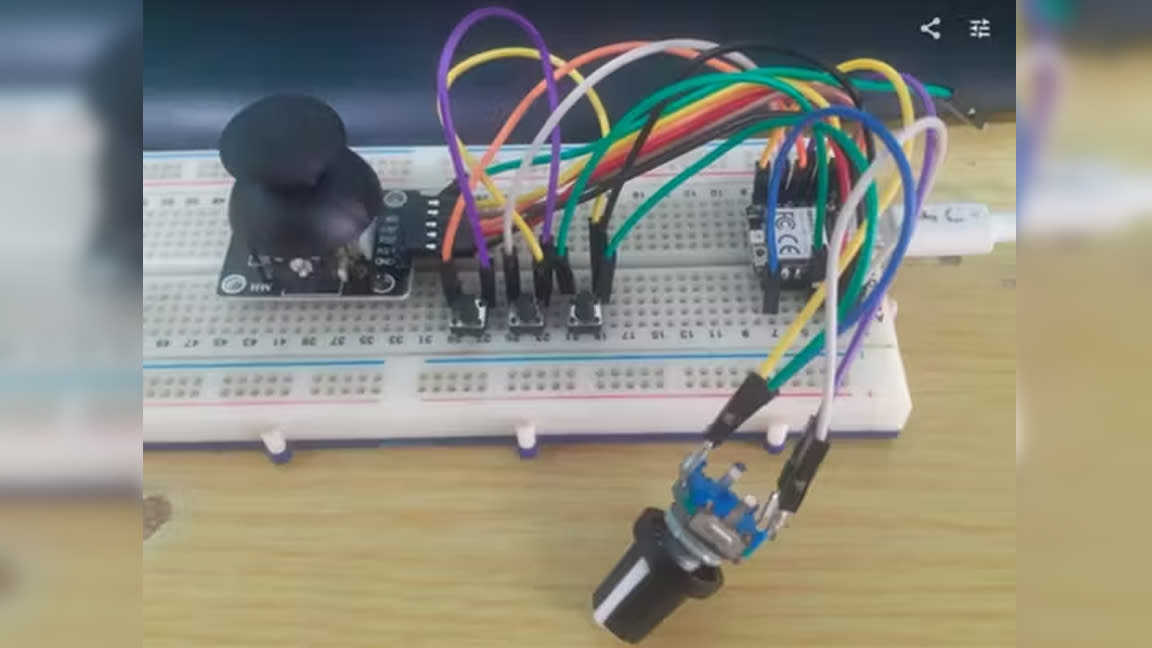
The custom mouse was put together with a few different input options. An analog joystick is used to manipulate the cursor while pressing the joystick results in a left click. A separate button handles the right click function. Two buttons are available for scrolling up and down and a rotary encoder was also thrown into the mix.
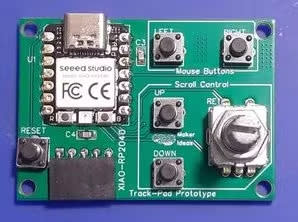

Maker and IoT Ideas put this project together in one evening but by the next day, the potential of a new project was too enticing to ignore. At this point, the RP2040 mouse evolved into a custom PCB that packages the project up nicely.
According to Maker and IoT Ideas, the custom mouse firmware was coded in CircuitPython, which has an exceptionally easy to use USB HID / Keyboard and Mouse module. Although the mouse is working as intended, they go on to explain that the code is far from complete and needs more tweaking before it can be shared with the public. That said, you can find diagrams of the PCB and how it’s laid out on the project page over at Hackster.
If you want to get a closer look at this Raspberry Pi project, check out the official Hackster tutorial put together by Maker and IoT Ideas. You might also enjoy our guide on how to use a Pico to create a camera button.

