Raspberry Pi Pico Paper Piano Uses Pencil Drawn Keys
If you’re preparing to dazzle an audience with a beautiful concerto, you best prepare your ensemble with a Raspberry Pi Pico-powered paper piano. This tutorial was put together by Abdulrahman Alhamed from Cytron and details how you can create a paper piano from scratch using our favorite microcontroller, the Raspberry Pi Pico.
Okay, so we don’t really expect this to be the next big instrument for professional orchestration but it is a wonderfully simple side project that gets the noggin joggin’ and is also a great introductory project for new makers. We created something similar before except instead of using a piece of paper to register user input, our associate editor Les Pounder used a banana to control a Pico.
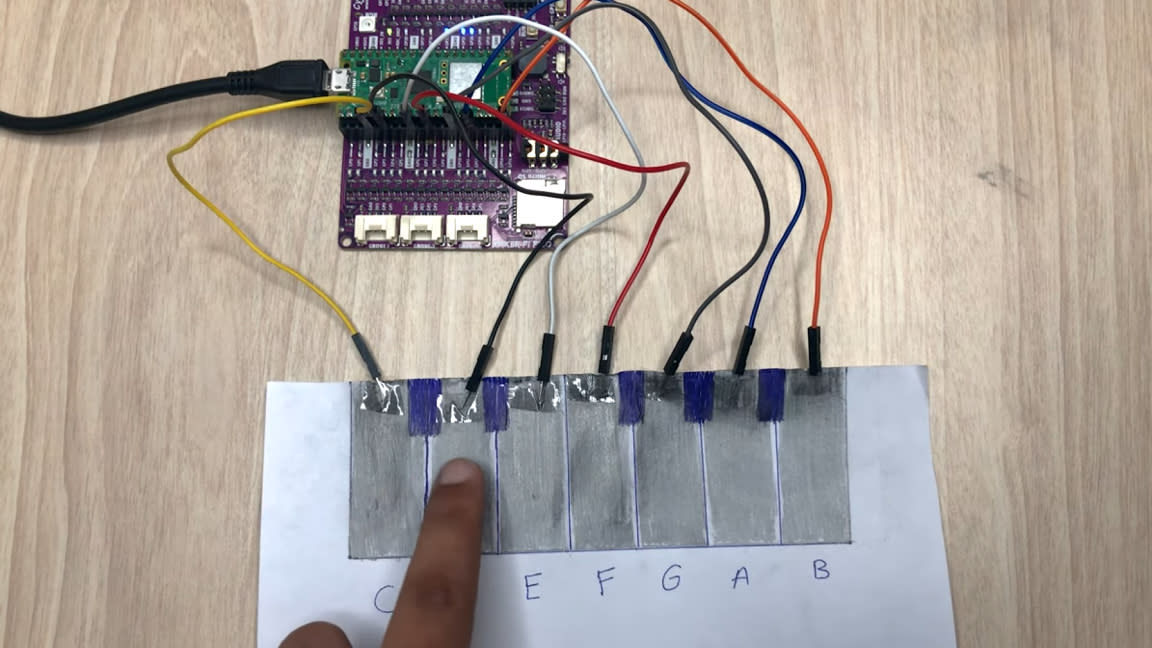
It doesn’t take too much hardware to recreate this project. You’ll need a pencil, a piece of paper and a Pico. Cytron has designed this project to use their Cytron Maker Pi Pico board which enhances the project with built-in LEDs and more that can respond to your paper piano input. We reviewed this board back in 2021 and found it to be quite a handy dev board that’s low on cost and high on functionality.
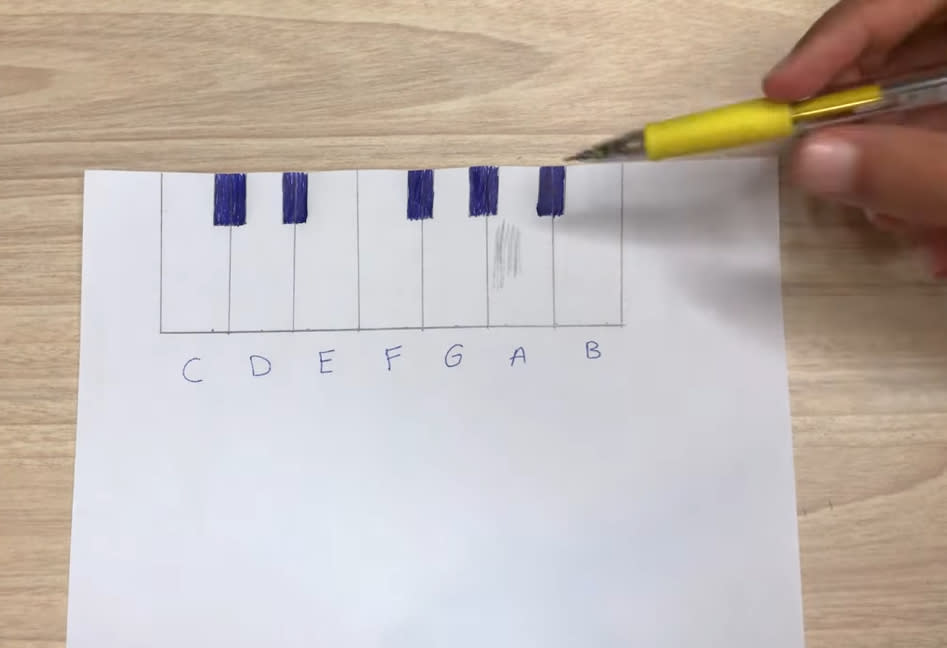
To create the input panel, you’ll need to draw a keyboard. Technically you can draw any shape you like. The idea is to fill in blocks of graphite using the pencil that aren’t touching each other. Wires are then attached to the blocks and connected to GPIO on the Pico. When you touch one of the pencil blocks (or keys), this completes a circuit and activates the GPIO as registered input.
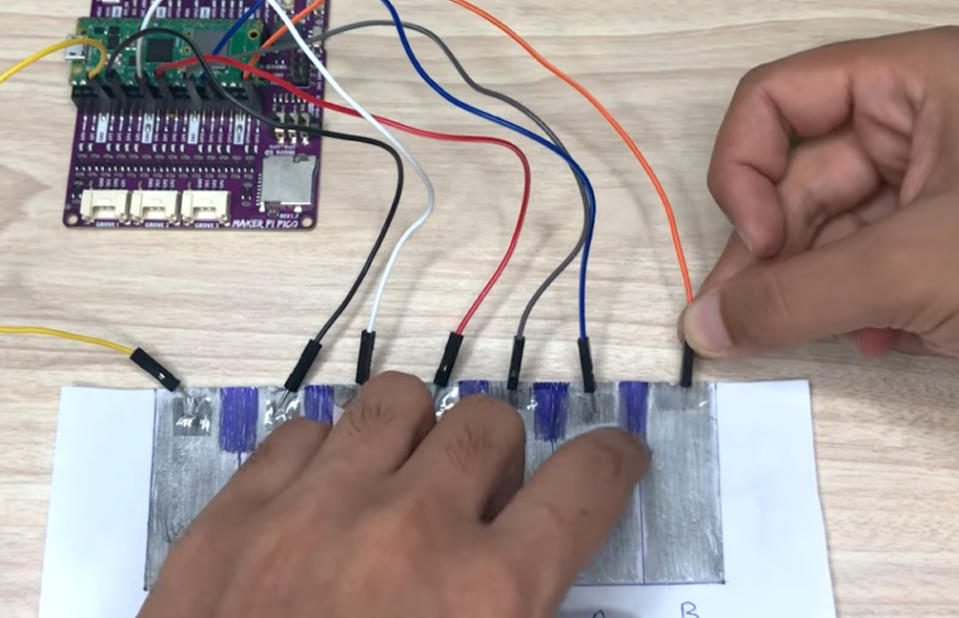
When one of the GPIO pins is activated, a corresponding note will sound using the buzzer. The code for this project was written is Circuit Python and is totally open source for anyone who wants to recreate it at home. You can find instructions for downloading it on the official tutorial video and blog post on the Cytron website.
If you want to recreate this Raspberry Pi project, head over to the Cytron blog post that details everything you need to get started. Be sure to follow them for more cool creations using our favorite SBC and some of their awesome maker boards.

