Gardening: Want to grow some fresh greens this winter? Here's how
For gardeners, January and February can be long months with few options for hands-on gardening activities if we exclude tasks such as ordering seeds and supplies or planning for the upcoming gardening season.
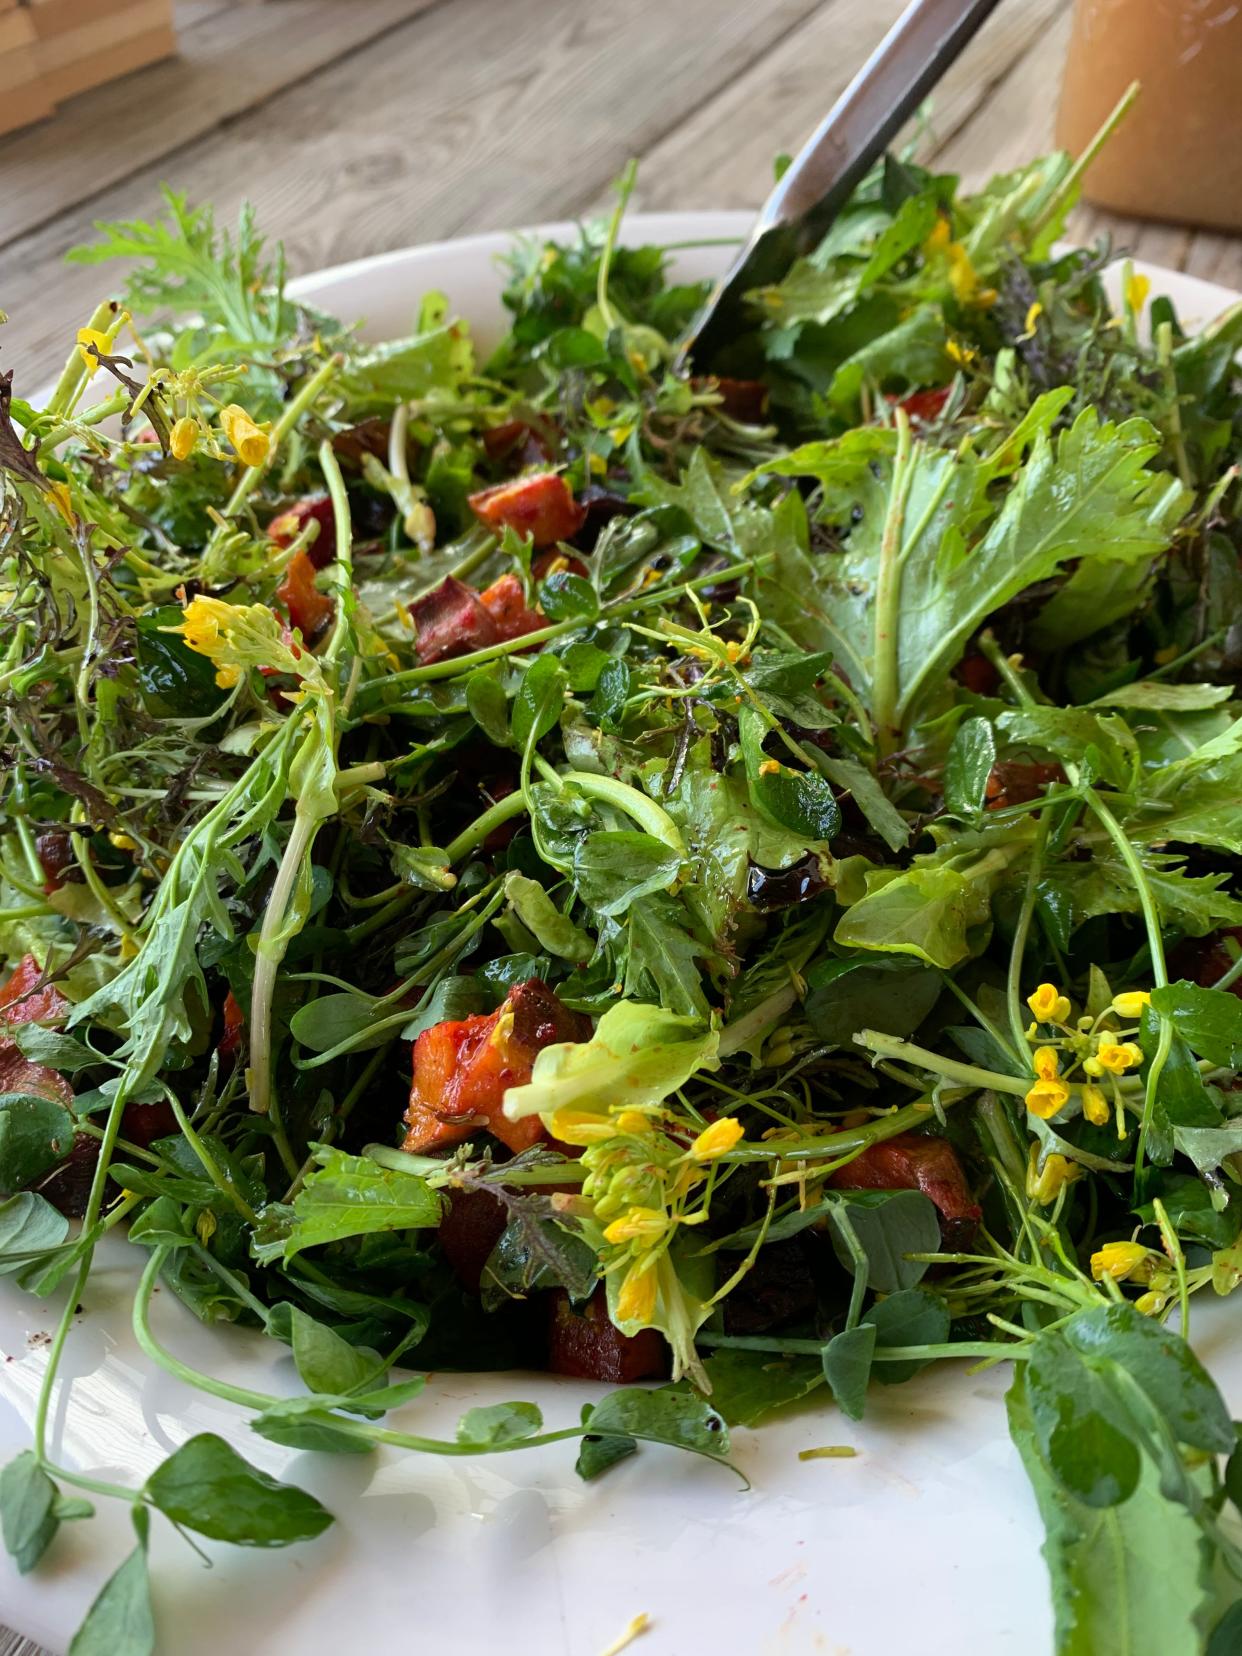
One option for an indoor activity during the winter is to grow microgreens, those tiny delicate greens that add color, texture and flavor to a variety of foods. If you have ordered a salad, sandwich, or even certain soups in any “white tablecloth” restaurant recently, you have likely encountered any number of microgreens atop your meal as an ingredient or garnish.
Microgreens are sometimes confused with sprouts, which are germinated seeds eaten as a complete plant — seed, roots and leaves. Microgreens, however, are edible, immature greens that are harvested soon after germination when plants are just 1-2 inches tall.
Reuse, recycle: How to reduce, reuse and recycle your Christmas decorations
Like mature vegetables, microgreens are nutrient-dense and full of unique flavors and textures. Microgreens are available in local grocery stores and can be relatively expensive, but are simple to grow at home with supplies you may already have on hand.
Which seeds work best to grow microgreens indoors?
Many different salad greens, leafy vegetables, herbs, edible flowers and even some grains can be grown as microgreens.
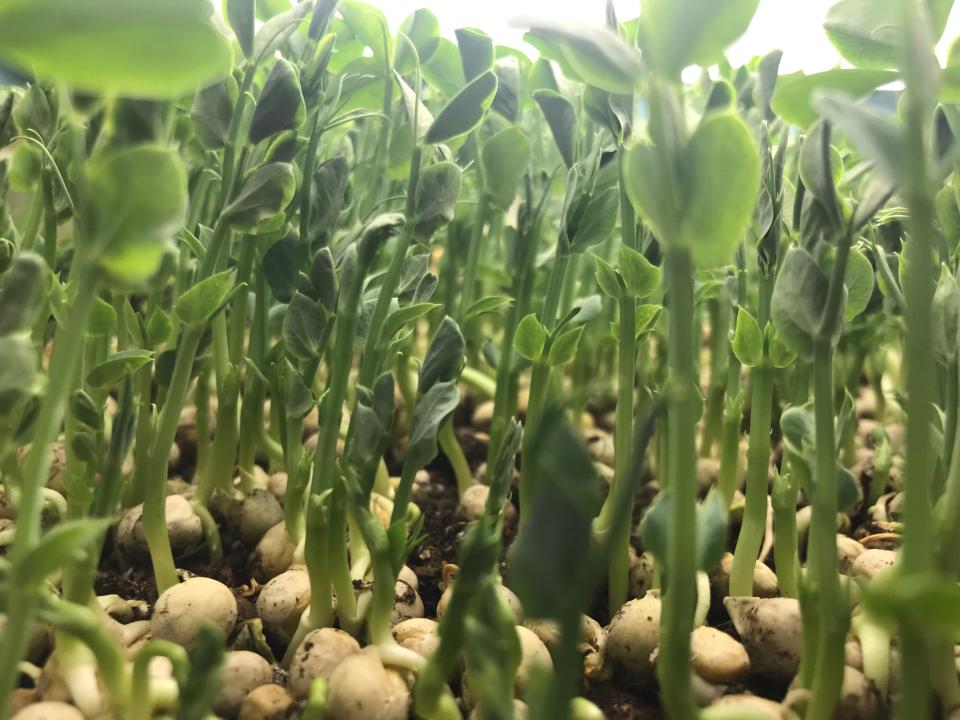
For beginners, some of the easiest crops to grow as microgreens include brassicas such as broccoli, cabbage and cauliflower, as well as mustard, chia, sunflower and buckwheat. Legumes such as peas, beans, alfalfa, lentils and chickpeas also make excellent microgreens. One of my favorite seeds to grow as a microgreen are beets, for their unique color, taste and texture.
You may choose to grow more than one type of seed as a microgreen together in the same container, or grow different types of seeds in different containers and mix the microgreens after harvest. Microgreen seed mixtures, which contain a variety of different seeds with similar growth rates, are available for purchase online.
Houseplants: Gardening: Benefits of indoor plants include improved air quality and work efficiency
Some common vegetable crops such as tomato, pepper, eggplant and potato are not edible at the seedling stage and are not suitable to produce microgreens because they contain toxic alkaloids.

Getting started growing microgreens
After you decide which crops to grow as microgreens and obtain the desired seeds, there are a few simple supplies you will need including planting trays, a misting bottle and growing medium such as peat-based seeding mixture or coconut coir.
Because microgreens do not need a large amount of growing medium, flat seeding trays are better than deeper pots. Plastic takeout food containers are perfect for growing microgreens, but be sure to poke several holes in the bottom of these containers for drainage.
Once you fill the containers with planting medium, set the containers in a pan of water in order to wet the medium from the bottom. Once the medium is thoroughly moist, remove from the water and let the excess moisture drain.
Gardening: Want to improve soil health? Try planting cover crops
Unlike planting seeds beneath the soil in a traditional vegetable garden, seeds for microgreen production should be placed on top of the planting medium, and not covered with planting medium. Larger seeds such as peas and those with hard shells, such as sunflower, should be soaked in water overnight before seeding to improve germination.
Warm, sunny windowsills make perfect locations to grow microgreens, especially if the window faces south. Microgreens also grow well under grow lights in other locations of the house.

Managing and harvesting microgreens
After seeding, apply some water occasionally using a spray bottle just to keep the seeds moist during the germination (growing shoots) process. To facilitate the germination and keep a good moisture level, keep the seeded trays in a dark environment for a few days. This can be easily achieved by covering the trays with something that can block the sunlight.
Most seeds will germinate in 3 to 7 days and will be ready for harvest in 2 to 3 weeks.
After germination, keep the medium moist by watering from the bottom by again placing the container in a pan of water.
Succulents: Gardening: Succulents offer variety and can be used indoors and outdoors
Microgreens should be harvested with scissors or a sharp knife immediately before you plan to use them, as microgreens have a short shelf life after harvesting.
Once you grow your first microgreens, you will likely be hooked and ready to try growing different types of crops as microgreens.
Mike Hogan is an associate professor at Ohio State University and an educator at the OSU Extension.
This article originally appeared on The Columbus Dispatch: Microgreens: Indoor winter crop healthy harvest to keep gardeners busy

