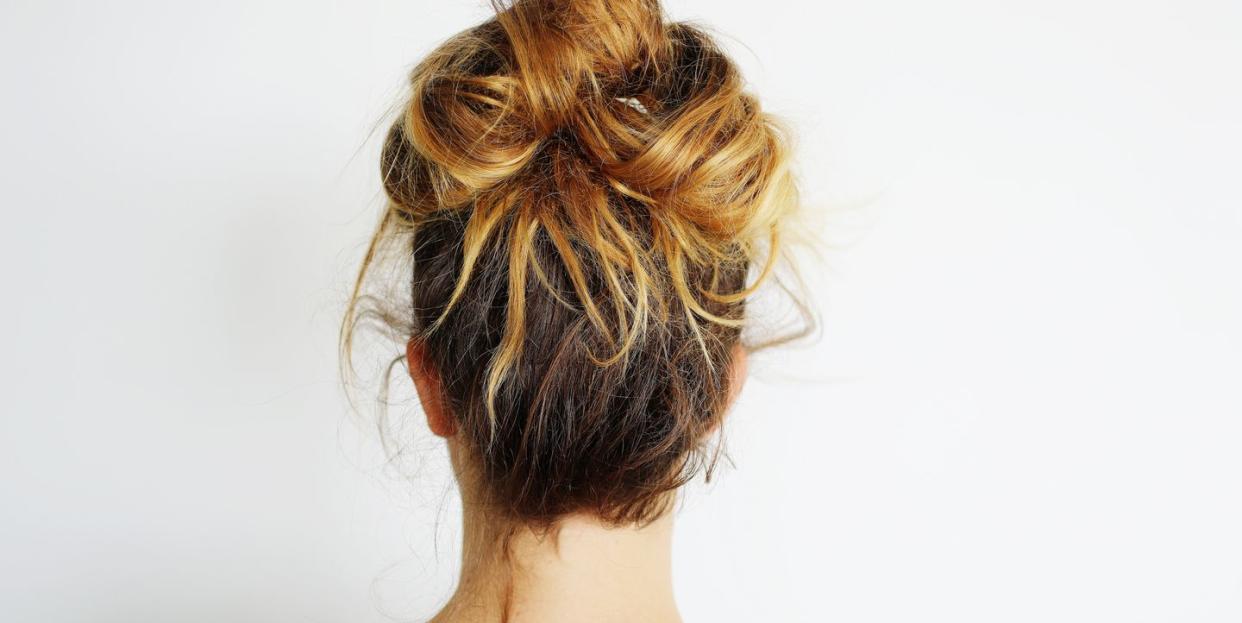
How to Get a Perfect Messy Bun Based On Your Hair Length

As the name implies, a messy bun should be one of the easiest hairstyles to master. However, if you’ve ever attempted one, you know that creating a perfectly undone 'do can be hit or miss (and unfortunately, if you’re anything like me, the majority of your best buns tend to happen when you’re washing your face at night—not when you want to wear one out). Since relying on sheer luck doesn’t guarantee a good hair day, it’s important to have a plan of attack. For this very reason, look no further than this expert advice from Breno Miranda, a stylist at mizu salon, on the bun basics:
A post shared by justine marjan (@justinemarjan) on Oct 25, 2019 at 8:23am PDT
Step 1: Prep your hair to make it last.
Every great bun needs the proper foundation and for a messy bun, that's texture. Which is why if you have curly or wavy strands, you're already set up for success. Dealing with pin straight hair? Fake some texture by adding in waves with a curling iron (this can be quick and sporadic since you'll be throwing it up anyways). Whether you have textured or straight hair, you'll want to finish with a texturizing spray all over to add fullness and grit that will in turn help fill out your bun and keep it in place.
Step 3: Build your bun with pins or bands.
“Loosely grab hair into a ponytail, then twist a few times before securing it in place with the hair accessory of your choice,” advises Miranda. One of his favorite ways to complete a messy bun is by using oversized silver or gold hair pins, since they create a cool, yet unexpected finish. If you feel more comfortable using a hair tie, avoid pulling your hair all the way through the band: “Just pull it halfway then secure it at the base with a bobby pin,” he explains.
Step 4: Get inspiration from YouTube.
Just like nailing a crisp cat-eye or an eye-catching braid, you need to hone your bun-making technique. A good way to do this is by watching YouTubers who have a hair type and length similar to your own. Here are some of our favorite topknot tutorials based off short, medium, and long hair in case you need a visual aid in order to make the messy bun of your dreams:
If you have short hair:
Best Takeaway Tip: One of the biggest struggles with shorter hair is figuring out what to do with the strands along the back of the neck that can’t reach the main bun. In this video, vlogger Drakes Nest shows off a clever idea: Gather the remaining hair in the back, brush it out so it’s as smooth as possible, and then tie a small clear hair elastic to the very end of that section. Then, simply tuck the elastic under your other hair to hide it before pinning two to three bobbies downward for security.
If you have medium hair:
Best Takeaway Tip: Instead of making a bun right off the bat, tie mid length strands into a ponytail first. Then, wrap the body of the pony around its base and secure it in place with a second hair tie like MakeUpByPang demonstrates.
If you have long hair:
Best Takeaway Tip: For super long hair, it can be distracting if you use too many bobby pins, so follow Annies Forget Me Knots’s advice and skip them all together. Wrap a hair tie once around your hair and twist, but before you loop it over again, create a donut shape with the hair in the ponytail. Once strands form a donut, tie the elastic over top of it twice. Tuck any loose ends underneath the front of the elastic, disguising them within the bun.
You Might Also Like

