How to Make Your Own Compost

GETTY IMAGES
TABLE OF CONTENTS
On This Page
What Is Composting?
How to Start Composting
Types of Composters
The next time you're whipping up a shaved carrot, asparagus, and apple salad, you may not want to throw those carrot tops, apple peels, and asparagus stems in the trash. Instead, set them aside for composting.
Thanks to the magic of microorganisms, your food scraps can magically transform from trash into nutrient-rich food for soil with just a few easy steps. Not only is the resulting compost a huge boon for your garden or houseplants, but it will also keep food scraps out of landfills—that's what we call a win-win situation.
GETTY IMAGES
What Is Composting?
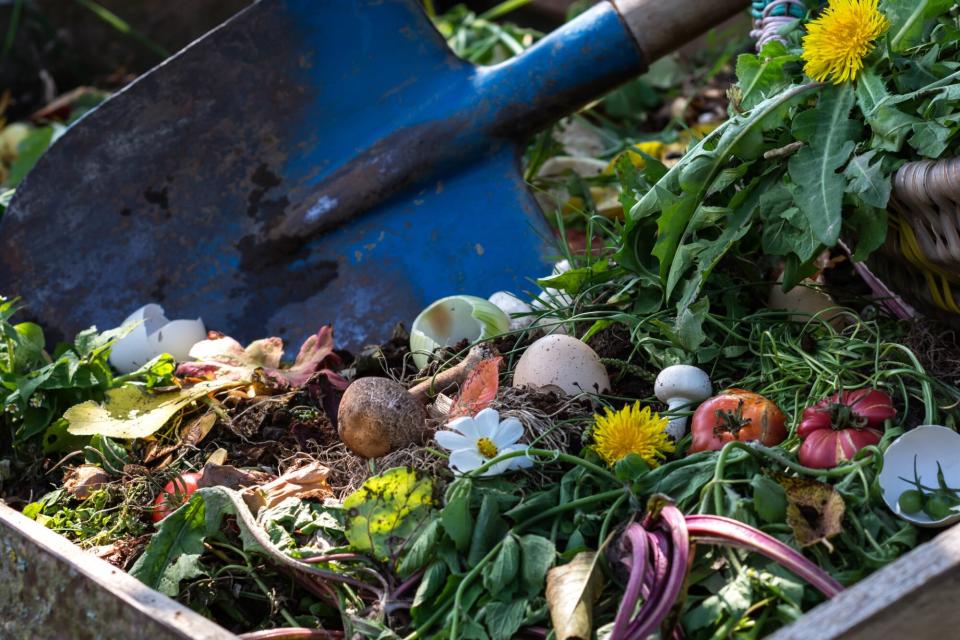
A pile of leaves, branches, and other garden trimmings will eventually decompose in a process called slow, or cold, composting. With hot composting—which occurs when you create optimum conditions for the organisms responsible for decay by giving them the right mixture of air, water, and carbon- and nitrogen-rich nutrients—the pile heats up quickly and delivers finished compost in just a few months.
Composting is a natural process that converts raw organic materials into a valuable soil conditioner. In addition to being good for your garden, composting lightens the load at the landfill, as you recycle garden and kitchen debris at home rather than consign it to the dump.
GETTY IMAGES
How to Start Composting
You can make compost in a freestanding pile or use an enclosure, such as those shown below. Regardless of the methods, the fundamentals of composting are the same.
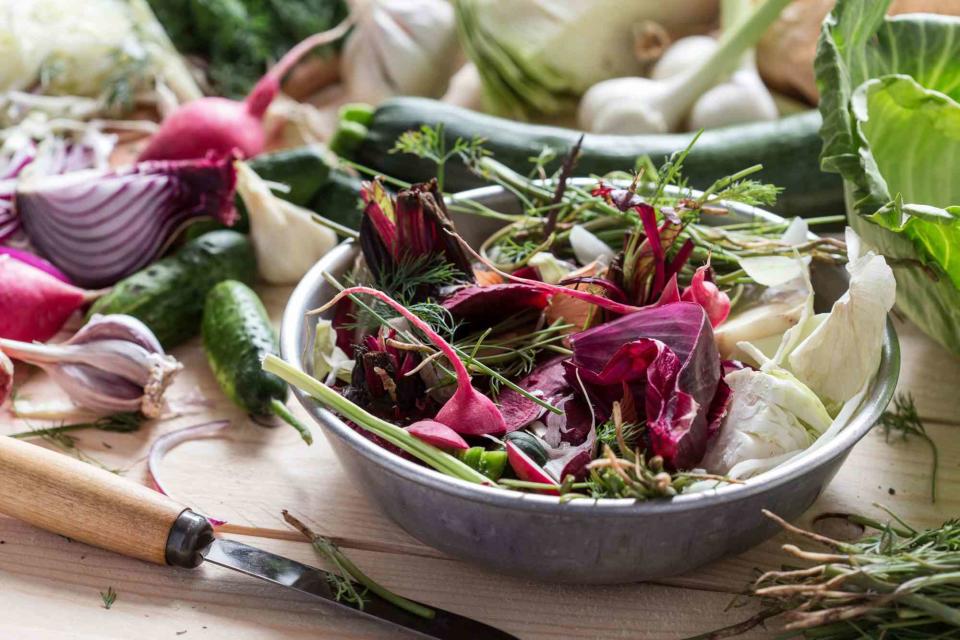
Gather and Prepare Ingredients
You'll need approximately twice as much (by volume) brown matter as green matter. Brown matter (dry leaves, hay, sawdust, wood chips, woody prunings) is high in carbon. Green matter (grass clippings, fruit and vegetable scraps, coffee grounds) is high in nitrogen. Avoid badly diseased or insect-infested plants, meat, bones, weeds with seeds, and perennial weeds that might survive composting. Shred or chop large, rough materials into smaller pieces to speed the composting process.
While you're cooking in the kitchen, collect all your fruit and vegetable scraps, from banana peels to asparagus stalks to wilted lettuce. Even eggshells, tea bags, and coffee grounds can be composted. You can store the food scraps in a bag in your freezer or the back of the fridge or in a container with a tight-fitting lid that goes on the countertop or under the sink. That's an easy way to avoid odors and make sure your scraps don't attract insects.
In addition to food scraps, cut flowers, grass clippings, dried leaves and twigs, plant trimmings, weeds that haven't gone to seed, corn stalks, corrugated cardboard, coffee filters, and shredded newspapers can head to the compost heap, too.
There are some things that can't go in the compost pile, though. No-nos include meat and fish, bones, dairy products, oil, butter, shortening, and food cooked with oil, dairy, and meat. You can compost pet waste, too, but it should be done separately. The USDA has a thorough guide on the pet waste composting process.
Find the Perfect Spot
Find a small corner of your garden for a compost pile. You'll need about three square feet of space ideally with a little shade so it doesn't dry out too quickly and decent drainage, so it doesn't stay too wet either. Alternatively, pick up a closed composting bin online or at your local hardware or gardening store. Use chicken wire or fencing to protect your bin from animals such as raccoons (or even the neighbor's dog).
Build the Pile
Put down a 4- to 8-inch layer of brown material, then add a layer of green material, about 2–4 inches deep (layers of grass clippings should be only 2 inches deep). Add another layer of brown material, and sprinkle the pile with water. Mix these first three layers with a spading fork. Continue adding layers, watering, and mixing. To make sure your compost is on the dry side and not a damp swamp, be sure to always have more browns than greens in the mix.
Turn the Pile
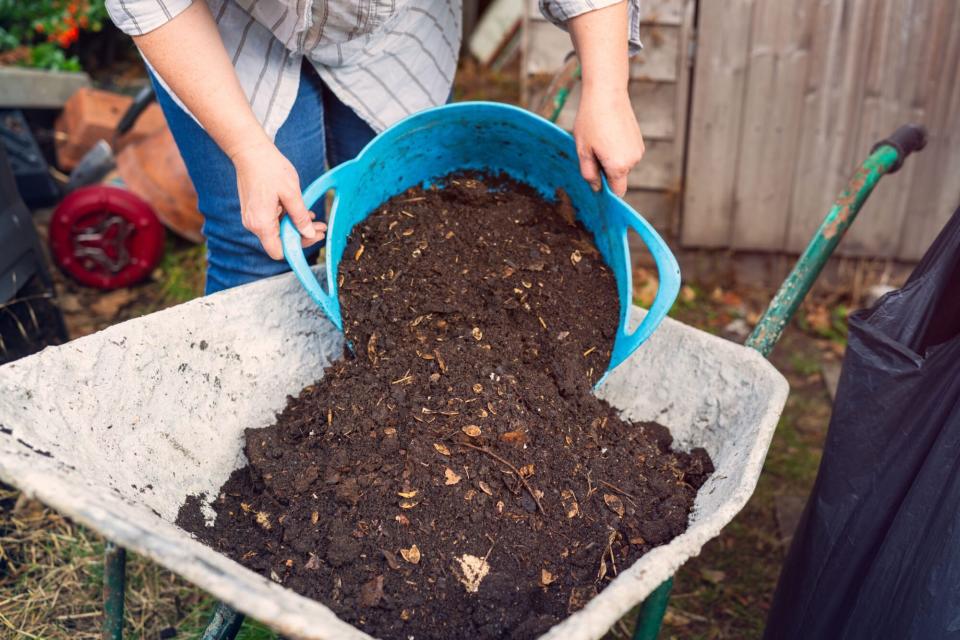
Household scraps turn in to compost with the help of carbon and nitrogen-loving microorganisms. To help them do their job, you need to regularly turn over your compost. This lets in air that is important for the hard work those microorganisms are doing turning scraps into good, nutrient-rich soil. Using a spading fork or pitchfork, restack the pile, redistributing it so that the materials originally on the outside are moved to the pile's center, where they'll be exposed to higher heat. If necessary, add water; the pile should be as moist as a wrung-out sponge. Adding an occasional shovelful of aged manure or finished compost gives the pile a dose of extra nutrients and microbes and speeds decomposition. Turn the pile weekly, if possible, until it is no longer generating internal heat and most of the materials have decomposed.
In warmer months, you may find yourself with some beautiful compost in two months, in colder months it could take up to six for all the compost components to break down. Typically, the more compost you have, the faster the whole process will go. So how do you know if it's working? Well, if your compost smells bad, your mix of browns and greens probably needs a little adjusting. Smelly compost usually means it's decomposing instead of composting, so add some extra brown material to help it dry out. Good compost smells earthy, not trashy. When your compost is a lush brown and is fairly uniform in color and texture, it's ready for use.
Tip: If you don't need much compost for your smaller garden but still want to help local gardeners and the planet, many farmers' markets and community gardens collect food scraps. Some cities and counties do curbside compost pick-up, too. Contact your local government or visit CompostNow's site, which lists participating services around the country, to learn more.
GETTY IMAGES
Types of Composters
You don't need an enclosure for your compost pile but many gardeners like using one to speed the composting process and keep mess contained. Here are a few composters you can make or buy:
Wire Cylinder Composter: To make your own simple compost containment system, bend a length of wire fencing into a cylinder about 3 or 4 ft. tall and 4 ft. in diameter. Secure the wire with lengths of wire, twine or zip ties. To turn the pile, lift the cylinder and move it to one side, then fork the materials back into it. A wire cylinder composter is a super cost-effective way to start composting.
Three-Bin Composting System: In this type of system, the left bin holds new green and brown material; the center one contains partly decomposed material; the right bin holds nearly finished or finished compost. Turn the material in each bin weekly, moving decomposed material to the right. You can either buy a three-compartment system or make your own using inexpensive lumber or pallets.
Static Bin Continuous Composter: Among the types of commercial available compost systems the static bin composter. They typically have a lid on the top where you put all your organic material and then a hatch or door at the bottom that you can open and scoop out composted material. You don't need to turn the material in this type of composter, but the process can take a bit longer. Occasional aerating with a spading fork can speed things along.
Tumbling Composter: These rotating drum-style composters make it easy to mix your waste and introduce air that improves the composting process. These composters are typically on a stand which makes them easy to access without bending over. The downside is that because it's a closed system, beneficial microbes and earthworms can't help the process along. You also can't add materials throughout the composting process and they have somewhat limited capacity.

