Just Learning How to Ride? Use This Guide to Polish Your Take Off

Learning how to ride a bike on your own isn’t easy. You’ll want to make sure you cover the basics, like how to balance, brake, mount, and dismount. If you’re self taught, or returning to the sport after a long break, then you might just need to brush up on these skills—particularly how to get on and take off on your bike.
This quick, easy guide can help you with a smooth execution, getting you one step closer to your riding goals.
How to Take Off on a Bike With Flat Pedals
These tips will help you learn how to take off on a bike with flat pedals, according to Jeff Crume, cycling coach who teaches beginners to learn to ride at Wenzel Coaching.

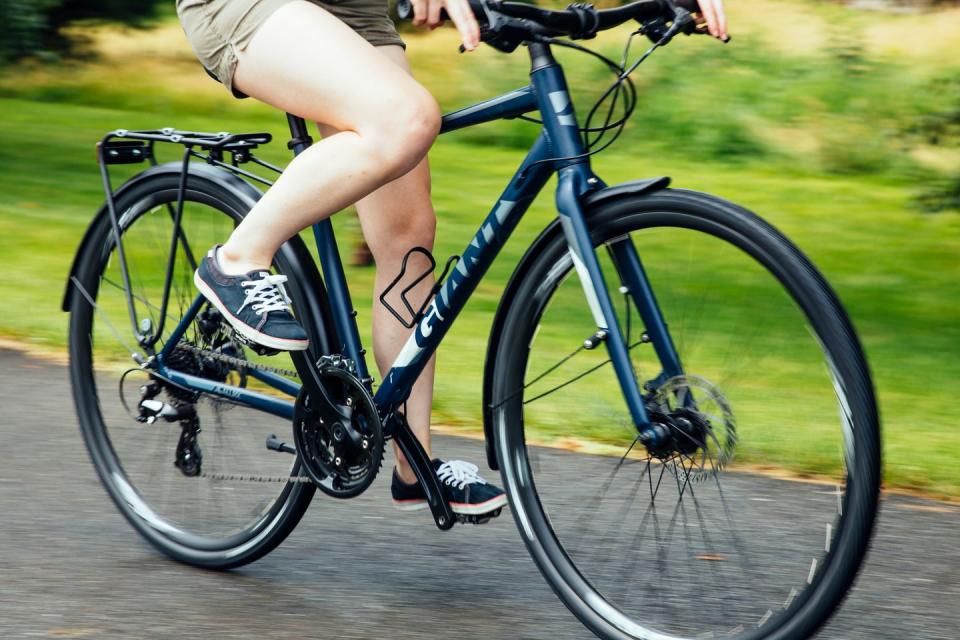
Slightly lean the bike to the left, and bring your right leg over the frame to place your right foot on the pedal. Imagine the crank (or stem that holds your pedals) is a clock, and place the right pedal (or left, if that side feels more comfortable) in the 2 o’clock position (if left, 10 o’clock position). This is the launch position.
With your right foot in the launch position, and left foot planted on the ground, stand up on the pedal and shift weight to the right side—just as you would while walking up the steps—pressing down and forward. This action will thrust the bike forward.
As you press down and forward with the right leg, raise your left leg, so your foot meets the left pedal at the 12 o’clock position.
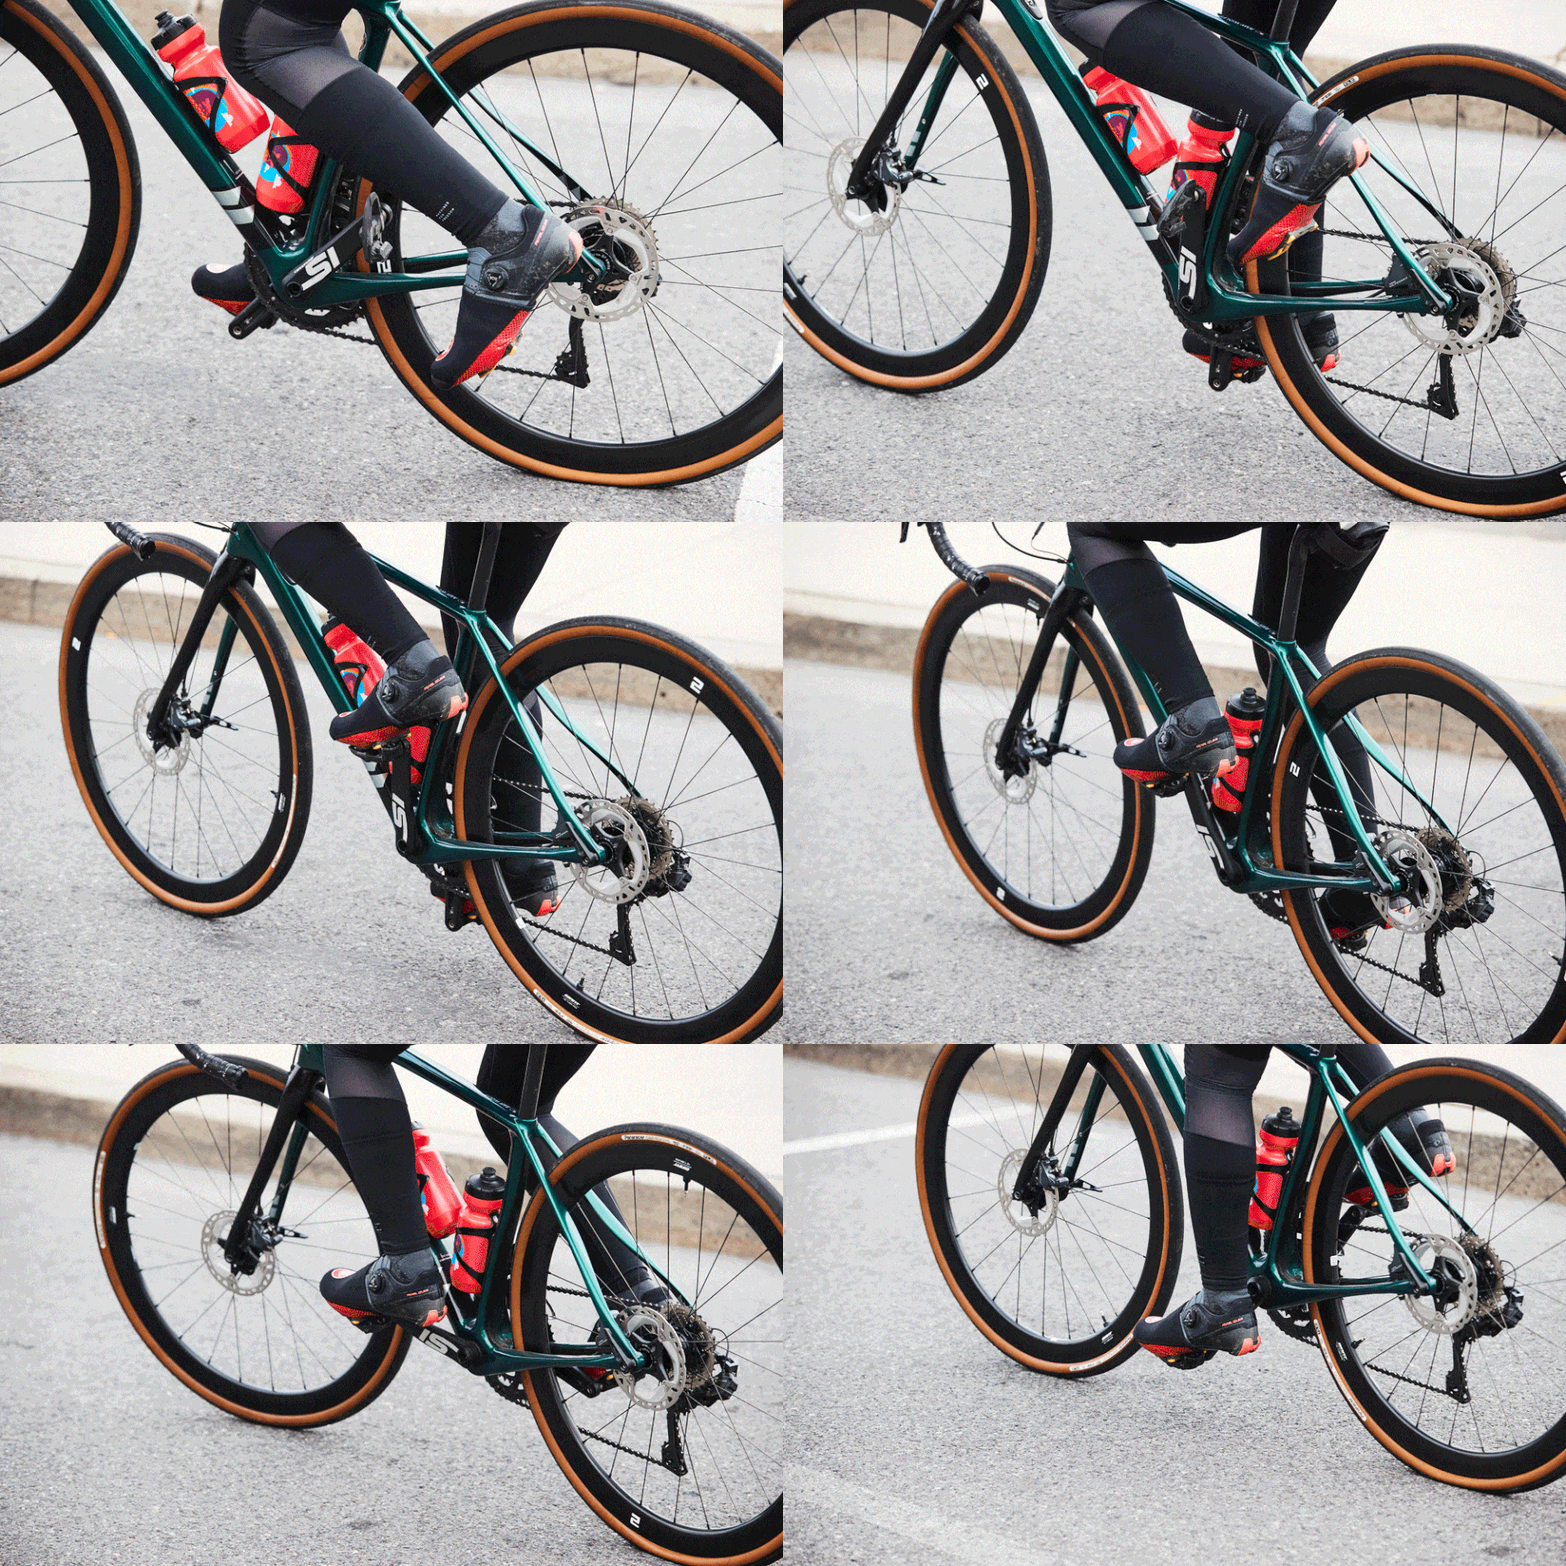
Then drive the left leg down to the 6 o’clock position as the right leg comes up to the 12 o’clock position. Just like that, you’re ready to coast into your smooth pedal stroke!
Keep in mind, balance is key for taking off on a bike, so if you don’t know how to balance on a bike, Crume suggests practicing thrusting exercises—sitting on the bike and pushing it forward with both feet on the ground—before completing the steps above. Also, practice the process above a few times before you introduce additional pedal strokes so you can improve your balance and confidence, he adds.
“Working on your core balance is critically important to you being successful on a bike—the more core strength you have, the better rider you’re going to be,” Crume says. That core strength will come in handy when trying to balance on the bike.
If you’re interested in learning to ride with clipless pedals, focus on mastering how to take off on flat pedals first, before upgrading. This way you know how to maintain your balance, and it’s easier to manage being clipped in without falling over, Crume says.
When you’re ready to ride clipless, read on for detailed instructions.
How to Take Off on a Bike With Cage or Clipless Pedals
Clipless pedals are known for improving your cycling efficiency and power as you not only push down, but also pull up on the pedals. If you decide to make the switch, then you might be lucky to unlock some serious performance upgrades. But before you take off for the races, you have to master the art of clipping in and taking off on the bike.
If you used clipless pedals for your indoor workouts, then you’re no stranger to the process—and it’s a good idea to practice indoors before you head outside. However, clipping in for the first time outdoors is a bit more complicated and some riders fall over at first (no shame, it happens to the best of us!).
Follow these steps to take off while clipped in, so you can avoid failing over, according to Greg Waggoner, B.S. in exercise science, cycling coach at Team Wilpers Coaching, and former pro mountain bike rider.

Consider practicing the steps below, in a safe environment like a park, paved bike trail, or sidewalk, if you’re a road cyclist. If you’re a mountain biker, find a flat grassy area in the park or woods, Waggoner says. You can also use these instructions to get on a bike with cage pedals.
Imagine the crank of your bike is a clock, and place the right pedal (or left, if that’s more comfortable for you) to the 6 o’clock position and straddle the bike. To clip in, slide right toe toward the front of the pedal and shift weight back so you hear a click—this is how you’ll know you’re clipped in. Then, reverse the pedal to bring your foot to the 2 o’clock launch position (or 10 o’clock position if left foot).
Push off with the right leg by driving the right pedal to the 6 o’clock position. As the left pedal reaches the 12 o’clock position, bend the left leg to meet the pedal.
Slide the left toe over the pedal to hook in the front of your cleat. Then drive the pedal to the 6 o’clock position as you lock in. Feel free to give a quick look, if need be and don’t worry if it takes you a couple revolutions to fully clip in.
Sit on the saddle and continue to pedal.
If you’re riding with cage pedals, follow the same steps, but be mindful as it might take one to two strokes to get your left foot in the cage.
Another reason to master the take off, besides a smooth start: Your ability to clip in can make or break your finish time if you want to race one day. “If you miss out on that first downhill stroke, it can leave you seconds behind, but that could be as many as 10 to 15 places behind where you would want to be,” Waggoner says. Even if you’re not racing but want to improve your ride times, a smooth take off can help you get there.
Also, don’t forget to practice your dismount. If you’re just learning how to ride with clipless pedals, it is equally important to learn how to get off your bike safely. Here’s how Waggoner suggests you approach the dismount:
If using clipless or cage pedals, pick which foot you’d like to release first before stopping. (Though if it’s more comfortable for you, you can release both.)
Unclip your foot by rotating your ankle away from the bike—do this before you come to a stop.
If you’re unclipping with your left leg, your right leg should be about in the 6 o’clock position. Step off with your left leg as reach the stop.
Lastly, be aware of your surroundings and avoid leaning on moving objects, like cars, when coming to a stop. Check the ground for any objects, like rocks or debris, that might cause you to slip and fall, Waggoner says. When coming to a stop on a downhill, make sure you brake evenly, and avoid pushing down too hard on the front brakes because you can fall forward, he adds.
You Might Also Like

