How to Install an Extra SSD in a PlayStation 5

Advertiser Disclosure: At Slickdeals, we work hard to find the best deals. Some products in our articles are from partners who may provide us with compensation, but this doesn’t change our opinions.
Editor’s note: This how-to guide was made possible with support from StockX and Corsair.
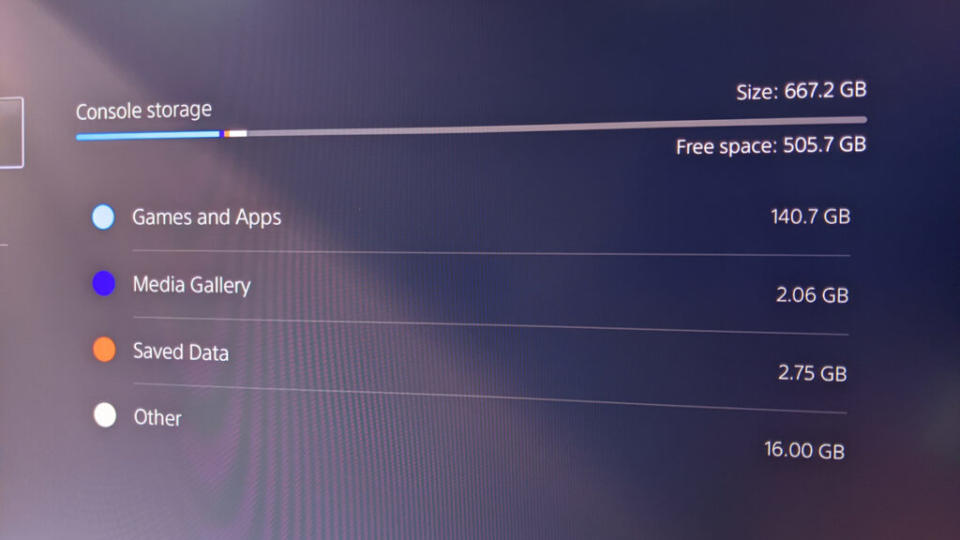
With many modern videogames requiring close to 100GB of storage space, the built-in SSD of your PlayStation 5 will reach capacity very quickly, especially if you have the PlayStation 5 Digital Edition.
And even if you have the PS5 disc version, buying all-digital games still has its benefits, like faster loading times and not needing to physically swap discs to play different games. But with about 667GB of default usable storage on the PlayStation 5, it means you can only have a handful of games simultaneously installed at any given time.
In the following step-by-step guide, I’ll show you how to install an additional high-speed SSD (solid state drive) using my own PlayStation 5 console, which I recently scored on StockX because I was tired of waiting for retail stores to finally have inventory, nearly one and a half years after its release. Please don’t judge me: my patience has run out, and Sony’s waitlist has failed me. And with prices falling steadily on StockX, I was willing to pay a premium to change my status from “not having a PS5” to “have a PS5”.
Let’s get started with this easy storage expansion method which can give you up to an extra 4TB of space to host your library of games, depending on your budget.
1. Get Your SSD Ready for Installation
If you already have your SSD in hand, prepare it for installation by making sure the heatsink (required) is attached properly. You’ll need to purchase a heatsink and heat transfer sheet if these didn’t come with your SSD.
If you’re still shopping for the best SSD to use in a PlayStation 5, I’ll share my recommendations at the end of this guide. But at a minimum, the SSD should meet Sony’s performance and size requirements, detailed below.
Interface | PCI-Express Gen4x4 supported M.2 NVMe SSD |
Storage | 250GB – 4TB |
Supported sizes | 2230, 2242, 2260, 2280, 22110 |
Size including heat-sink | Width: up to 25 mm |
Sequential read speed | 5,500MB/s or faster is recommended |
Socket type | Socket 3 (Key M) |

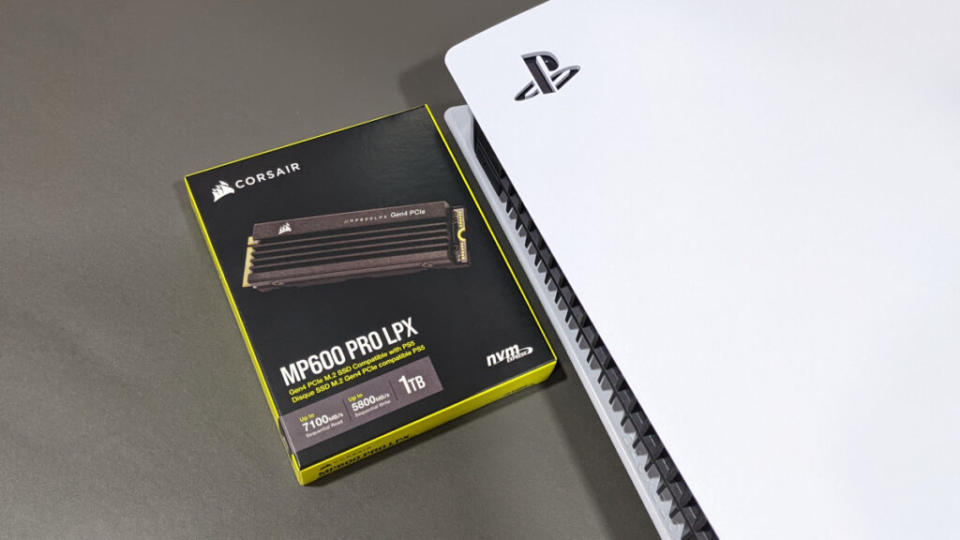
The SSD that I chose is Corsair’s MP600 Pro LPX with a 1TB capacity. It has a built-in aluminum heat-spreader, is PS5 compatible with up to 7,100MB/sec read, and has a good balance of price per capacity and speed. The 1TB version currently retails for $159.99.
2. Get Your PlayStation 5 Ready for SSD Expansion
Preparing to open your precious PS5 is simple. Make sure you have a large enough flat surface to work on and lay down a towel to protect the finish of the console. Have a small Phillips head screwdriver handy, and maybe tweezers if you have clumsy fingers like me.
Lastly, manually power off the PS5 console through the power setting menu on the home screen (don’t put it to sleep) before you unplug it.
3. Remove the PS5’s Side Panel
This part can be a little tricky the first time, so please proceed with patience and care.
Remove the base stand from the PlayStation 5 and lay the console flat with the PS logo facing down and the power button pointing away from you.
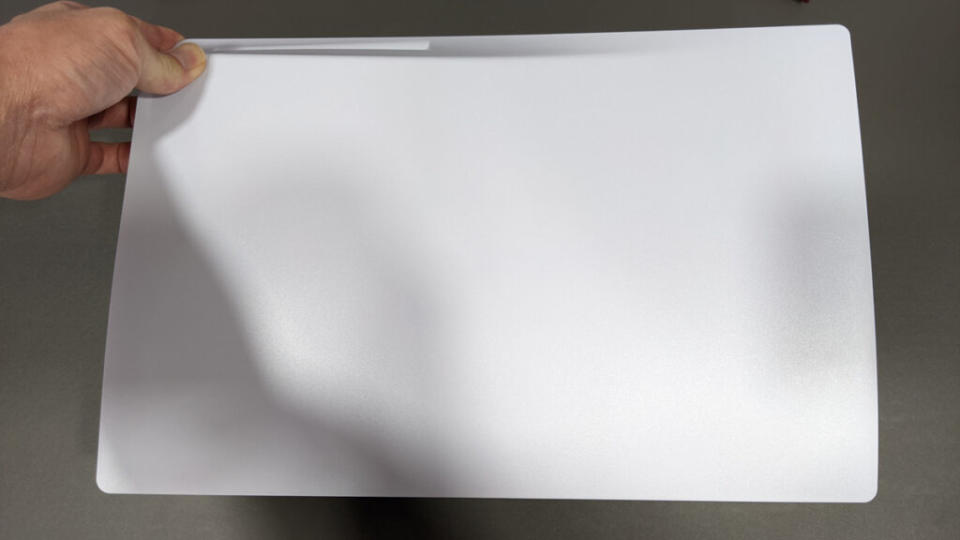
Place your left thumb on the upper-left corner of the console cover and bring your fingers down and around as if you’re about to deal a playing card. Grip the lower-right corner of the console cover with your right hand and gently start sliding your fingers between the console cover and the body of the PS5. This should cause the corner of the console cover to start rising gently. As you’re doing this, apply gentle pressure towards the left, in an attempt to slide the cover off. If done correctly, the cover should release with a leftwards movement.
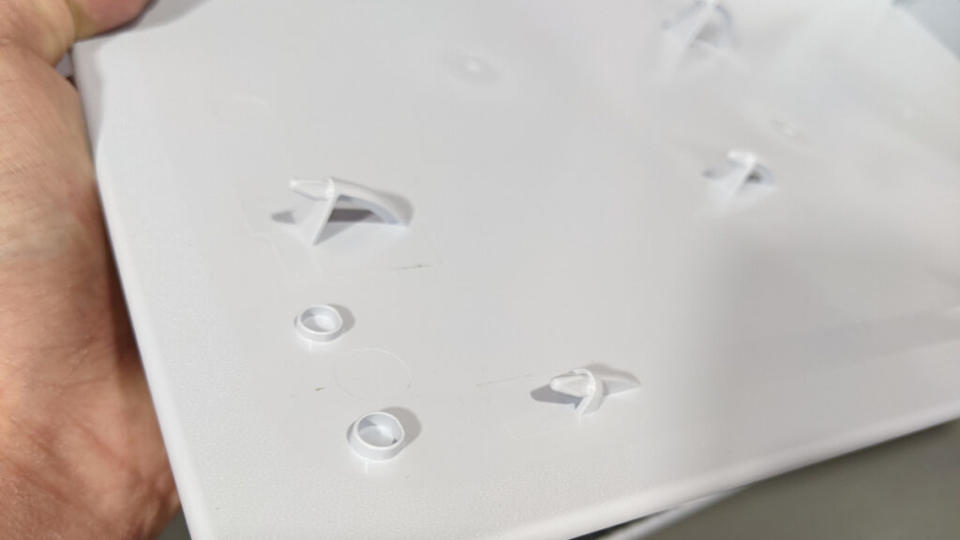
Here’s a closer look at the cover’s attachment system. Notice that you only need to overcome a few millimeters of height to make sure the circular tabs come out of the indentions that hold the cover in place. Don’t pull up with too much force — it’s why I recommend squeezing your fingers in the gap to do the lifting.
This is what you should be looking at with the console cover removed:

4. Remove the Expansion SSD Slot Cover

Using your Phillips screwdriver, remove the single screw holding the expansion slot cover in place. Then remove the slot cover by lifting up from where the screw was. Place both of these items to the side for now.
5. Configure the SSD Spacer
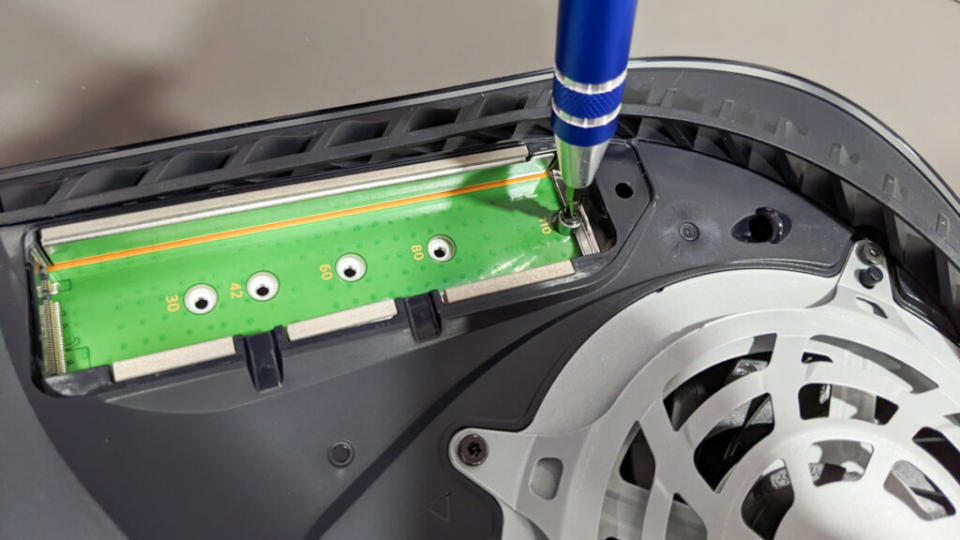
Since the PlayStation 5 can accommodate a variety of SSD form factors, you’ll need to move the space to the appropriate location to support your specific SSD. Remove the tiny screw and relocate the spacer to the groove that matches the overall length of your SSD. This is where tweezers might come in handy.
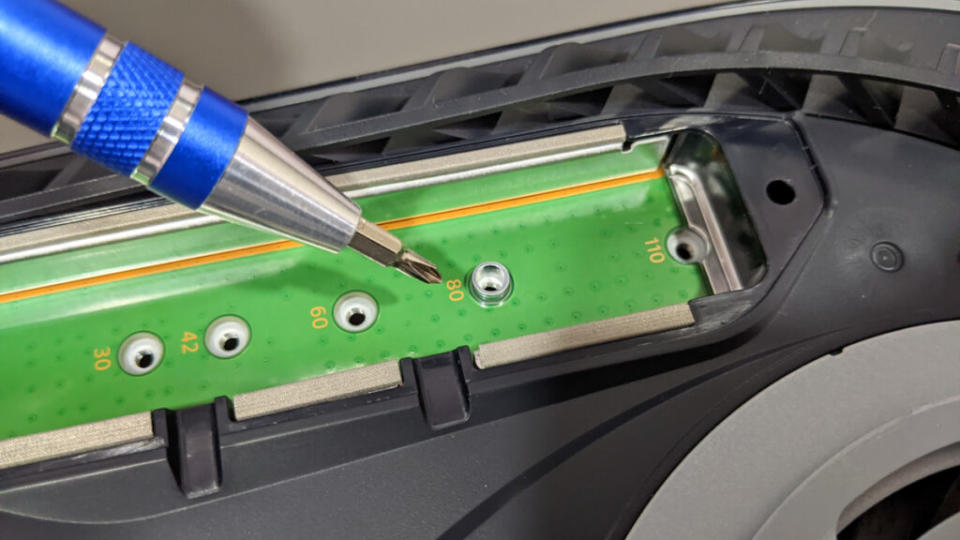
My Corsair MP600 Pro LPX is a 2280 form factor, so I moved the spacer to the location labeled “80”. Place the tiny securing screw to the side for now.
6. Insert the SSD into the Slot/Connector
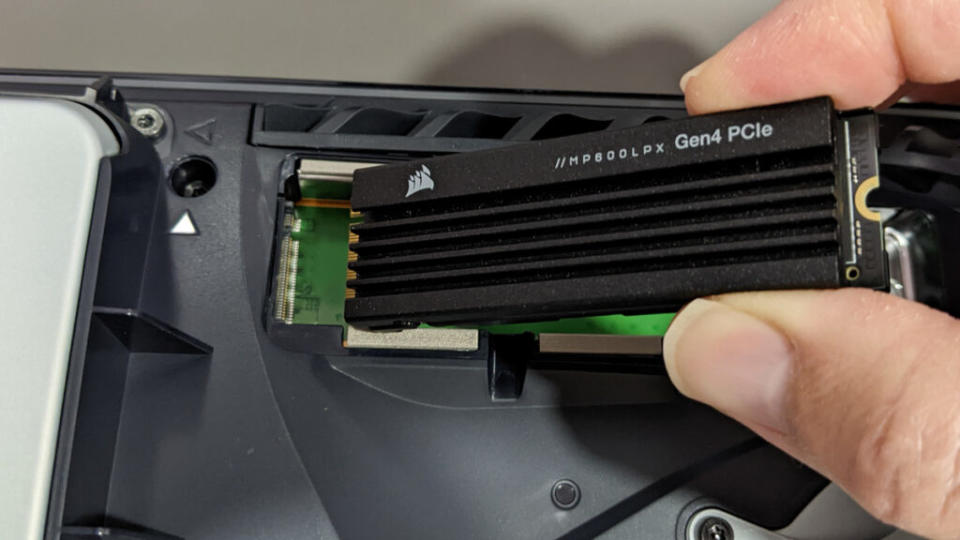
Align the notch of the SSD with the PlayStation 5’s expansion connector — if you’re following along and haven’t moved the PS5, the connector will be on the left side. Insert the SSD from a diagonally upward position, taking note that the connection point is a few millimeters raised from the floor of the slot space. Press gently to ensure the SSD is fully inserted into the connector.

At this point, the SSD should be standing diagonally on its own. Gently press down on the raised side and secure it on the spacer with the tiny screw we set aside earlier.

Re-attach the expansion slot cover (from Step 4) and fasten the screw. Make sure the slot cover is not hitting any part of the SSD. If it is, you’ll need to review the size of the SSD and/or heatsink.
7. Re-attach the Console Cover
Perform the reverse of when you removed the cover. Start with the cover about an inch to the left of the PS5 and let gravity bring the cover hooks into their appropriate grooves. Keep a gentle downwards pressure as you slide the cover to the right. You’ll hear a click when the cover is secured in place.
Re-install the console base and connect the appropriate power cord and cables.
8. Format Your New SSD
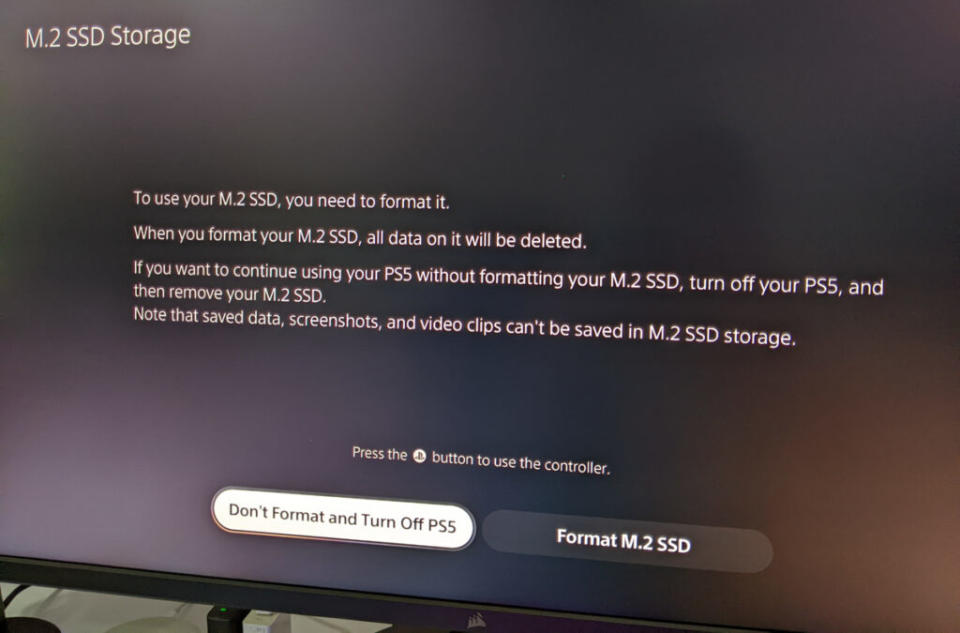
When you power on the PlayStation 5 after installing an SSD, a guide will appear asking to format the SSD for initial use. You must format the SSD otherwise it will not be usable.
Follow the on-screen instructions — it should only take a few seconds to format the SSD.
9. Go Forth and Install All Your PlayStation Games!

Congratulations! You’ve successfully expanded the storage of your PlayStation 5 console! If you chose an SSD that meets Sony’s minimum performance requirements, everything will be just as fast as Sony intended, and you won’t notice a difference between games installed on either drive.
To change the location of where games are installed go to the home screen and select Settings > Storage > Installation Location.
The Best SSDs for PlayStation 5
When it comes to choosing the best SSD for the PlayStation 5, it really boils down to meeting Sony’s recommended specs and buying the biggest capacity that you can afford. While the process to install an SSD is easy, it’s best if we only have to do it one time.
Sony also requires that a heatsink accompany the SSD, so with that in mind, here are my picks for the best internal SSDs for PlayStation 5.
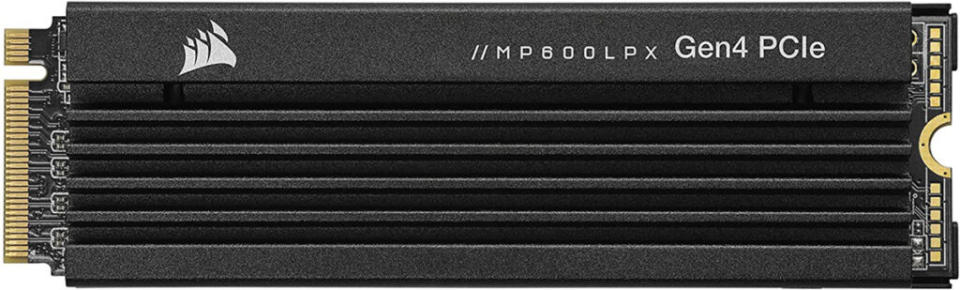
Corsair MP600 PRO LPX
Read speed: up to 7,100MB/sec
Heat spreader included? Yes
Capacities: 500GB, 1TB, 2TB, 4TB
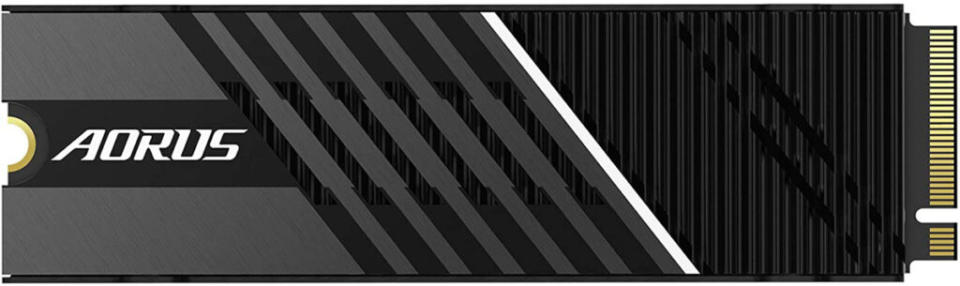
GIGABYTE AORUS Gen4 7000s
Read speed: up to 7,000MB/s
Heat spreader included? Yes
Capacities: 1TB, 2TB

WD_Black SN850
Read speed: up to 7,000MB/sec
Heat spreader included? Yes
Capacities: 500GB, 1TB, 2TB

Patriot Viper VP4300
Read speed: up to 7,400MB/sec
Heat spreader included? Yes
Capacities: 1TB, 2TB

Samsung 980 Pro w/ Heatsink
Read speed: up to 7,000 MB/sec
Heat spreader included? Yes
Capacities: 1TB, 2TB

