How to use an external USB webcam on iPad
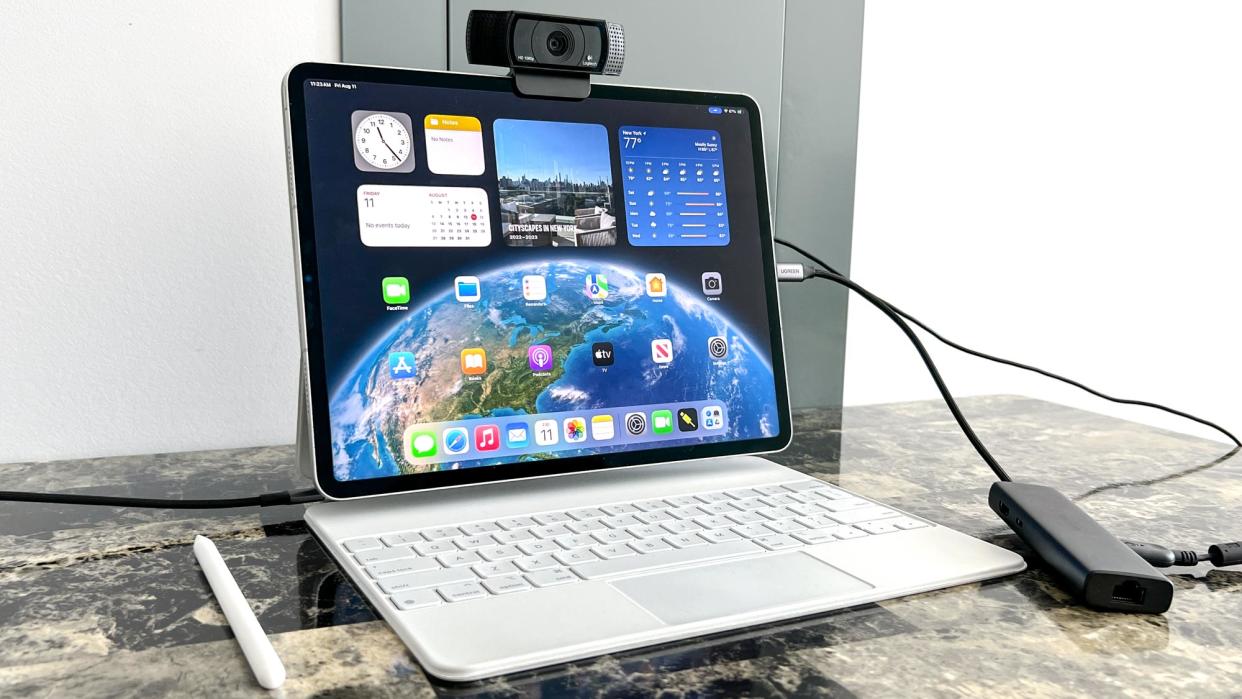
If you’ve installed the iPadOS 17 public beta on your iPad, you can now use an external USB camera with your tablet. This is handy if you don’t want to use the iPad’s front-facing camera and would prefer one of the best webcams instead. So long as you have one of the best iPads with a USB-C port, you can try this new feature out.
Apple confirmed that any USB camera will work on a plug-in-and-play basis. As soon as you plug the camera in, it will be available to use without any additional set-up or configuration. If your camera uses a USB-A connection, you’ll need an adapter. Other than that, this is a straightforward process.
Here’s how to use an external USB camera to an iPad.
How to use an external USB webcam on iPad
Before fully diving into this article, there are a few things we need to go over. First, you’ll need an iPad with a USB-C port, which I’ve listed below:
iPad Pro 12.9-inch (2nd generation and later)
iPad Pro 10.5-inch
iPad Pro 11-inch (1st generation and later)
iPad Air (3rd generation and later)
iPad (6th generation and later)
iPad mini (5th generation and later)
Secondly, you need to install the iPadOS 17 public beta (or iPadOS 17 when it comes out). Our how to download the iPadOS 17 public beta guide will show you the necessary steps.
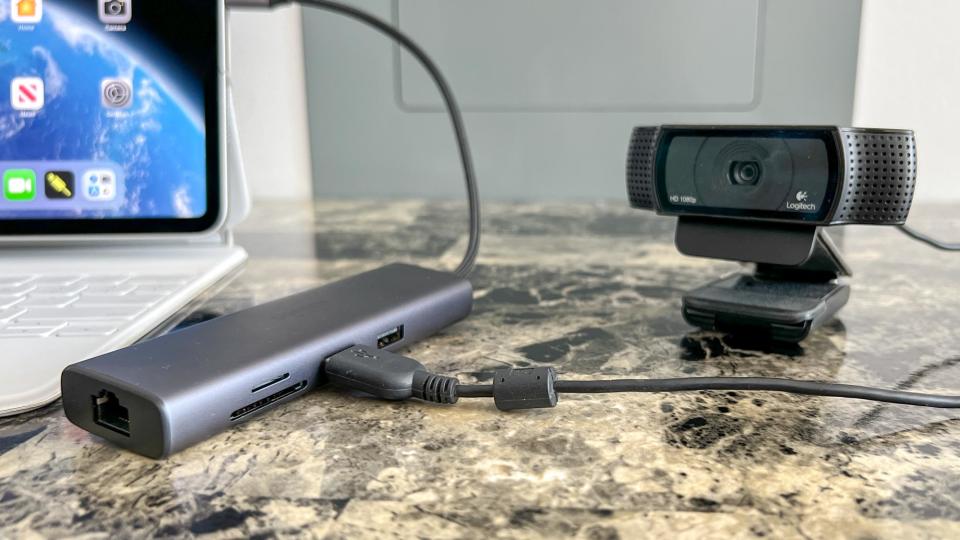
If your webcam uses a USB-A connection, you’ll need an adapter to establish a connection between the iPad and webcam. For this how-to, I used the UGreen Revodok 7-in-1 USB-C Hub, but any USB-C adapter with at least one USB-A port will suffice.
With that established, let’s connect an external webcam to your iPad.
1. Check for latest iPadOS 17 beta update
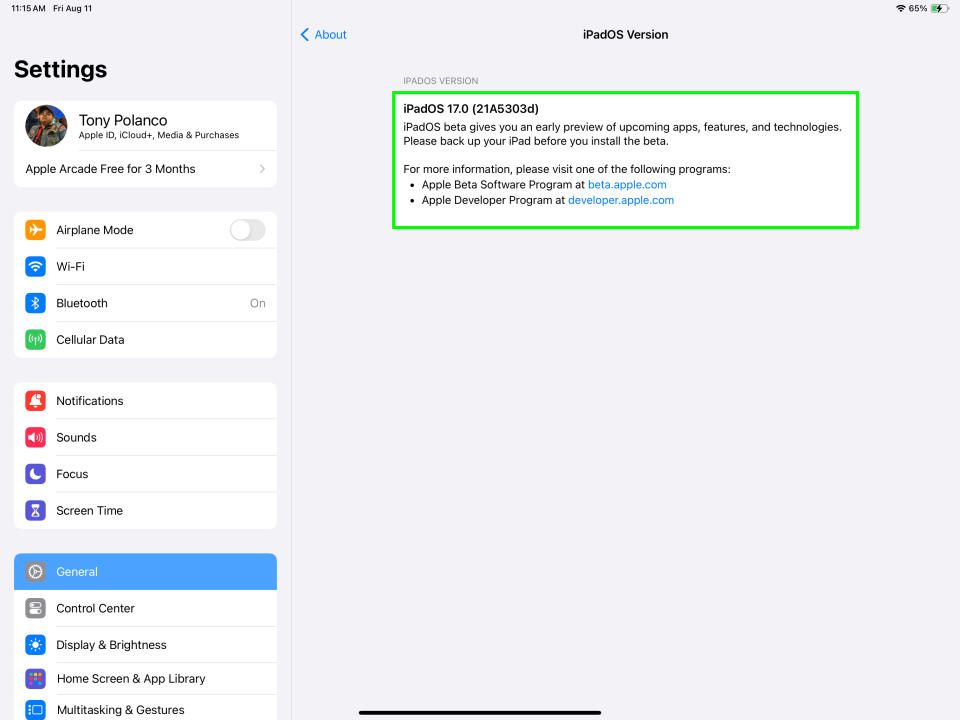
(Image: © Apple)
Even if you’ve just downloaded iPadOS 17 to your iPad, it’s still a good idea to see that you have the latest version — which is version 3 at time of writing. Go to settings > General > About to see which version of iPadOS 17 you currently have installed.
2. Open FaceTime
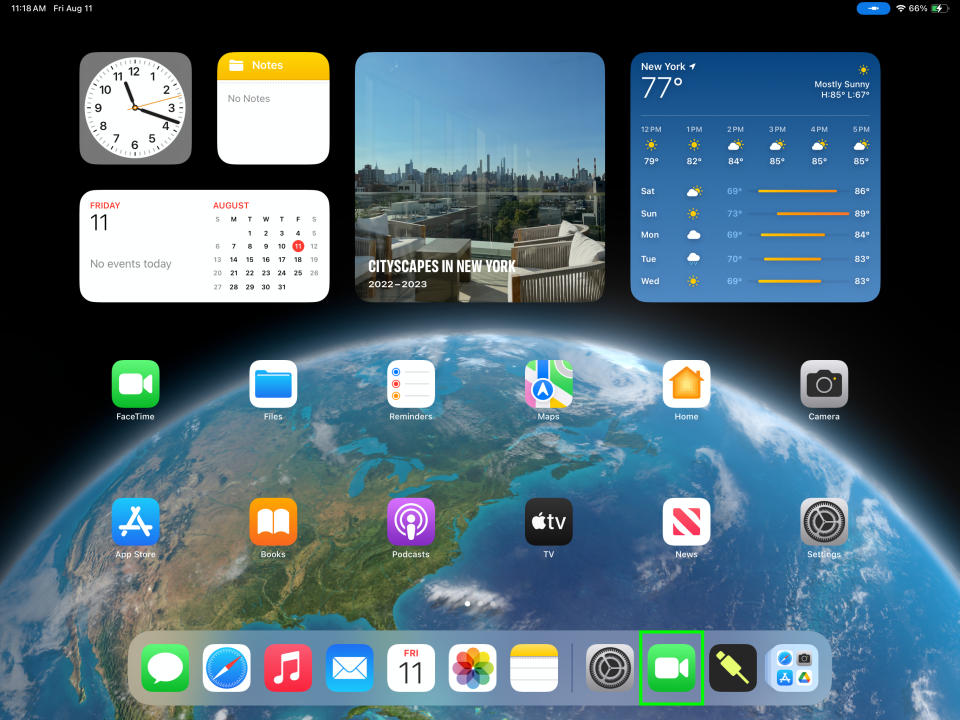
(Image: © Apple)
After ensuring you have the latest iPadOS 17 beta update installed, open FaceTime on your iPad. You’re free to use other video conference apps like Skype or Zoom if you wish.
3. Connect your external webcam
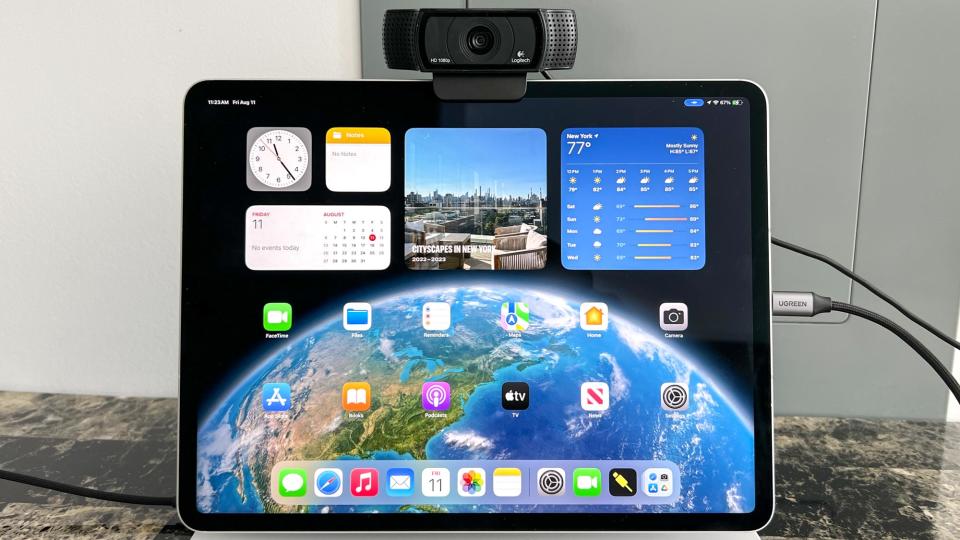
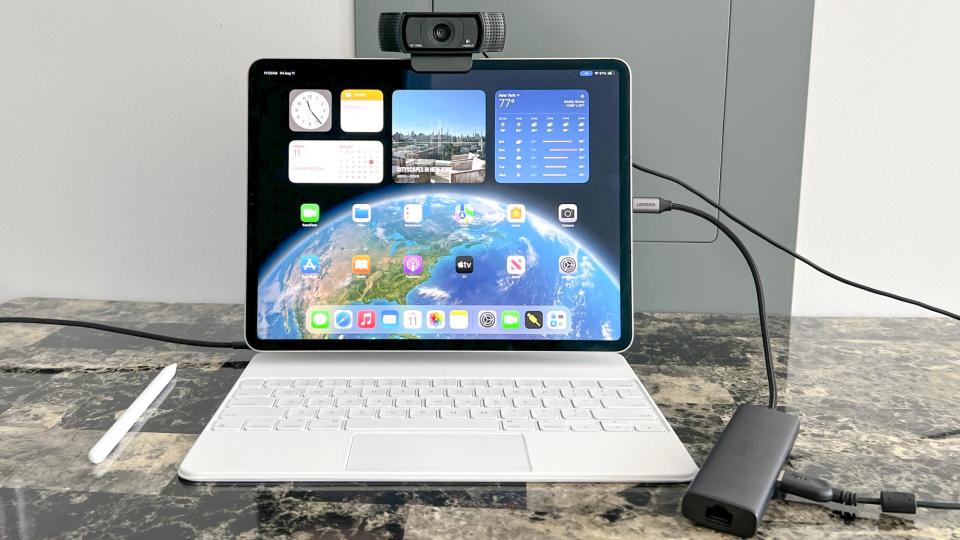
Plug your external webcam into the iPad’s USB-C port. If you have a webcam that uses a USB-A connection, you’ll need a USB-C adapter. Connect the USB-C adapter to your iPad. After that, plug your camera’s USB-A connection to the adapter.
Once you connect your webcam to the iPad, the video you see on the display will switch from the iPad’s built-in camera to the webcam’s feed.
That’s all there is to it! External webcam support is a feature folks have been requesting for a long time so it’s good to see it available on iPadOS 17.
For more iPad guides, check out how to check your iPad model and generation if you want to know how old your iPad is, or how to turn a Live Photo into a video on iPhone and iPad to share clips more easily with others. Similarly, you'll want to make sure you know how to use AirDrop on iPhone and iPad.

