Elecfreaks CM4 XGO Robot Kit Review: Boston Pi-namics
When we think of Raspberry Pi robotics we typically think of wheels and motors but with the advancement of technology we now have quad and bipedal robots powered by our favorite single board computer, the Raspberry Pi.
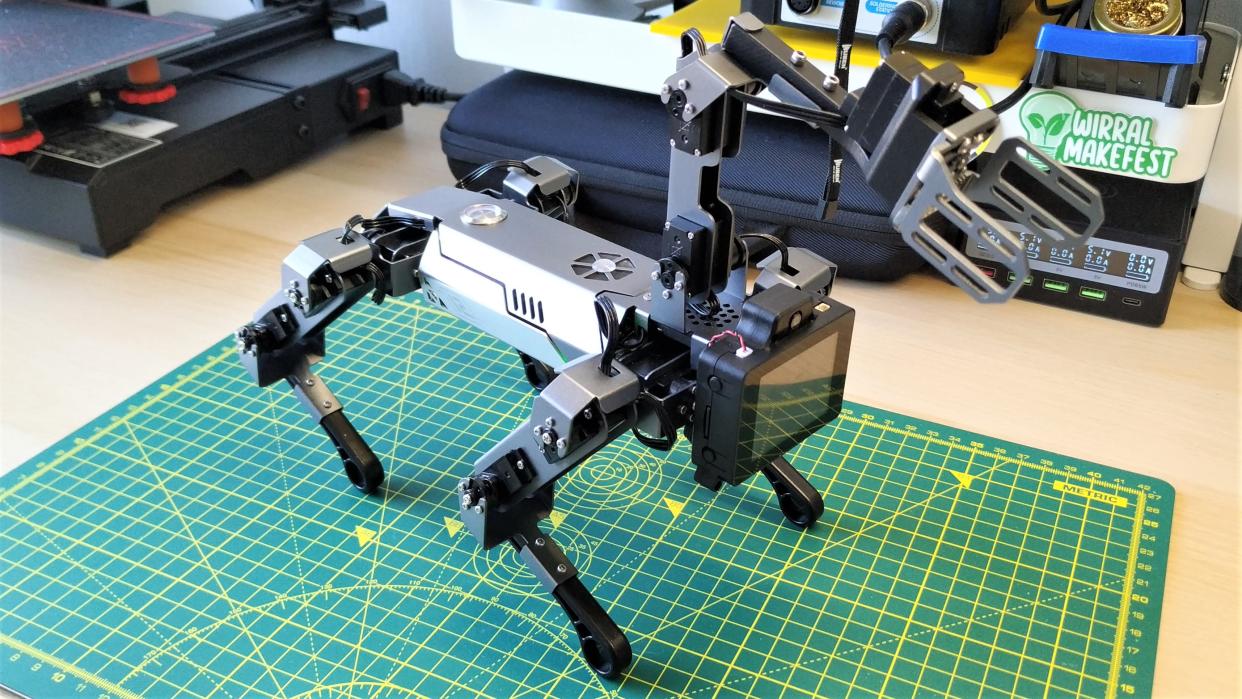
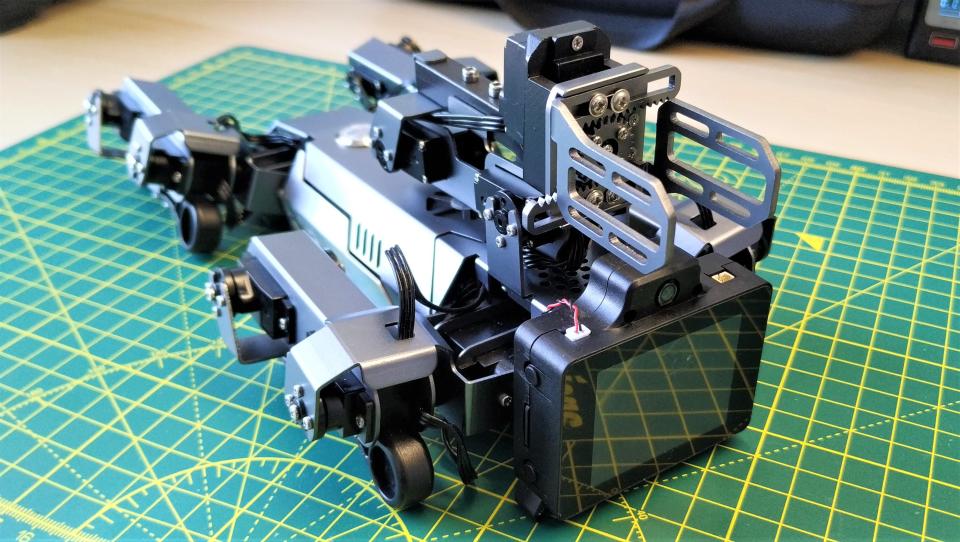
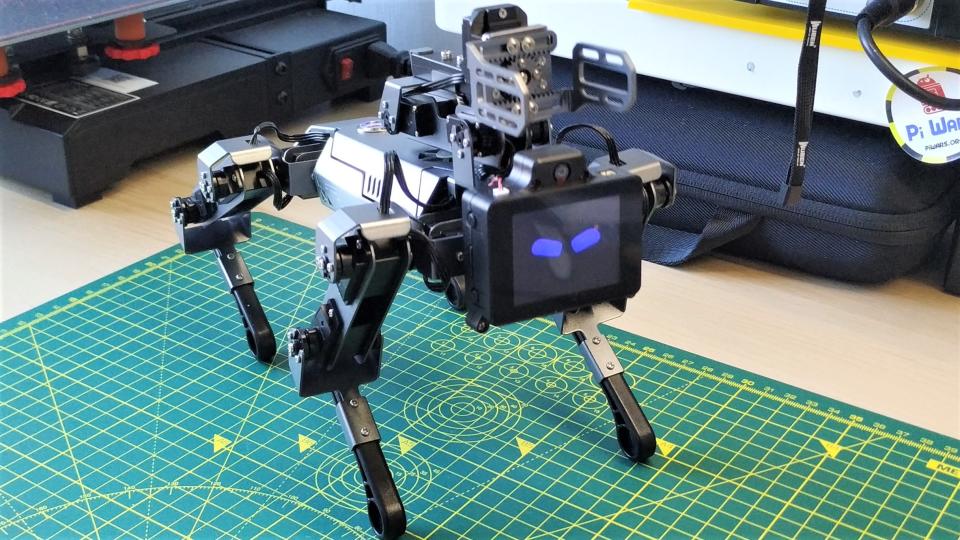
The Elecfreaks CM4 XGO Robot Kit is a $749 quadruped robot that looks like a dog, or a cat if you prefer. But this creature has a sting in its tail, a grabber arm that protrudes from its back. The face of the robot is a 2-inch screen with a camera placed above. The plastic shell contains the Raspberry Pi Compute Module 4, in this case a model with 2GB RAM and a 32GB micro SD card.
When we think of Raspberry Pi robotics we typically think of wheels and motors but with the advancement of technology we now have quad and bipedal robots powered by our favorite single board computer, the Raspberry Pi.
The Elecfreaks CM4 XGO Robot Kit is a $749 quadruped robot that looks like a dog, or a cat if you prefer. But this creature has a sting in its tail, a grabber arm that protrudes from its back. The face of the robot is a 2-inch screen with a camera placed above. The plastic shell contains the Raspberry Pi Compute Module 4, in this case a model with 2GB RAM and a 32GB micro SD card.
Can we train this dog to respond to our commands, or are we barking up the wrong tree? To learn this and more we’ll need to grab the leash and take a trip to the dog park.
Elecfreaks CM4 XGO Robot Kit Specifications
Getting Started with Elecfreaks CM4 XGO Robot Kit
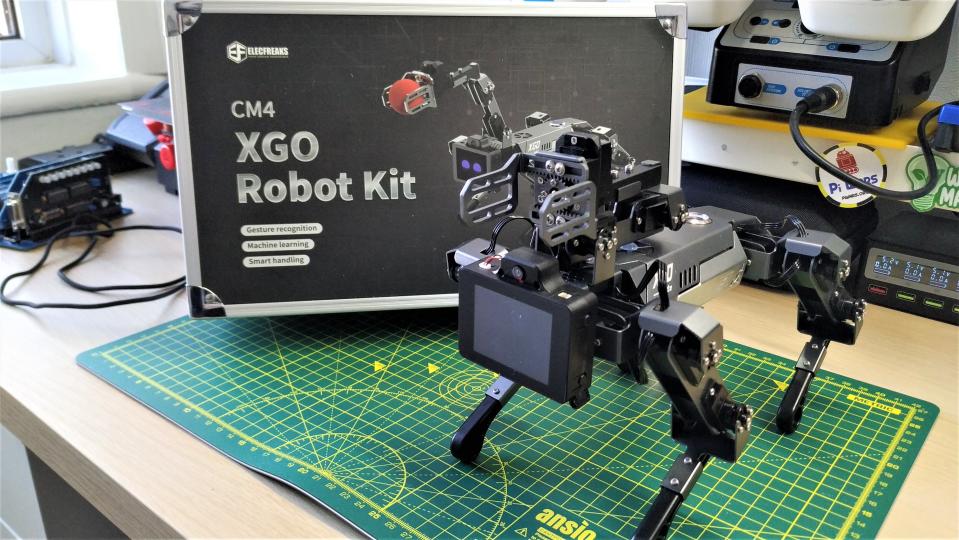
Unboxing doesn’t form part of the review, but we have to say that the kit comes in a heavy-duty. Inside the case we find plenty of padding and a robot dog taking a nap. In the upper lid, hidden under the padding, are a series of balls, charger and tools for the robot.
The packaging is exceptional, and something we would expect given the $750 price tag. Taking the robot out of the case and we are extremely impressed with the build quality. This is an all-metal robot dog, no plastic joints and everything is held in place with machine screws. The battery needs to be charged before use. It may have some charge in it, but the instructions specify that we shouldn’t let the battery drop below 20%.
A DC jack on the belly of the robot provides a means to charge the battery which is safely encased inside of an aluminum case. We did notice that the wall wart got a little hot when charging the robot. In fact, we would say it was uncomfortably hot at around 45 degrees Celsius. The wall wart is an 8.4V 1A unit, an unusual voltage choice but there are units available. Just make sure that it is center positive.
We also note that the green LED of the wall wart remains lit when the power supply is connected to the robot, but not the wall. This means that there may not be a diode to prevent the battery from discharging when left in this state. So after charging, remove the power supply!
Once charged up we are ready to power on the robot, the button for which is back the back legs. Keep your fingers clear of the legs otherwise you get a nasty nip. Powering up will take a minute or so. The Raspberry Pi Compute Module 4 will take a moment to boot and run the main menu.
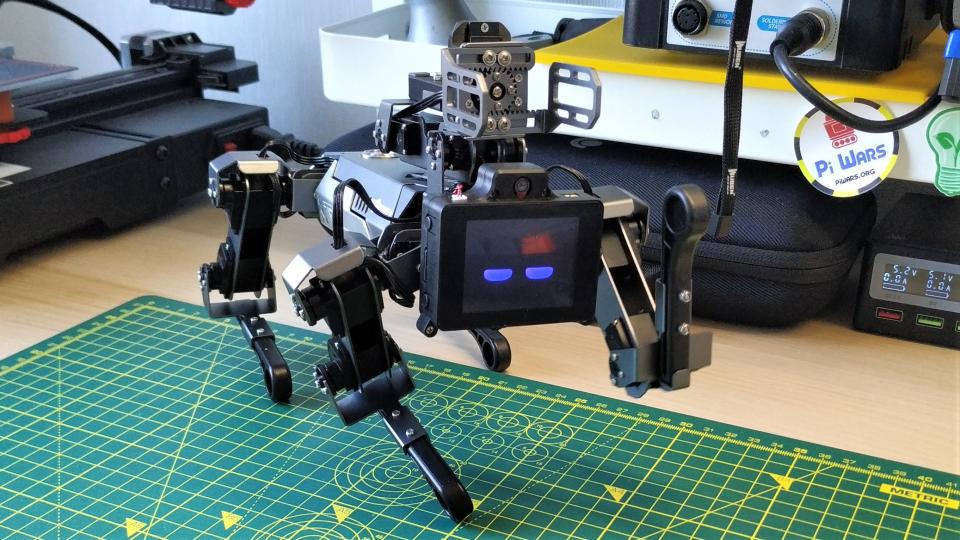
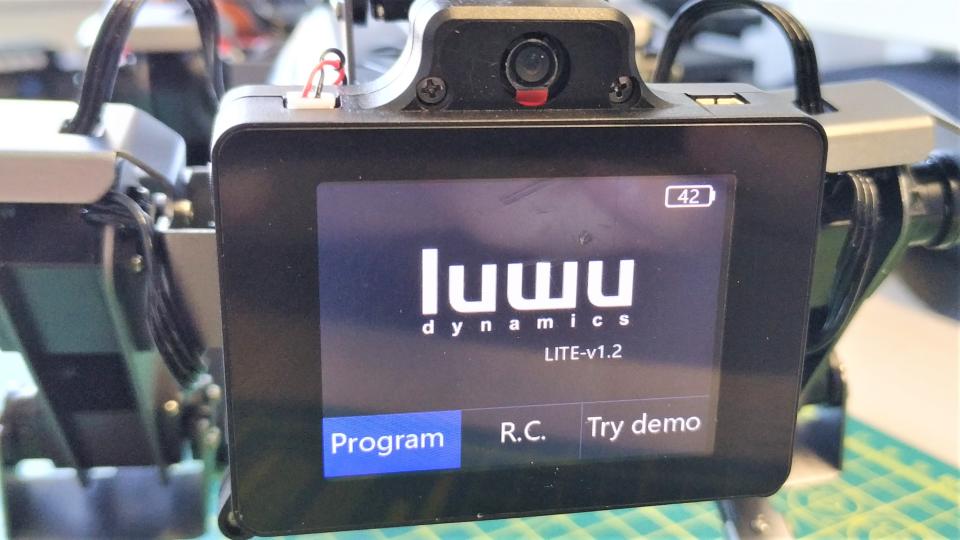
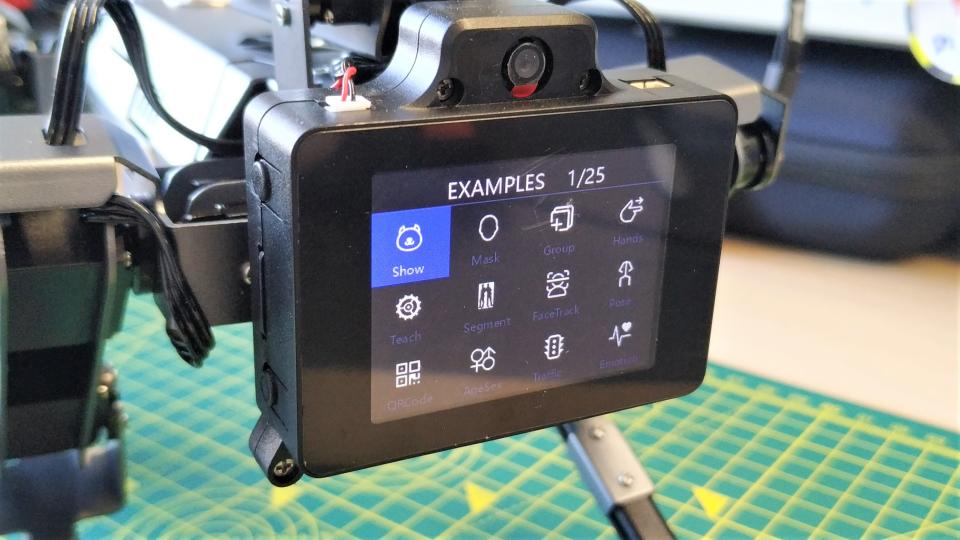
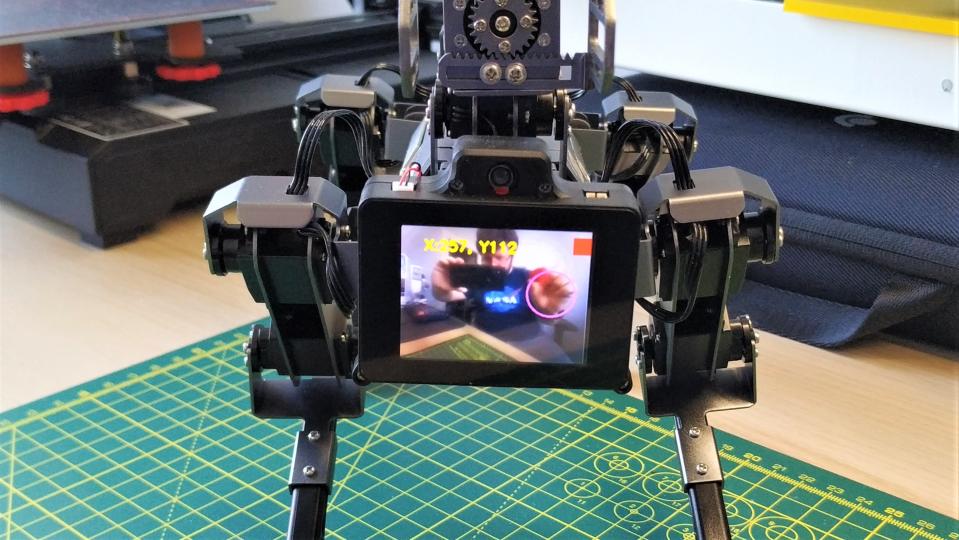
The onboard screen has three options. Program, RC and Demo. Using the top left and top right buttons we can navigate the menu, then press the bottom right to select. The demo section should be your first port of call. It has a selection of demo projects that show off what the robot can do: face tracking, color tracking, dancing etc.
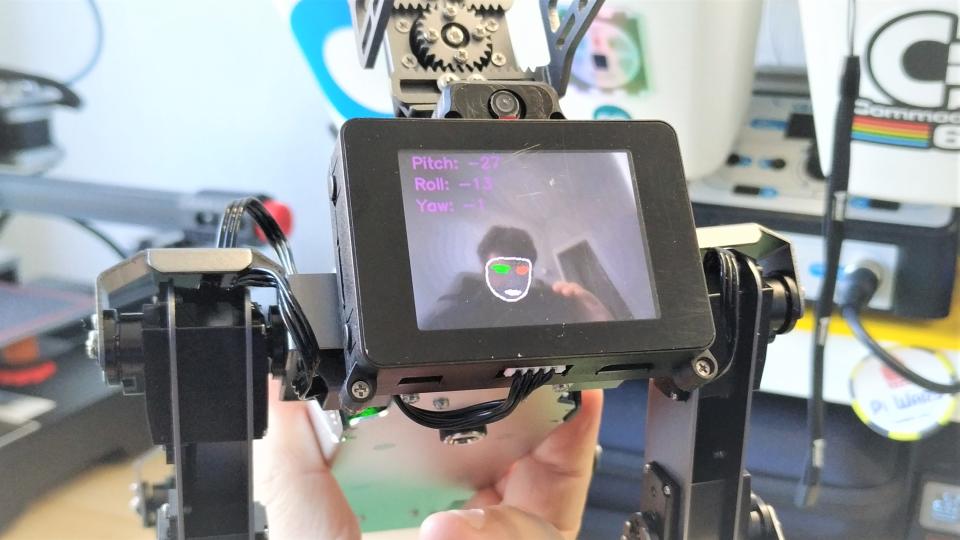
The robot can also understand simple voice commands; it takes a little practice to get it to understand my accent though. Face recognition can detect a person’s face, obviously, but the “Emotion” demo uses OpenCV and AI to determine your mood. It said that I looked sad, but rarely did I see “happy”. The detected emotion triggers the robot dog to whimper and shake, eliciting concern from the target human.
We played around with the demos and this also proved that the robot was working to spec, ready for us to start programming. We noted that the servos were jitter free, the result of using serial servo motors over cheaper servos that use PWM (Pulse Width Modulation) to generate the pulses necessary to set the position.
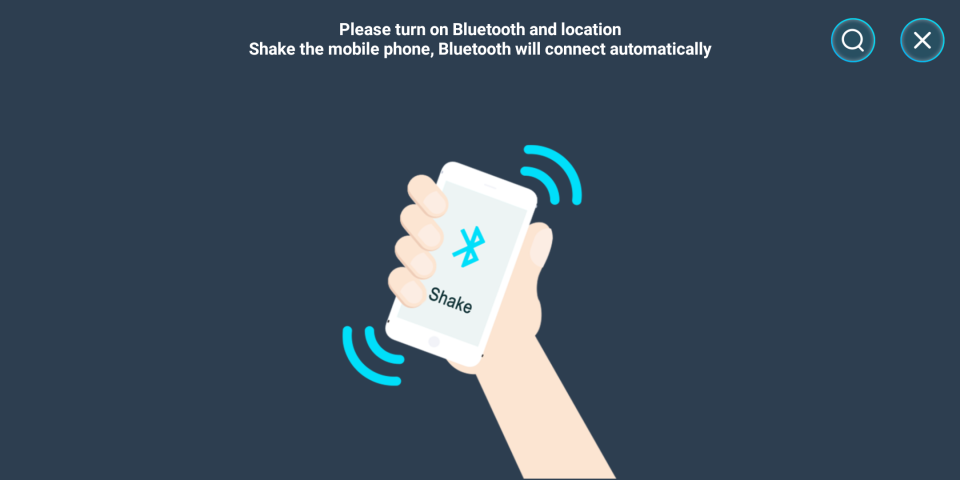
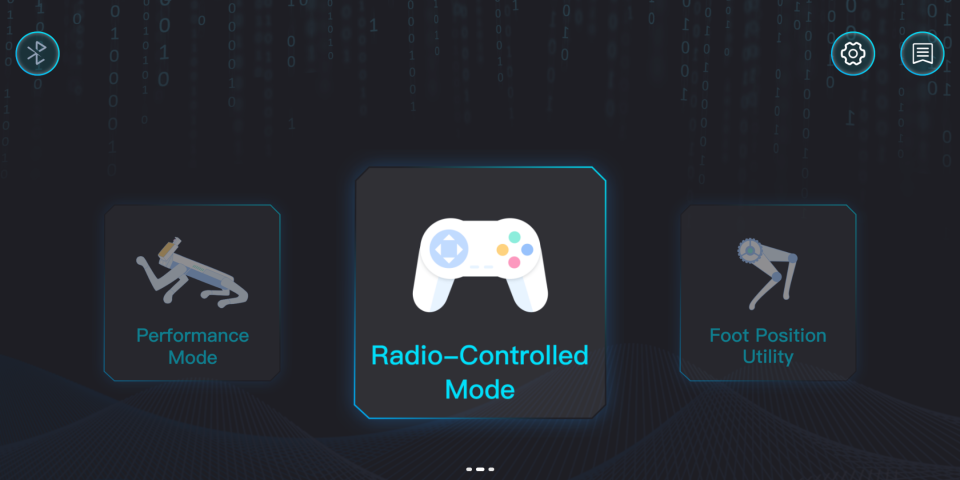
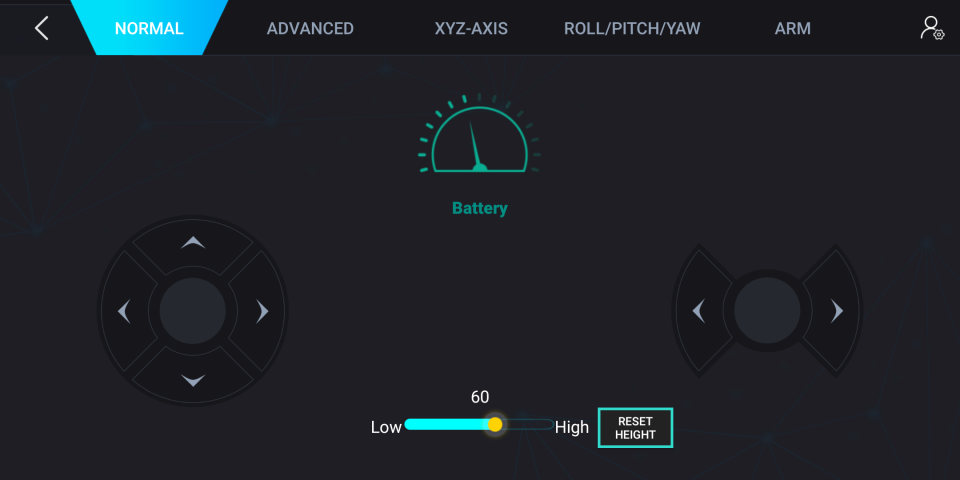
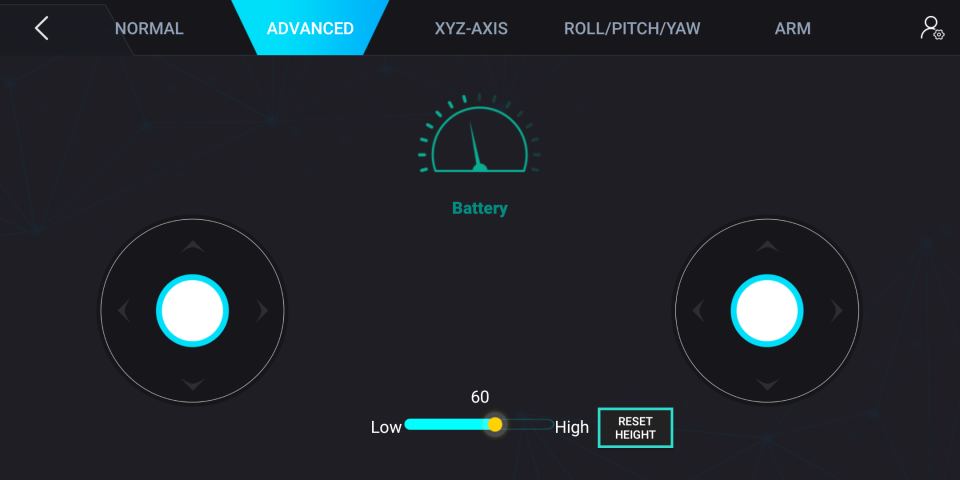
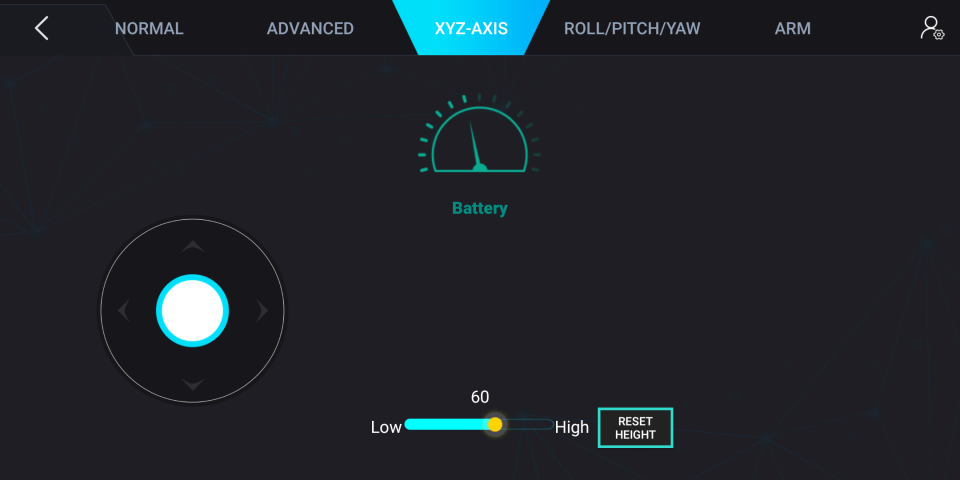
Before we jumped into programming the robot we decided to have a little fun with an RC app. We installed the Android app and then set the robot to RC mode and connected via Bluetooth by shaking the device over the robot. This works 80% of the time, sometimes it fails to connect and this means we have to reset the connection, a common occurrence with Bluetooth devices.
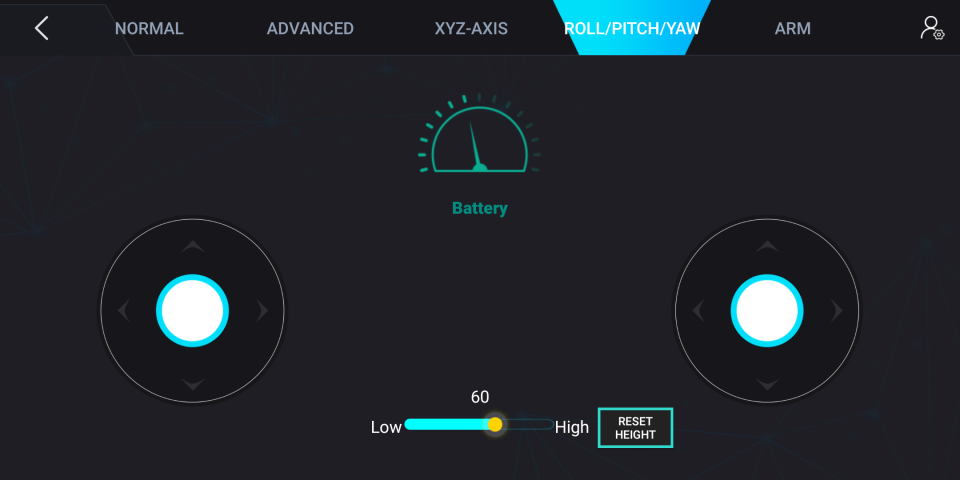
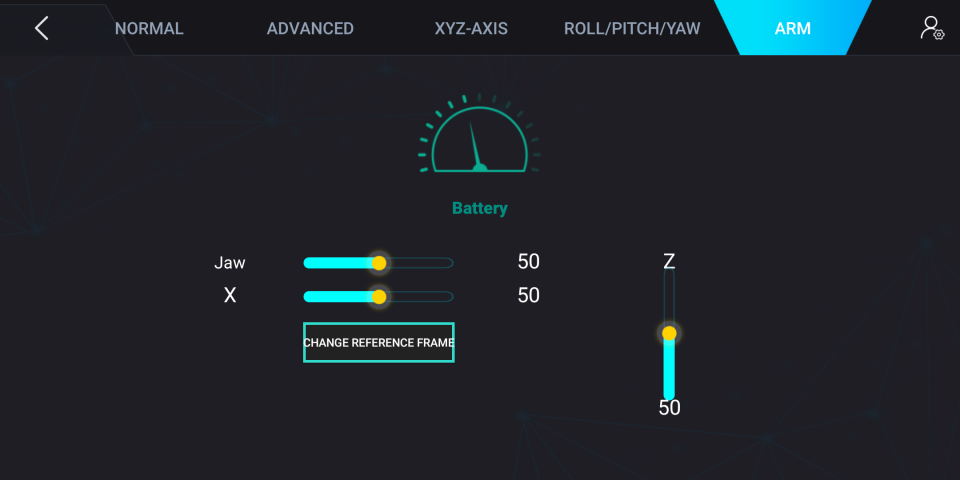
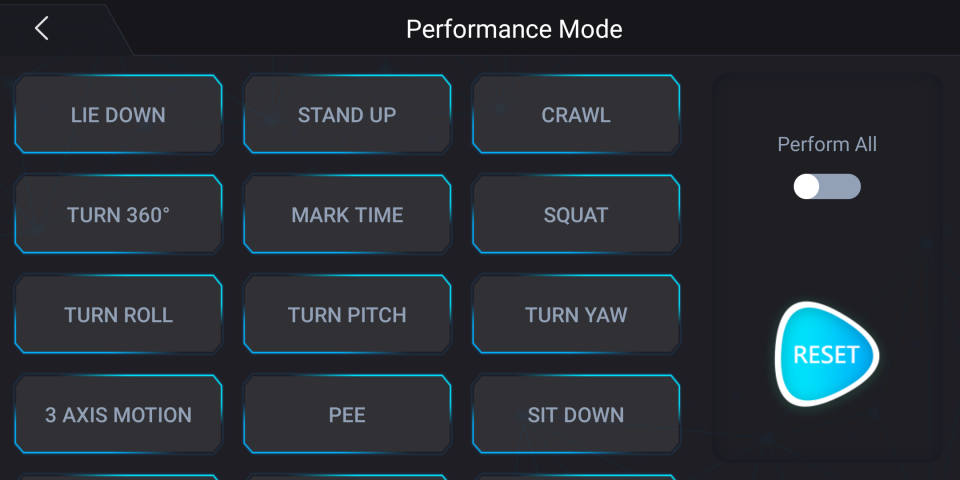
The RC app has basic controls for moving the robot, an advanced controls scheme for precision, arm control and a demo mode. The demo mode is largely the main demo broken down into user selectable options. After exercising our robot dog, it was time to start training our cyber pooch.
Programming Electreaks CM4 XGO Robot Kit
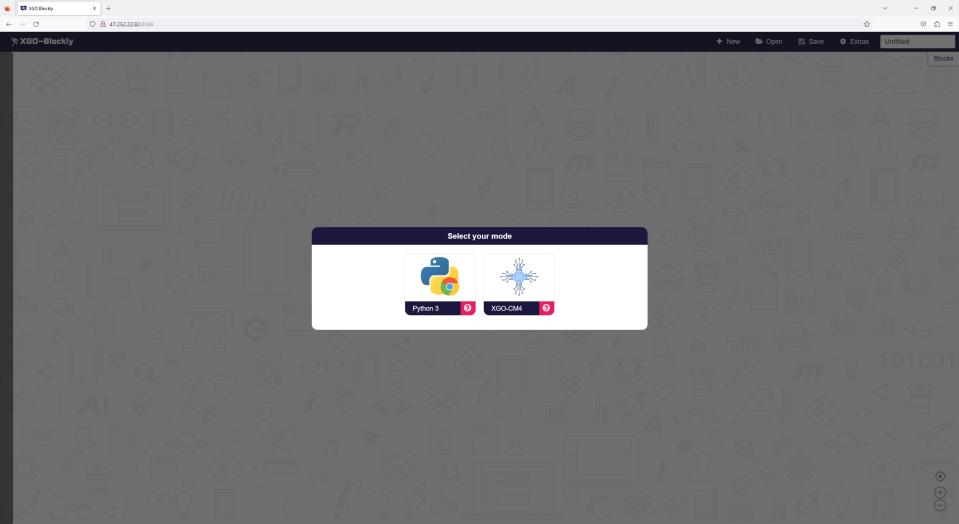
There are two supported ways to write code for the robot. Both of which are via a web browser. The first is via XGO-CM4, a block based editor which provides an easy introduction to writing code. The second is Python 3. The steps to reach this part of the review took a little back and forth with Elecfreaks. The instruction manual and website links pointed us to resources that were either incomplete or incorrect.
After receiving this link from Elecfreaks we opened the link, chose the XG0-CM4 block editor for our first coding projects and this is where we hit another stumbling block. The code editor is hosted on an external IP address, http://47.252.22.82:8088/ and after selecting the blocks editor we have to give it the IP address of our robot. This is no problem, as selecting Prog from the robot’s screen will connect the robot to our network. Or it will do if you use Mozilla Firefox. Apparently “other browsers need to set up cross domain settings separately, which is quite troublesome”. We were able to use Firefox and everything worked but It just feels a little clumsy considering the quality of the hardware and its price tag.
The Python library has an unusual level of abstraction. Sometimes it abstracts the task, other times it does not. That said, once you get used to it, the XGO Python library is easy to use. The Educational library is a bit of a mixed bag when used outside of the web based editor. It does work, but you need to get your head around how it works, and a modicum of patience is required as it loads.
On the whole, the software side of things is “good enough” but it brings down the quality of the product. It could be down to our workflow, but the stumbling blocks that we encountered will likely catch others out. In the end we chose to SSH into the robot and write our code in a text editor, referencing the documentation to create a simple demo project which involved our robot dog dancing to Britney Spears’ “Toxic,” which we can’t share for copyright reasons, and for shame.
Boston Dynamics’ robots are famed for navigating the world around them. From simple stairs to assault courses, these robots can’t be stopped. That can’t be said about our robot dog. We constructed a simple staircase from audio CD cases and using the blocks editor we set the robot to walk forward for five seconds. Using the normal walking settings, the feet of the robot cleared both sets of steps (with audio CD cases measuring 10mm on average).
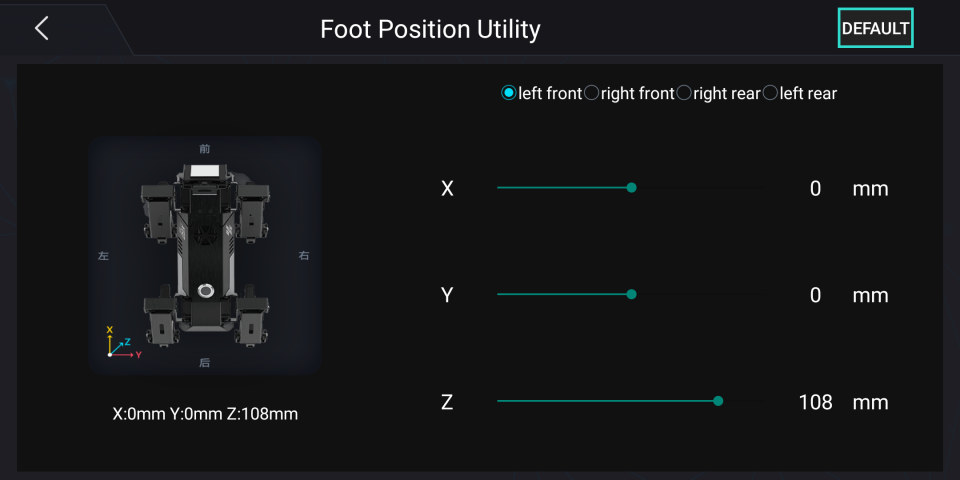
Changing the gait to “trot” or “highWalk” meant that the robot dog was unable to clear even the first row of CD cases. You can manually set the height for each foot, by tweaking the x,y,z servos. This means that in order to navigate a rough terrain we would either have to run through the terrain, changing settings on the fly, or create a loop that will exaggerate the leg motion of the robot. Navigating a ramp is possible; we found that a plastic ramp, raised 30mm tall (using CD cases) was possible, but 40mm was not. The reason for this is grip. The ABS plastic feet of the robot have no grip on plastic / tiles / wooden desks. Putting some rubber boots on the feet will aid grip, we wonder why this wasn’t done in the factory?
Calibrating the legs isn’t possible via the Blocks editor (that we can see). But they can be calibrated using the remote app, well sort of. Under “Enhanced options” we can set the gyroscope status and use that to “right” the robot according to the terrain it is on. This helps RC controllers to keep the robot dog upright according to the limitations of the servos for each leg.
Absolute precise control is possible using the Python module and it is best used when starting up the robot. The Python module’s calibration function will return the robot to the default position, legs folded and the robot laying on the ground. From there the user can either follow a pre-scripted sequence, or write their own Python code to control the robot. We looked around the documentation pages for more calibration options but sadly found many pages were not created (404 errors). Still this is far superior to the situation with the Petoi Bittle robot dog where we had to do a lot of manual leg calibration and had to repeat the process many times.
The Dog With Two Brains
Inside of the robot dog there are two brains. The face of the dog contains the Raspberry Pi Compute Module 4 and a breakout board which provides a camera, microphone and sensors used to keep our robot dog upright. The other brain lies deep in the chassis and is an ESP32, solely there to control the many servo motors.
The ESP32 is no stranger to being a co-processor. Arduino’s latest board, the Uno R4 WiFi also features this chip, a chip that is an incredible microcontroller in its own right. The CM4 and the ESP32 communicate using a serial connection, a four pin cable that runs from the face into the body of the robot. This connection does mean that there is a small delay when we start our code as the serial connection is made.
Who is Electreaks CM4 XGO Robot Kit for?

At $749 this is a big investment and probably prices a few people out, but let's put this kit into context. For the price we get a quadruped robot with a similar form factor to Boston Dynamics’ robot dog. So our small dog comes with a smaller price tag than the big dog! We can see the robot kit being a big hit in education but not so much in the home.
Could this be your faithful robot dog telepresence unit? Well sure it could, but Elecfreaks doesn’t directly support this out of the box. The challenges faced in this endeavor are that we need to stream live video and audio from the dog. This is possible using the Picamea Python library, and performance is decent.
Don’t expect crystal clear video as you move around the office. We’ve used streaming video from a Raspberry Pi 4 in a project and sometimes the video can corrupt (think cable TV levels of image distortion) but it generally corrects itself. Audio pickup via the microphone is also possible, but that would require another Python module to handle audio. The XGO Python module has a function for audio playback, which we used to make the robot dog dance to Britney Spears.
The biggest obstacle to using it as telepresence unit would be controlling the robot while all of this is happening. Face tracking would handle locating the person that you wish to speak to, but navigating the world would be slow and require some form of manual control. It is possible, you could make an Anvil app which remotely interacts with the robot dog, but the effort versus reward would be imbalanced. Lastly, the strain of streaming, tracking, audio, walking would be immense on the battery. How long would it last before you need a recharge?
Bottom Line
You’ll need deep pockets to purchase Electreaks CM4 XGO Robot Kit, but for the money you get a lot of great hardware in an incredibly well made package. The software is decent, but falls below the quality of the hardware. That said, the software is relatively easy to use, both the Python and block coding.
We're not especially keen on the Mozilla Firefox only browser restriction. Sure we can install another browser, they are free after all. But it is another barrier to entry, and may be troublesome for educators with locked down equipment.

