How to Create Marbled Easter Eggs With Shaving Cream

We're big fans of the classic dip-and-dye Easter egg methods. We've experimented with ombre, gone psychedelic with the help of rubber cement and even used food for a natural version. But when we heard that you can marbleize eggs with shaving cream, we had to give it a try - and the results are nothing short of stunning.
SUPPLIES:
Shaving cream ($5, amazon.com)
Food coloring ($3 for set of 4, amazon.com)
Baking sheet ($6, amazon.com)
Rubber spatula ($7 for set of 3, amazon.com)
Toothpicks ($5 for 250, amazon.com)
Paper towels ($5 for 6 rolls, amazon.com)
Rubber gloves ($5 for 2 pairs, amazon.com)
INSTRUCTIONS:
1. Fill your baking sheet with shaving cream until it's about an inch thick, then smooth it out with a rubber spatula.
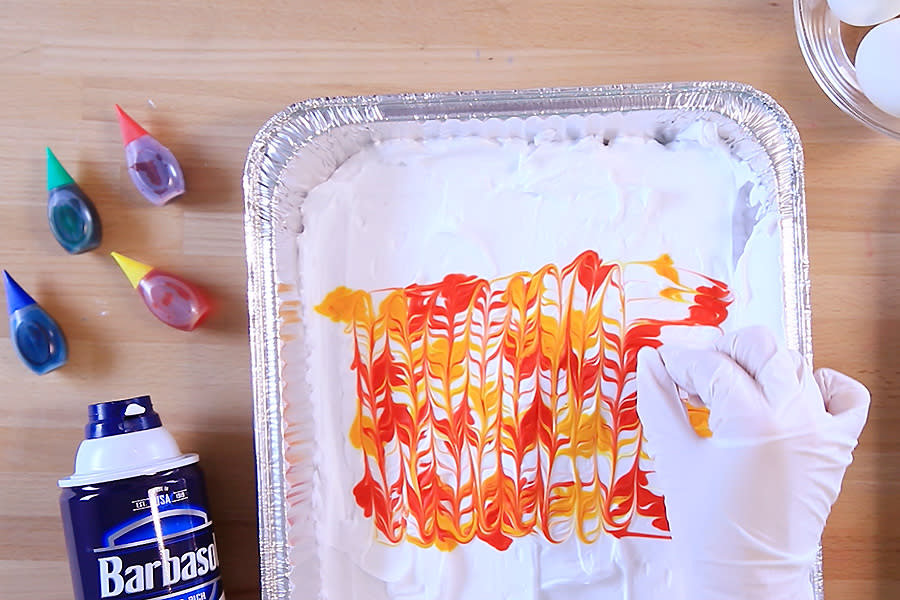
2. Drip food coloring onto the shaving cream. Don't be afraid to be generous with the colors - the more you use, the brighter your eggs will be.
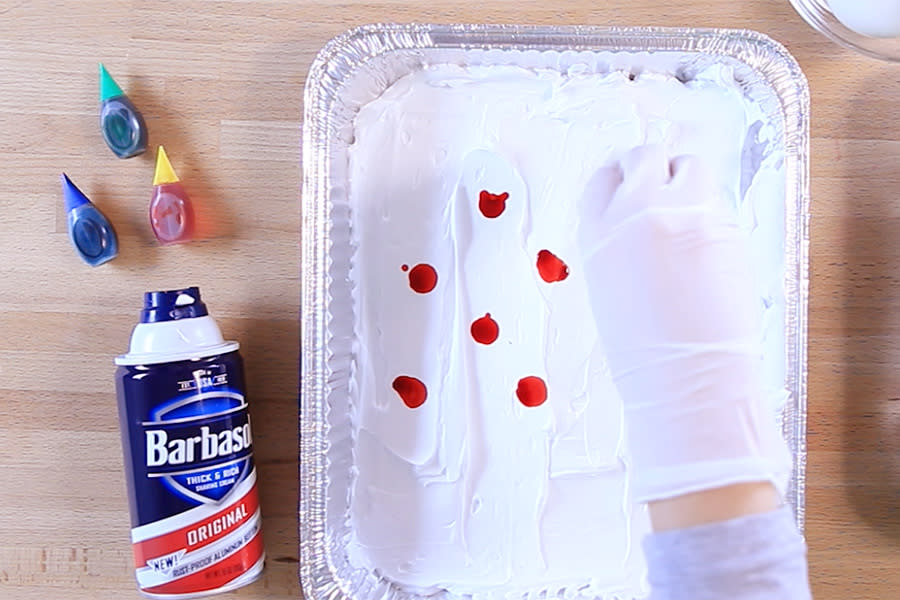
3. Use a toothpick to swirl and marble your food coloring droplets.
4. Pick up a hard-boiled egg - put on your gloves for this step! - and roll it in the shaving cream, coating it completely.

5. Carefully place the egg onto a paper towel and let it dry for about 20 minutes.
6. Wipe the shaving cream off with a clean paper towel to reveal your colorful marbled pattern.

Pin it for later!

You Might Also Like
