Craft Room Redo: Before and After
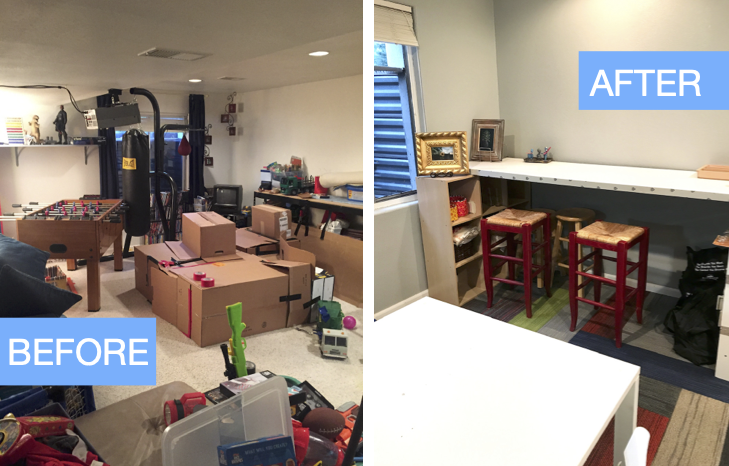
Creating a craft room is a fun endeavor for the crafty set, and redoing a craft room can feel like a big—and somewhat daunting—adventure. My talented friend Tara Rex, who is a fine artist, professional cabinet painter, and decorative painter, recently transformed a room in her home to create her ideal craft retreat for painting and sewing. The room had been filled with stuff that was unrelated to her passions, and it was time to clear out the clutter and carve out her personal craft space.
The room is now an inspirational haven for Rex to create her works of art, filled with organizational cubbies, shelves, work surfaces, and color that support her creativity. And, she has some advice for those who find themselves standing in the middle of a mess while holding the dream of a craft paradise at home.
RELATED: 9 Ways to Decorate With Your Crafts and Put Your Hobbies on Display
1. Prioritize the purpose.
If you’ve collected images of dream craft rooms on Pinterest or from magazines, now is the time to pull those inspo images out. If you haven’t searched online for inspiration, it can be a helpful process to figure out what you like and what you need to make the craft space just right for you. It’s usually best to go fast, and collect images that appeal to you without second-guessing about budget or practicality.
After you have inspiration images, carefully look at each one and consider what appeals to you. Do you like the layout? Is it the color that grabs your attention? Do you see a recurring theme? There might be small elements of these images like a bin or a light fixture that you can incorporate, or it might just be the combination of colors and materials.
Consider what types of activities you want to do in the space, and prioritize them. Do you sew? Enjoy watercolor painting like my friend, Rex? Create wreaths or holiday ornaments? Are you a jewelry maker? Depending on your art, you might need a giant flat work surface, drafting desk, or an easel for the work you do. Knowing what type of furniture you'll need will help you choose the right room.
2. Clean out the space.
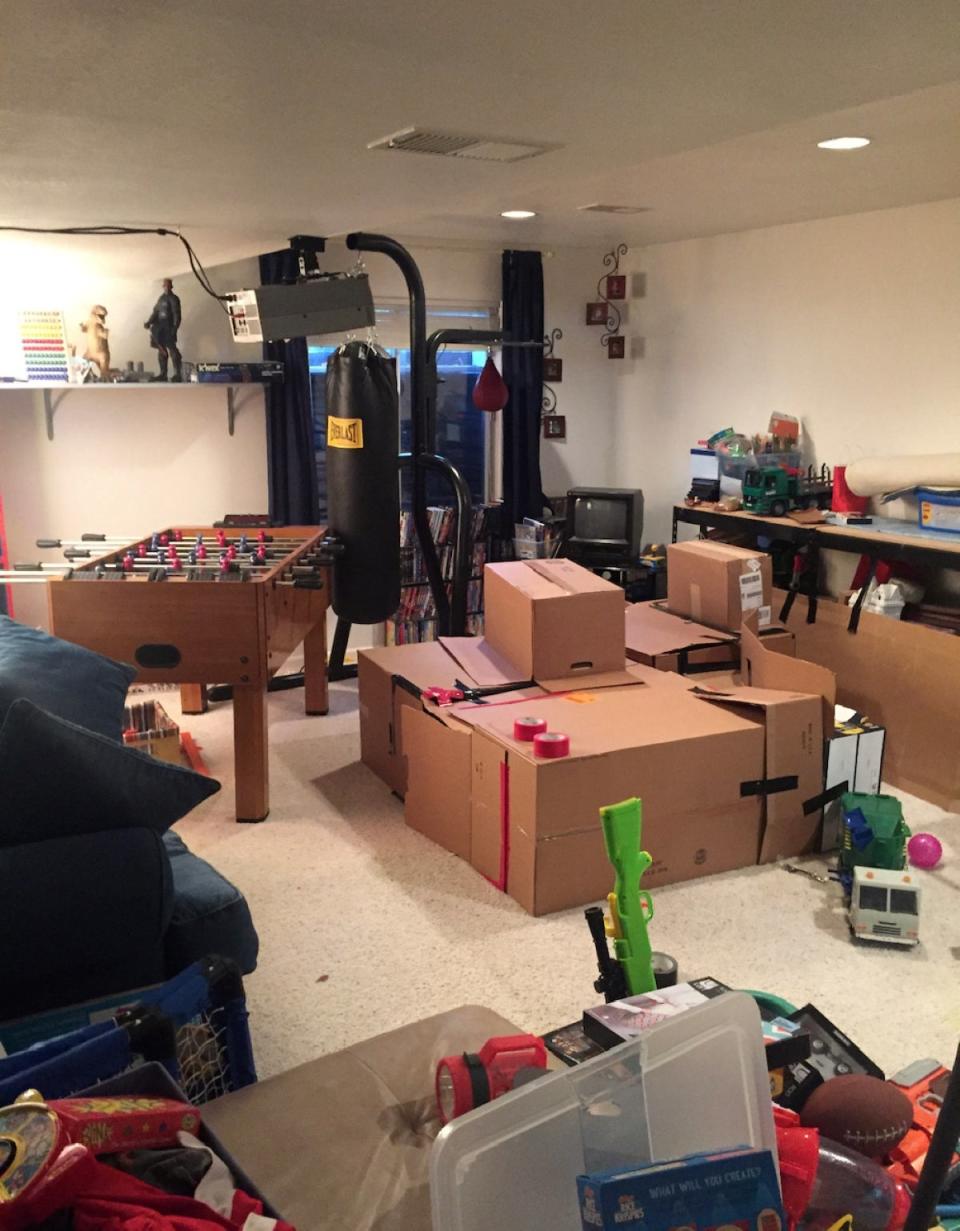
Photo: Tara Rex Designs
Rex wanted a designated space to paint and work on art projects. She cleared out a room that had been used mostly as a catch-all or for storage, so she budgeted time to clean out and find new homes for the objects already in the space.
Whether you donate, trash, recycle, or tuck the items in another room, give yourself time to attend to these decisions and tasks. For one small room, make sure you have at least 2 days to sort and relocate what’s in the space. For bigger areas, consider enlisting help from family members or friends. Maybe it's time for a garage sale.
RELATED: 18 Clever Storage Solutions You Can DIY for Free
3. Set aside plenty of time.
Before any physical work begins, it’s important to develop a plan to complete the room makeover. How much time you have to complete the project will help determine how much you can accomplish in the space.
If you plan to just paint the walls and build some flat-pack furniture, then the makeover could reasonably be finished in a weekend. On the other hand, if you need to install new lighting, flooring, and build craft-specific storage like cubbies or cabinets, the time investment is more than double.
4. Create the budget.
Beyond time, the next biggest constraint is budget. How much you can spend on the room update will determine the rest of the decisions in a craft room redo. If you have an unlimited budget, we’ll be jealous over here, but happy for you that there’s no need to make choices based on cost.
Once you know the budget, it’s important to make a list of the items you want to include, do a little homework on the cost of each, and then make a list. If one item like a desk or chair happens to be on sale or you find a good deal, then that money can go to something else in the project.
RELATED: 9 Space-Smart Ways to Fit Two Rooms in One
5. Divide and conquer.
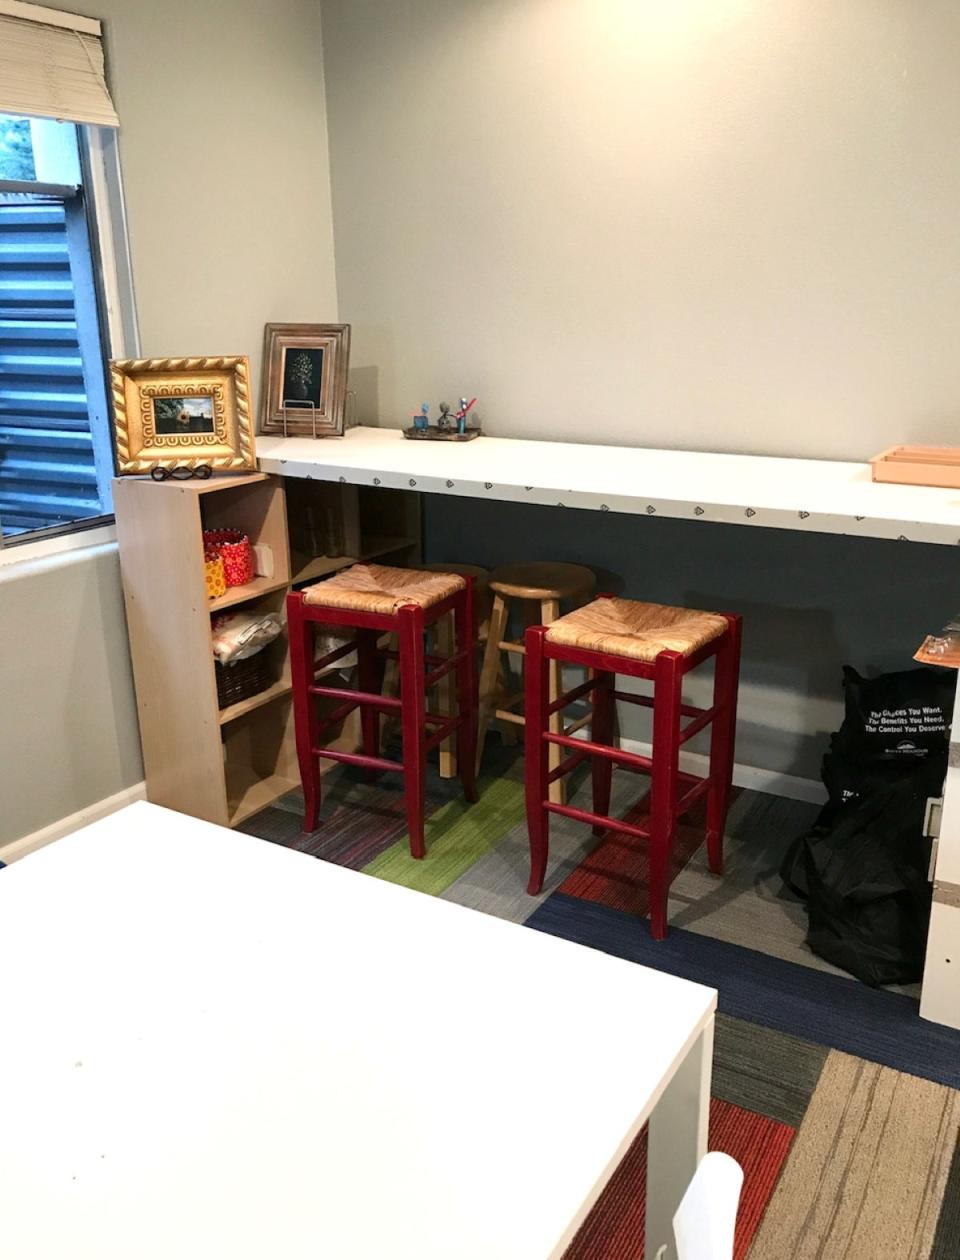
Photo: Tara Rex Designs
Many crafters do more than one type of craft or art. From sculpture and oil painting to quilling and macrame, one crafter might spend time on very different activities. “If you have several crafts, organize your room into sections,” advises Rex. The main activity you want to do in the craft room should take center stage.
Prioritize the space based on how much each type of craft requires and consider including multifunctional furniture such as a standing-sitting desk like the Inbox Zero desk at Wayfair or an easel that can adjust into a tabletop like this one from SoHo Urban Artist at Amazon.
6. Pick the colors and paint.

Photo: Tara Rex Designs
Color is a personal topic, especially for creatives. Some artists need a white room in order to see their paint colors or fabrics clearly without any influence from other surface colors. Other crafters, like Rex, enjoy a colorful space to help put their mind in the mood for sewing and painting.
Whatever colors you choose for the walls and furnishings, just make sure you have a happy feeling when you see the hues. If you are selecting colors for a creative space based on resale potential of the home in the future, then the space won’t be able to serve your creative flow as well.
RELATED: The Most Impressive Before-and-Afters We've Seen All Year
7. Figure out the flooring.
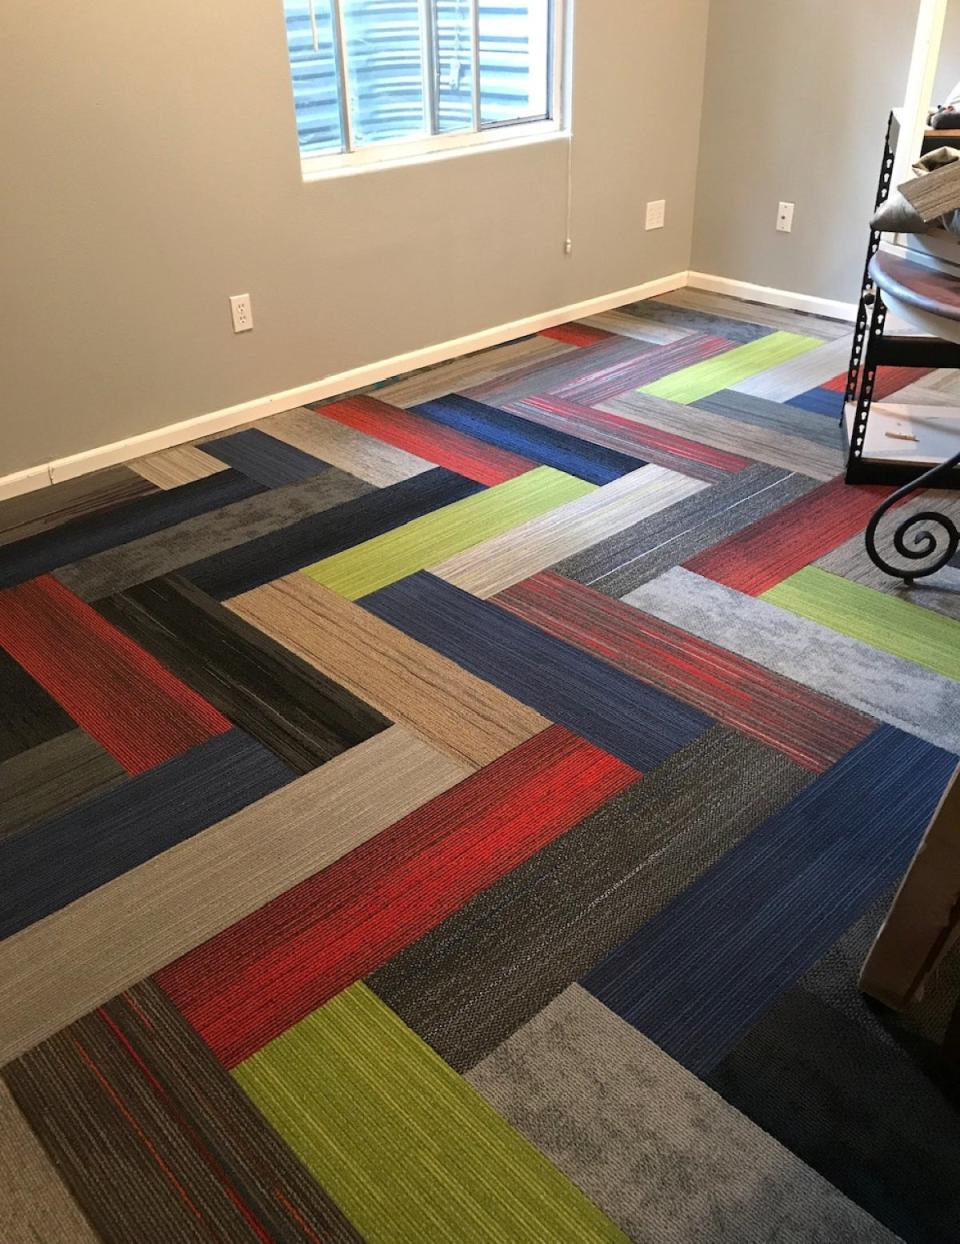
Photo: Tara Rex Designs
What’s underneath the feet is important, especially when we’re working. While any flooring can be fine for a craft room, it’s important to select flooring that not only appeals to your style but also can be cleaned easily. Crafting might create elegant results but it isn’t tidy work.
Rex chose a collage of color with carpet planks, like these 4URFloor assorted carpet tile planks. They are easy to clean, and easy to replace if something damages them. And with the brilliant hues, they can hide many drips of paint fairly easily.
However, if you stand for long periods while crafting, consider a utility mat like this Sky Solutions mat. A cushioned mat provides extra support and allows crafters to stand more comfortably while working and for longer periods.
8. Get thrifty and repurpose.

Photo: Tara Rex Designs
Creative crafters are known for finding new uses for older items, and being able to restore new life into discarded furniture. Whether or not budget is an issue, there is lasting value in older furniture that’s made of solid wood and built with care. Plus, when in a creative space, matching doesn’t always matter.
“Shop at places like thrift stores, Craigslist, Facebook Marketplace, and even yard sales for pieces of furniture and storage containers,” says Rex, who included a variety of furniture pieces in her craft room.
Thrift stores and Habitat ReStore are great sources for gently used and new items donated directly from brands. Older pieces also can provide detail and visual interest lacking in today’s furniture. When painted in a bright hue, an old sideboard or dining chair can be quite modern and visually interesting.
9. Go vertical for storage.
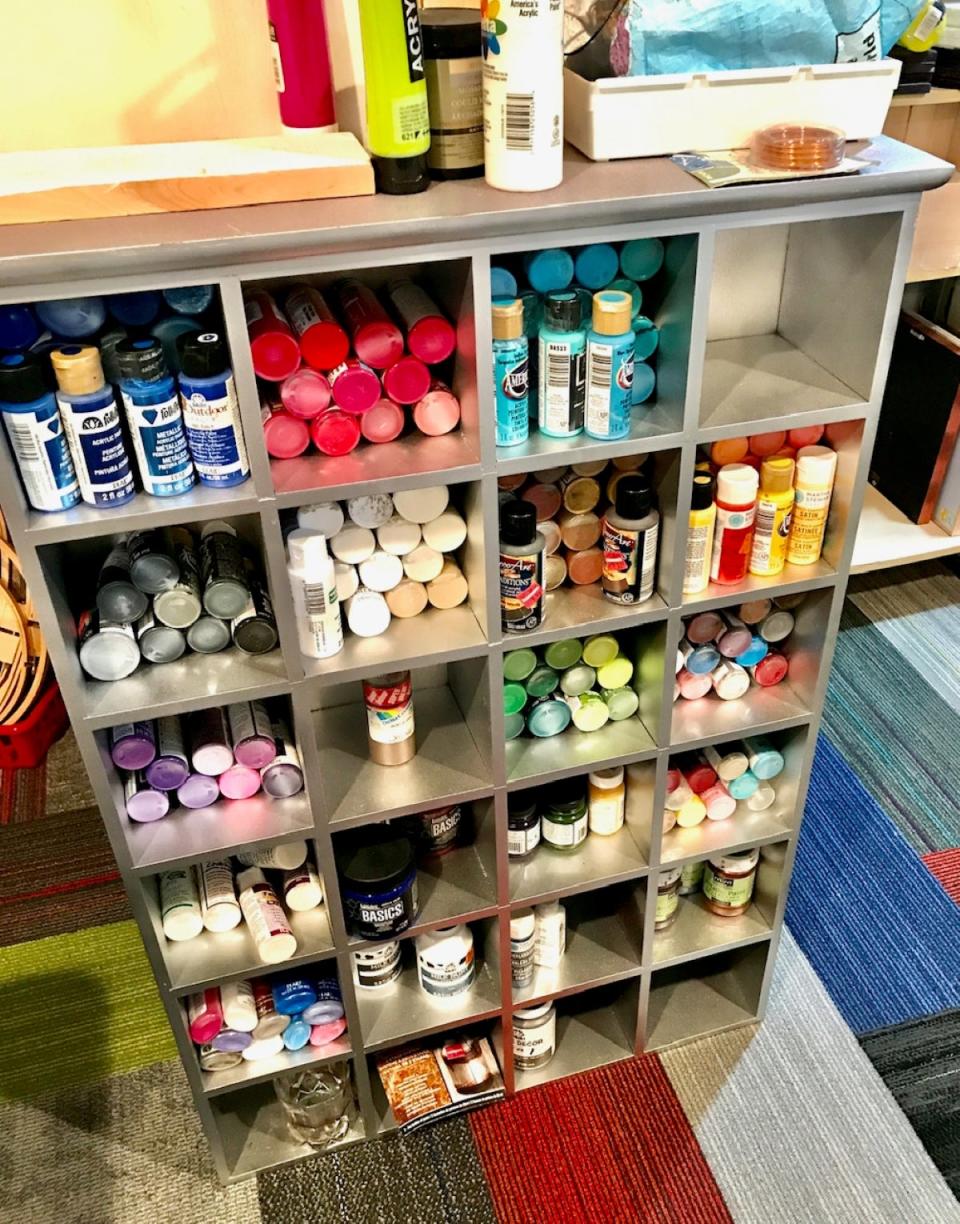
Photo: Tara Rex Designs
If you are looking around the room and thinking: There’s just not enough space to contain all of the creativity, then look up. “Use the vertical space for storage like shelves and stacking storage containers,” says Rex.
By adding shelving, installing hooks, and placing cubbies along the walls, there’s more room down below on work surfaces and the floor to create new crafts. A charming cubby bookcase can be a helpful way to organize paint. When combined with storage bins like this 6-pack of bins from Sorbus at Amazon, it’s even better equipped to keep little pieces and parts organized.
RELATED: 18 Photos That Prove Home Organization Is an Art Form
10. Light it up.
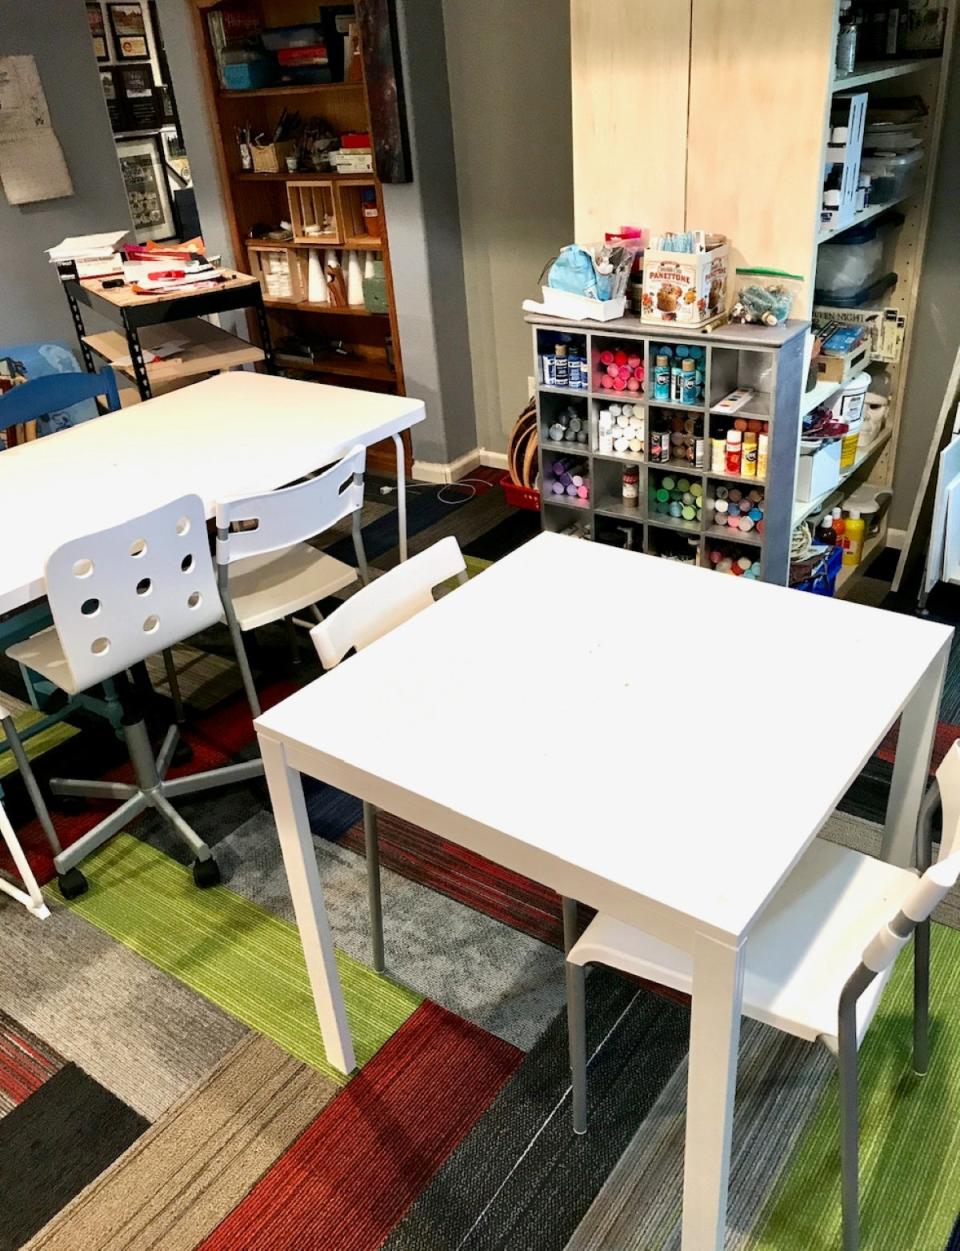
Photo: Tara Rex Designs
Lighting is essential for a crafter. Having a source of natural light is ideal. If there’s no window or a lousy amount of light that comes through a window, look up. For rooms near the top floor of a home, a tubular skylight—like this one from Velux—can be installed to redirect light into the space. (They look so much like recessed can lighting that our electrician thought ours was a recessed light and was super-frustrated when he couldn’t figure out how to turn off the power.)
Electric lighting is also important, since creative types aren’t known to work just during the daylight hours. Make sure there’s task lighting where any intricate work like jewelry making, model building, or whittling will happen. While a desk lamp can work, an adjustable light with a magnifying glass like this one from Addie Kirkas helps make it even easier to see. Ambient lighting is also important, as well as any display lighting for finished paintings or sculptures in the room.
11. Use coupons.
After the room is done, the next fun part is filling it with supplies. Most every crafter has an easy time with this step, but Rex has an expert tip for those who enjoy a deal: “Use your craft store coupons. Sometimes they take competitor coupons for more savings. Check with your store.”

