How to Make Candied Blood Orange Rinds for a Perfect Holiday Gift
This week, we’re spotlighting recipes from Food Gift Love: More Than 100 Recipes to Make, Wrap, and Share by Maggie Battista (Houghton Mifflin Harcourt), the founder of Eat Boutique, an award-winning small-batch foods retailer and blog. Try the recipe at home and let us know what you think!

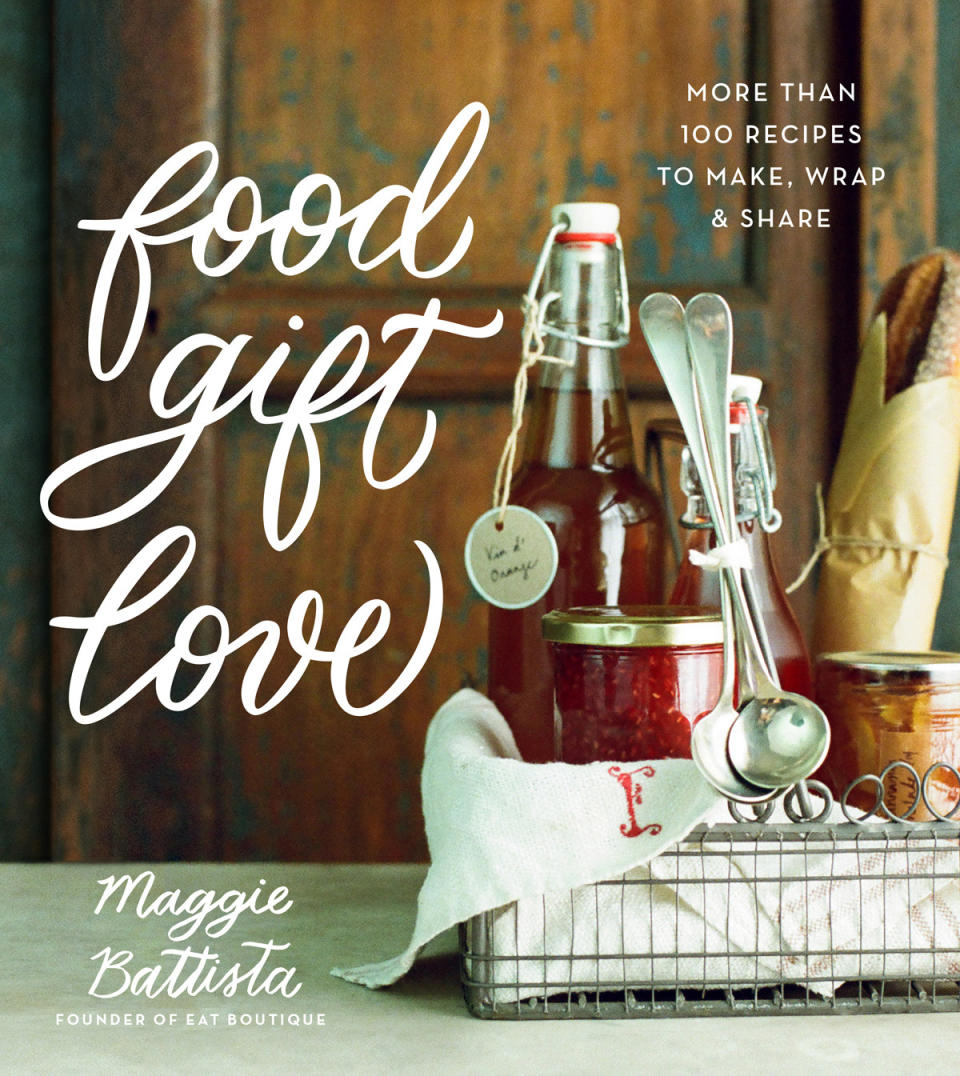
Photograph by Heidi Murphy
Candied Blood Orange Rinds
Makes about 250 strips or about 1 ½ pounds
Preparation Time: About 3 hours passive time (up to 12 hours total time)
The French understand how to preserve citrus with such elegance, and after tasting so many versions of candied rind, in particular, in France, I committed to creating my own recipe. This works just beautifully with oranges and grapefruit, but these Candied Blood Orange Rinds have become one of my signature food gifts. Making them is time intensive but has also honed my multi-tasking skills: I prepare the fruit while watching a movie and candy the rinds while cooking meals for the week.
The rinds will last a while, but I rarely have any left two weeks later. (My mother, in particular, can magically sniff these out in my home; it’s a gift, really.)
5 blood oranges
2 cups granulated sugar, plus more for dredging
1 ½ cups water
Special Equipment
Handheld juicer
Drying rack or parchment paper
With a sharp knife, score the peel of the blood oranges into four big wedges. Peel the thick skin wedges away from the fruit, discarding any loose pith fibers. Set the skin aside.
Slice the blood oranges in half and juice them with a hand juicer. I get about 1 cup of juice; reserve ½ cup for this recipe, and store the remaining ½ cup for another use (like blood orange mimosas).
Slice the orange rinds into strips 1/8 inch and ¼ inch wide. My knives are very sharp, which makes it easy for me to get the 1/8-inch slice, but a ¼-inch slice is good, too. If the peel has a very thick white pith, trim a touch of the white pith away and discard. Do not trim too much, as the pith is what retains the sweetness once candied.
Place the rinds in a pot and add enough cold water to cover by an inch. (If you’re unsure of how to quantify the water, place the orange rinds in the pot and hold some down with a small measuring cup with a clean ruler placed inside. Add enough water to come up 1-inch on the ruler. Remove the measuring cup and ruler before beginning to cook.) Bring to a boil and then boil for 3 minutes. Drain.
Repeat this process 3 more times. Boiling the rinds several times helps to remove extra bitterness. On the last drain, put the fruit aside for a moment.
In a clean pot, add the sugar, water and reserved ½ cup blood orange juice. Bring to a boil and then add the rinds. Return to a boil over high heat, and then reduce the heat to medium. Cook the rinds 45 minutes or until the syrup is very thick and the rinds are barely translucent. Do not stir the pot; just keep swirling the liquid in the pot in order to keep the rinds fully submerged. If you smell any sign of burning, immediately lower the heat and swirl, swirl, swirl.
When ready, remove the rinds from the syrup (a few at a time) with tongs, and place them on a rack or a simple piece of parchment paper, making sure to not let them touch each other (they’ll stick!) Let them dry for 4 to 6 hours or up to overnight. If they are still a bit wet, let them dry a little longer. (They will always be just a bit sticky.)
When dry, dredge the rinds through sugar. I prefer organic granulated sugar, as the color is a bit more translucent and the rind color shines through, but traditional white granulated sugar is fine, too. You may need to press the sugar up against the rinds to ensure that it sticks well. Alternatively, if you plan to use the rinds in a baked good, omit the sugar altogether.
Store in an airtight container at room temperature up to 4 weeks or in the fridge for up to 3 months.
Gift Wrap
Crimping shears
Paper bags
Stamps and ink pad (optional)
Tags
Hole puncher
Round-head paper fasteners
Crimp the bags to the desired height and fill them with rinds. Write or stamp your label on a tag. With a hole puncher, make a hole through the top of the bag and the top of the tag. Thread a round-head paper fastener through the tag and the bag. Bend the fastener into place.
Reprinted with permission from Food Gift Love: More Than 100 Recipes to Make, Wrap, and Share by Maggie Battista (Houghton Mifflin Harcourt).
More sweets treats to make at home:
Apple Cider Caramels from ‘Theo Chocolate’
Peanut Butter Cups from Chocolate for Basil
Kathryn Budig’s Chocolate Peanut Butter Love Bombs

