Zoku Ice Cream Maker review
Colourful, compact, and relatively cheap, the Zoku Ice Cream maker was either going to be brilliant or a gimmick. In under ten minutes, this little bowl claimed to turn a pourable cream mix into a soft-serve delight. It sounded too good to be true, but it wasn’t.
We’ve tested the market-leading ice cream makers. They all are a lot bigger, need to be plugged in, and require at least 20 minutes to churn up the perfect ice cream. Against the industry giants, Zoku’s single serve verve seemed trivial. The idea that it would make ice cream in ten minutes, without needing to connect to any power felt like a stretch. I took the Zoku to our dedicated test kitchen, where I made ice cream, sorbet, frozen yogurt, and more. The results were impressive.
The process was very hands-on and the results were a little rustic, so you’ll want to weigh-up your ice cream needs before buying one. If you’re looking for hands-off, mass production, this isn’t for you. If you don’t mind a more hands on, rustic result, this is perfection.
Zoku Ice Cream Maker Details

Unboxing
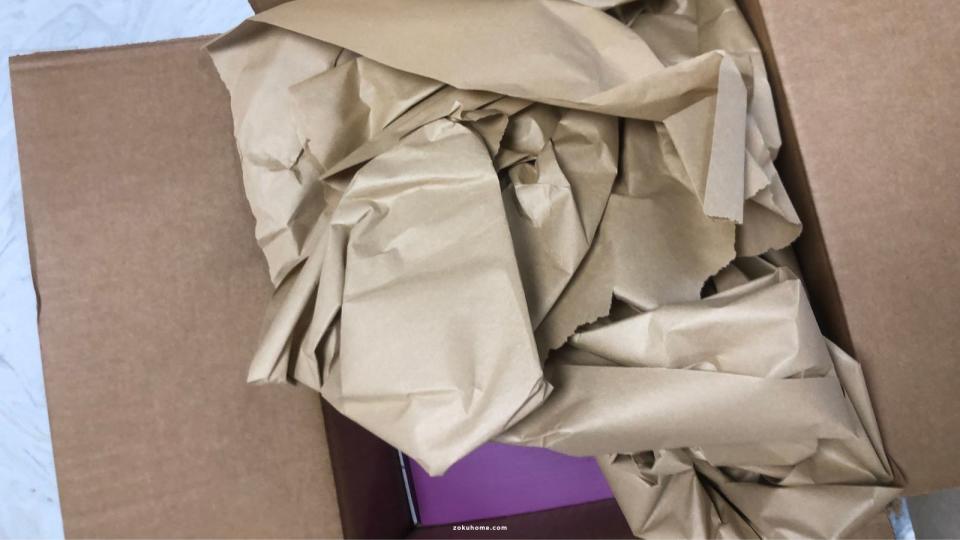
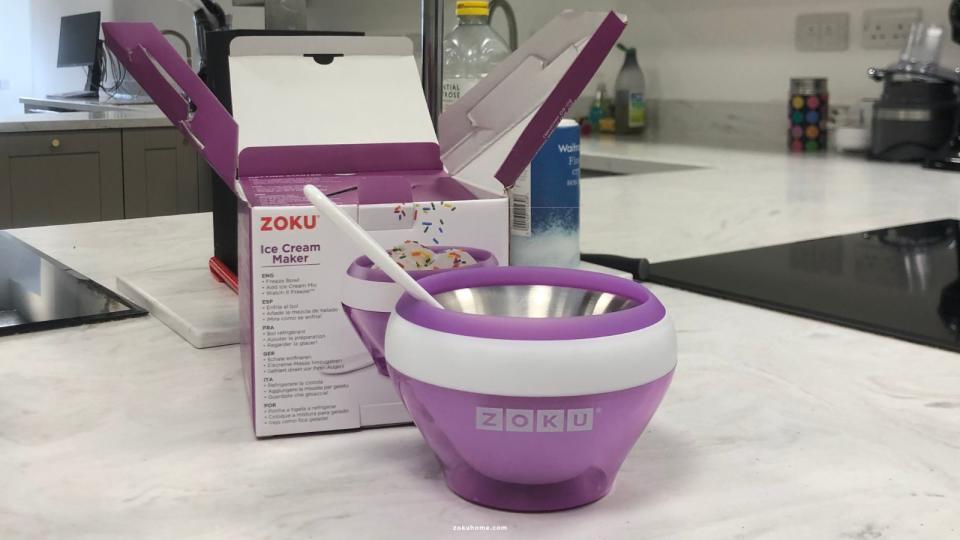
Given the bright colors and low price, I was expecting a lot of plastic packaging, but I was pleasantly surprised. All the materials used to package the Zoku were recyclable and the small box was cleverly designed. It unfolds to show the bowl and stirrer, pre-assembled. As I unfolded the cardboard box, Zoku printed headline information about the ice cream maker, advising you on how to get started.
As with most ice cream makers, this requires some preparation. Zoku recommends that you freeze the inner, stainless steel bowl overnight. Some brands recommend that you wrap your bowl in a plastic bag to avoid freezer burn. It’s better to be safe than sorry, so I wrapped the bowl up and put it at the back of the freezer – where it’s coldest.
The bowl is small enough that I would recommend you always keep it in the freezer. That way you’ll never be caught out by cravings, because it will always be ready to go.
Who will it suit?
By virtue of its appearance, the Zoku is a fun ice cream maker. It would make a great gift for friends, family, and children. There’s no spinning parts, wires, or sharp sides, so it’s a worry free option. The clean-up is easy, so it’s a really good idea for some family fun in the warmer months.
The ice cream maker doubles up as a small bowl, which saves on washing up and portion control - I’ve been known to finish a tub in one sitting on many occasions, so it suits me well.
If you want to make big batches at the twist of a dial or flip of a switch, this isn’t for you. It’s a good hands-on experience with rustic results, but certainly isn’t for those with big ambitions (or big appetites).
What is it like to use?

To begin with, the process was so easy I didn’t trust it. After freezing the Zoku overnight, you simply have to pour your ice cream or sorbet mix into the bowl and stir using the spatula that they provide. You consistently scrape and stir for a minimum of five minutes, until you have the ice cream texture you want. I read a number of users like to freeze the bowl again after ten minutes to get more solid ice cream.
Vanilla Ice cream
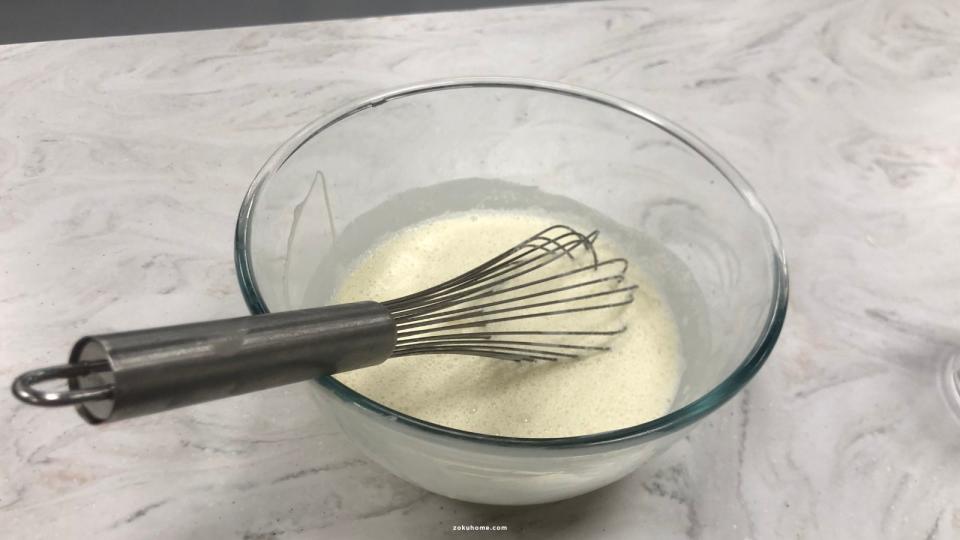
Any mixture that you pour into your Zoku needs to be around 40 degrees Farenheit, which is fridge temperature. To make my ice cream mix, I whisked one cup of whole milk with ¾ cup of granulated sugar. Once the sugar had dissolved, I stirred in two cups of heavy cream and two teaspoons of vanilla paste. I could have quartered this quantity and still had some leftover, but I wanted to make sure that I could test a few batches. Zoku has a recipe book and collection of online recipes that you can follow if you want to make different frozen delights.
After leaving the bowl in the freezer overnight, I took it out, placed it into the outer bowl and slipped the silicone edge on. There’s no clicking into place, so if it looks right, it probably is. The process is all very simple.
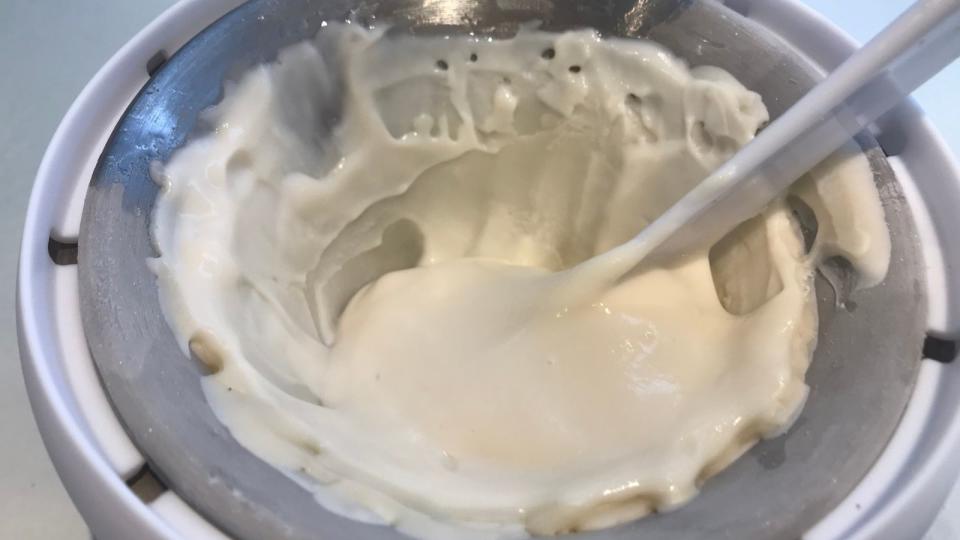
I poured 5 fl.oz of my mixture into the bowl and stirred with the white spatula. After a minute, I noticed that the mixture was freezing at the edges, so I refined my technique to a ‘stir and scrape’. Scrape the spatula around the edges, wipe off any ice cream that clings to the spatula using the silicone edge, and then stir the mixture from the bottom.
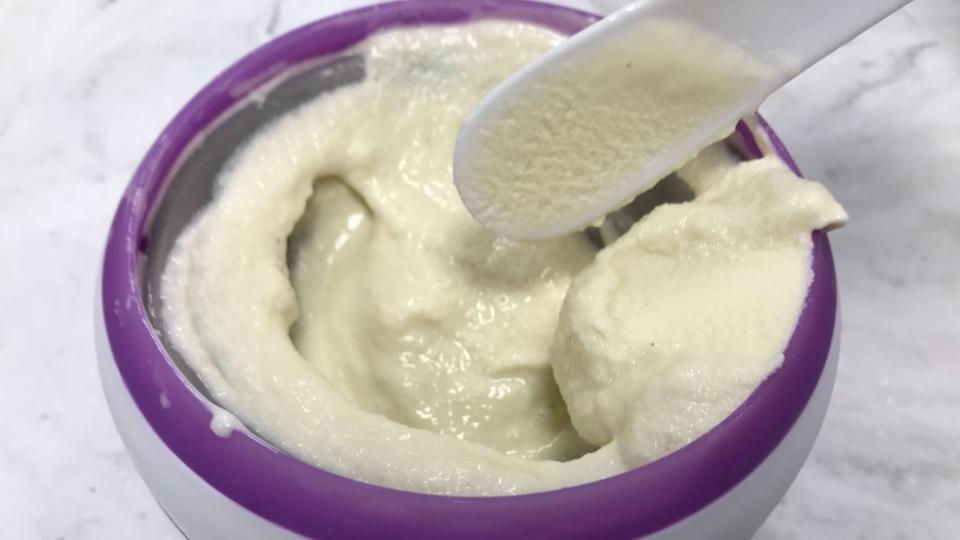
After five minutes, the mixture was about the texture of a thick soup. I had a fair amount of ice cream that had built up on the silicone edges, making it look a little messy. I carried on for another five minutes, spreading the ice cream over the colder edges. After ten minutes, it was the perfect soft serve consistency. It wasn’t as silky-smooth as my churning ice cream makers and looked a little lumpy, but that’s what I would expect from homemade ice cream.
At the ten minute mark, you can add chocolate chips, biscuit, or brownie, and stir it through. I used some small brownie pieces and they were easy to integrate. Zoku recommends that you freeze your ice cream for another ten minutes if you want harder ice cream. I did and it worked, even if I was impatient to taste test. Very cool.

Vegan ice cream
Vegan and dairy-free ingredients have a reputation for being difficult. Vegan butter can be a bit too soft for baking, vegan milk can split, so I was skeptical. I substituted vegan double cream and oat milk into a smaller version of my dairy vanilla ice cream recipe. I did the same scrape-and-stir method and my results were identical. I had to double check that I had used the right mixture. It was very impressive. Bearing in mind, the Zoku had been used for around 40 minutes, my vegan ice cream was equally thick.
Yogurt
After the ice cream tests, I put the Zoku back in the freezer for three hours. I didn’t want to compromise the results by letting the inner bowl overheat. Once the time was up, I added five tablespoons of yogurt to the Zoku . This froze a lot quicker than my ice cream and, as a result, formed a thick rim around the edge. I kept stirring and chipping at it, but once it was hard, it was quite difficult to work off. I used some warmer water to wash the yogurt off the edge, but was worried this had warmed the bowl up too much. At this point, the Zoku had had a lot of use. All of the other ice cream makers had given up and warmed up, so it had already out-performed the other models.
The next day, I tried frozen yogurt again, but added some milk to the yogurt so it was more like my ice cream mixture. This worked, so I learnt my lesson. Don’t add any mixture that is too thick or too much in one go. Conversely, I tried putting my protein shake in, but this was too watery. Again, I got the frozen rim and then a liquid inside. These aren’t faults with the Zoku, they were just me experimenting.
Sorbet
By this point, the Zoku had more than performed as promised. I couldn’t find much online guidance for sorbet, so I blended some room temperature berries, sieved out any pips, and chilled them in the fridge. I added a little sugar syrup and then poured my sorbet mix into the center. I was ready to re-live my yogurt and protein shake problems, but carried on with the scrape and stir method. My sorbet worked in the same way that the ice cream did. It never got to being a super smooth texture, but I was pleased with my sorbet results. It was frozen and thick within fifteen minutes.
Cleaning and Storage

The cleaning process was as easy as the assembly. I popped the silicone ring and outer cup off and washed all three parts, including the spatula, in warm soapy water. They don’t advise that you put these in the dishwasher, which makes the cleaning process more of a hassle, but there’s not much to clean and they’re all simple shapes.
The spatula which Zoku provides doesn’t damage the stainless steel and I let it double up as a spoon. Be careful when cleaning the stainless steel and use a soft sponge and try to avoid sharp spoons, because these might scratch the bowl and ruin its appearance. If you find that the outer sleeve is stuck to the frozen bowl, put it in warm water and twist.
The bowl is very small and could easily slot into a number of places in your kitchen. I would recommend that you keep the freezer bowl in the freezer at all times so that it’s always ready to use.
How does it rate online?

I was unsurprised to find glowing reviews online, most of which were four or five stars. People really appreciated the speed with which they could make ice cream and I found a lot of grateful ice cream lovers who appreciated that you can’t make too much; the bowl doubles up as good portion control.
Customers generally made a couple of servings before the bowl warmed up too much to keep on using. They suggested that three hours in the freezer was enough to give you one more serving’s worth of ice cream making on top.
Although people found it easy to clean, they were concerned that any slight change in shape, such as cracks or temperature expansion could make the bowls fit more loosely, becoming a problem. I found that people who didn’t stir and scrape ended up with a solid mass at the bottom that was hard to move – there’s definitely a technique to master.
How does it compare?
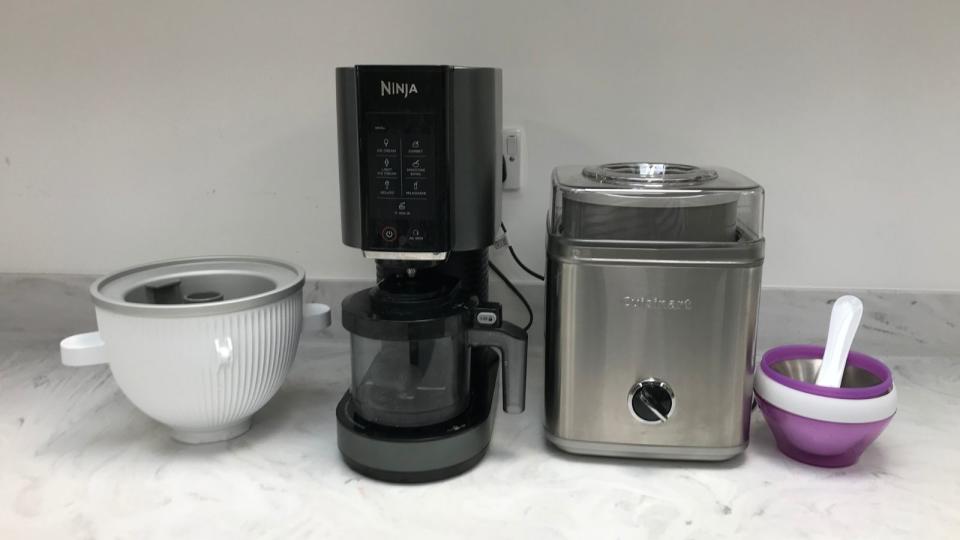
The Zoku ice cream maker isn’t like any of the others that I tested. All the market-leading brands used motorized churners and blades. Without the motor, the Zoku was quiet, lighter, and much more portable. I also found that I could use the Zoku for a lot longer and re-freeze it much quicker than the other ice cream makers in my tests.
The shapes of the bowls were a lot easier to wash than fiddly paddles and I had ice cream ready to eat in ten minutes. Most other ice cream makers took at least 25 minutes. However, my ice cream was not nearly as smooth and creamy. It was good, but against the professional soft serve delivered from the other machines, there wasn’t any competition. However, for $25 this is fantastic value – a true beat the heat treat.
Should you buy it?
If you are looking for perfect, professional batches of ice cream, I would recommend the Cuisinart or KitchenAid ice cream maker. However, the rustic results of the Zoku are an amateur ice cream maker’s dream. If you’re more focused on flavor and fun, you really can’t go wrong with the Zoku.
How We Test
At Homes & Gardens we are committed to thorough and rigorous testing. That's why we ensure that we have personally tested products -- where possible -- before we recommend them to you.
We tested the market-leading ice cream makers in our test kitchen. We made thorough notes from unboxing, right through to cleaning up and storing the ice cream makers away. We gave them basic tasks, such as making vanilla ice cream, but we also used dairy-free ingredients, and sorbets, so that we had a representative picture of how these ice cream makers would function in your day-to-day life. If you would like to know more about how we test, we have some detailed information on our dedicated page.

