A Star Wars Jedi Survivor walkthrough to help you battle the Empire

This in-progress Star Wars Jedi Survivor walkthrough will help you get through the critical story path and make battling the Empire a little easier. You’ll start your journey in the familiar cityscape of Coruscant but will venture to other destinations across the galaxy with rich environments to explore. However, many of the maze-like linear areas can be tricky to navigate, and all those open worlds with abundant opportunities to freely explore means distractions from Cal’s quest are everywhere – however, anything you miss can be returned to after you’ve completed the story.
Jedi Survivor guides
Star Wars Jedi Survivor tips
How long is Star Wars Jedi Survivor?
I recommend doing at least a bit of exploring here and there to open shortcuts and find useful items such as Force Essences and Stims, but in this walkthrough, I’ve laid out the critical path – the essential areas you need to get to and objectives you need to complete – to finish Cal’s journey and the Star Wars Jedi Survivor story. It’s organized by each destination in the order that you’ll visit them with the necessary objectives listed along the way. It’s not complete just yet, but I will be adding to it adding to over time - it's a big game!
Major spoilers ahead (obviously) although I have tried to omit exact story details and notable moments where possible.
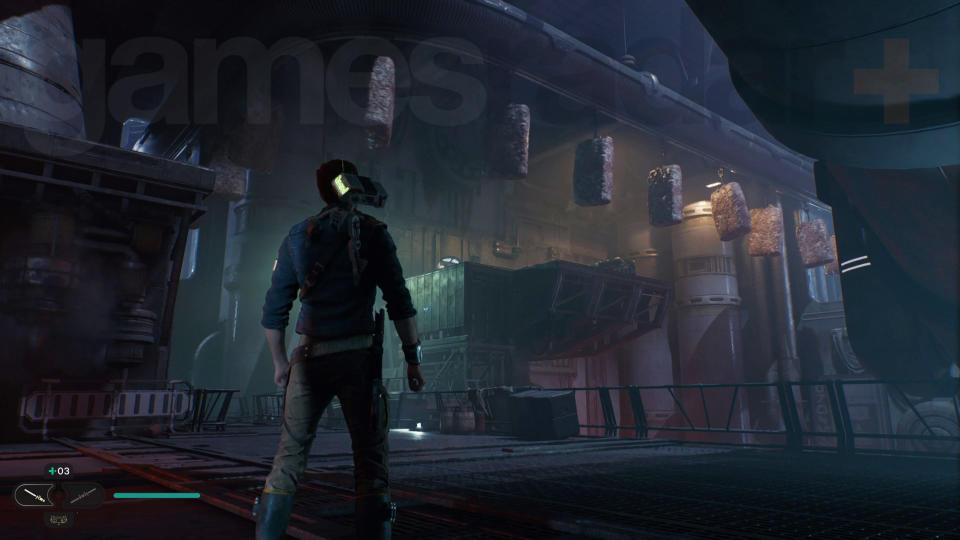
Star Wars Jedi Survivor begins with a less-than-ideal situation for Jedi hero Cal Kestis – he’s been captured and is being taken to see an Imperial Senator by Corscant security forces.
Follow CSF Captain
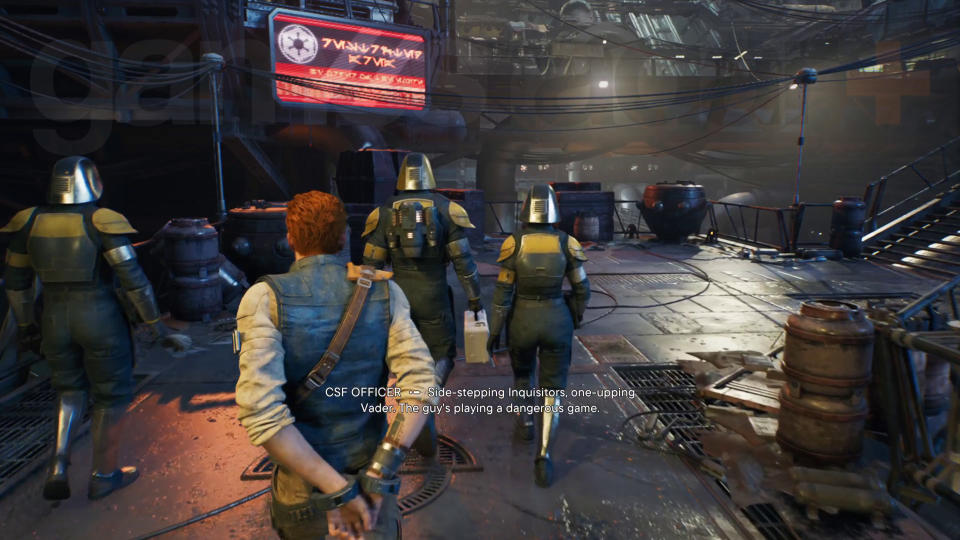
Once the initial cutscene is over and you gain control of Cal, all you need to do is walk with the security guards and follow the CSF Captain. This will lead you to the Docks where you’ll meet Senator Sejan. After a cutscene, you’ll have a short tutorial fight against some Imperial troopers, showing you the basics of single lightsaber and Force combat.
Pursue the Senator’s yacht
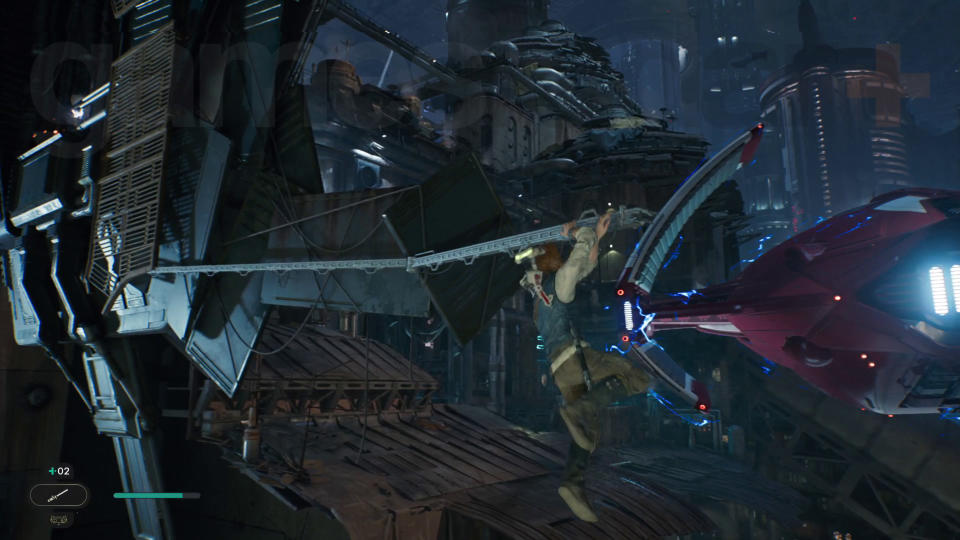
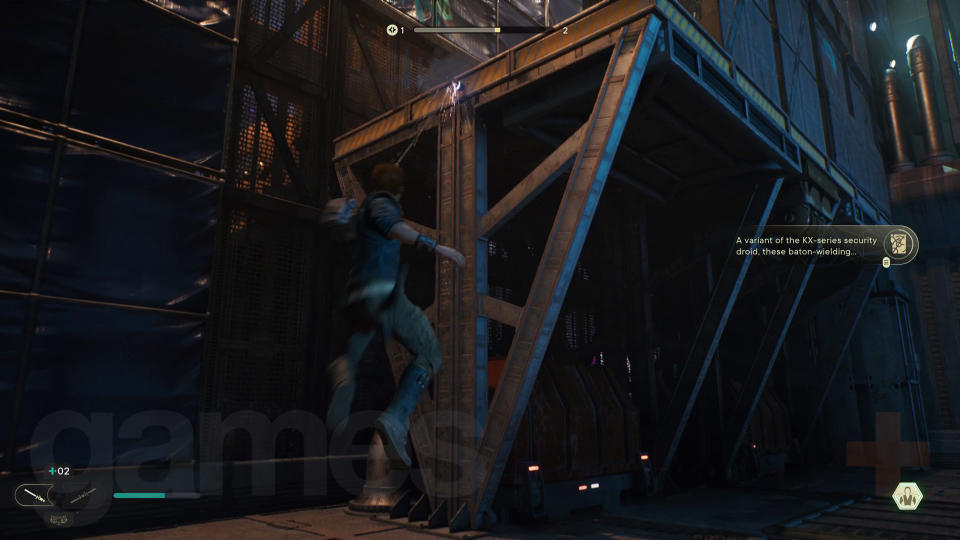
After that, things go a little awry and you need to climb to the left along the metal bar, up using a climbing wall, then to the right on another metal bar. Cal will fall off, reaching a new area – Rooftops.
Force Push the metal wall panel, then turn right and go down the rooftops. Jump across the gap to the left then climb up the wall. To the left, there’s a grate you can climb up to reach another roof, and once you’re up there, look at the large pipes to the right and jump up to the climbing grate there. Carry on and you’ll reach the Rooftops Meditation Point. There's some Star Wars Jedi Survivor priorite near here if you want to start collecting that. It'll be important later.
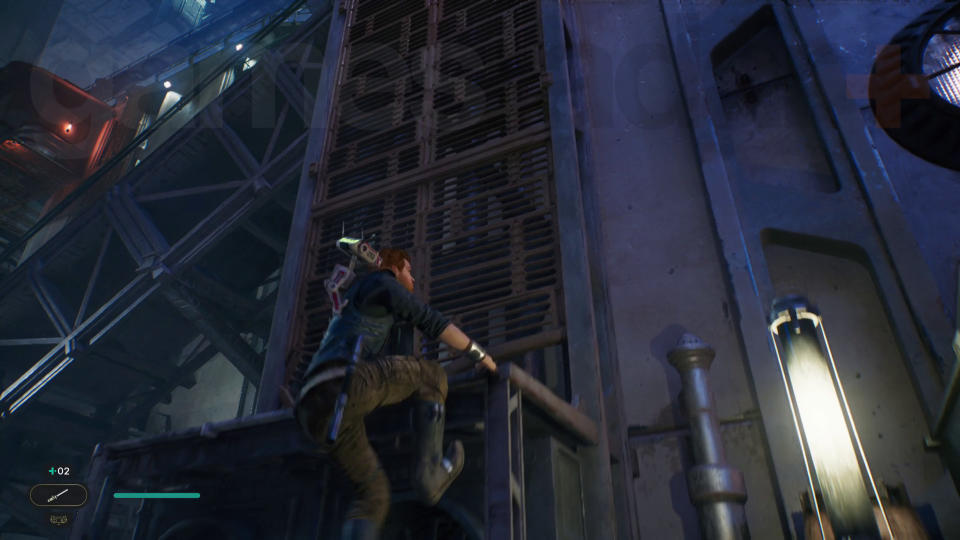
From where you climbed up, jump up to the ledge on the right, then climb the grate up to the next level. Carry on through the rooftops, heading through a squeeze gap. Just after you get out the gap, head left. You’ll eventually drop onto a rooftop with troopers on it. You need to head through another squeeze gap on the left to get to the next room.
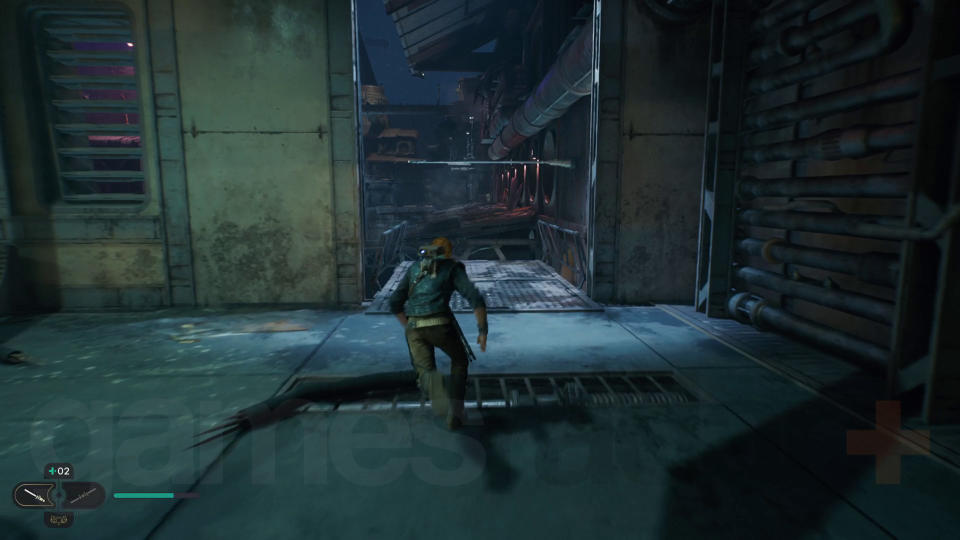
Deal with the troopers here, unlocking the Double-Bladed Lightsaber Stance – check out the other Star Wars Jedi Survivor Lightsaber Stances here – then jump to the horizontal pole outside and swing across, then climb all the way up. Here you’ll meet up with Bode.
Reunite with your crew at the yacht
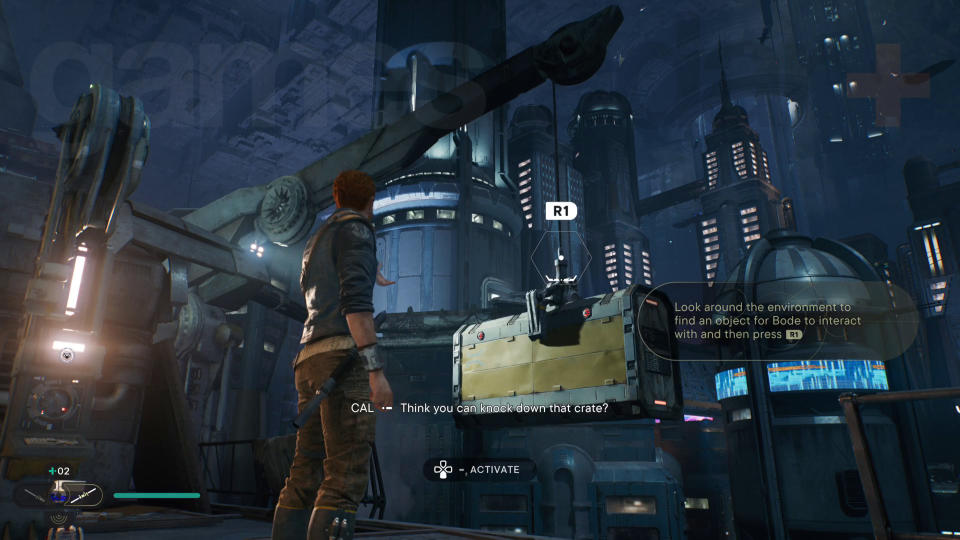
Walk with Bode through the Rooftops (you can cut a cable to open a shortcut back to the Meditation Point during this section) and you’ll catch up to the yacht. Get BD-1 to activate the zipline on the left where you'll find it blocked by a container and need Bode to remove the container. Activate the zipline again, and cross over to Renovation Site 4733 – hot tip: hold R2/RT while riding a zipline for a boost.
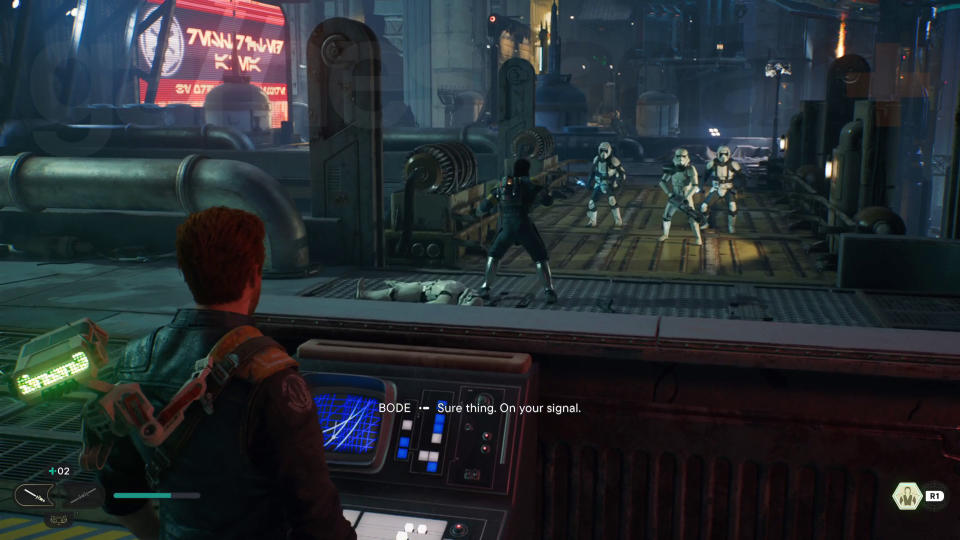
Wall run across the neon board to reach Bode and the next area. There’s a wet incline here that you can’t walk up, so climb up on the right. Get Bode to lower the cable on the upper level, use it to get up, then follow him around to the right. Slide down the incline and leap to the troopers at the bottom. Now, use the terminal to raise the bridge – there will be more troopers on this bridge, so be ready for a fight.
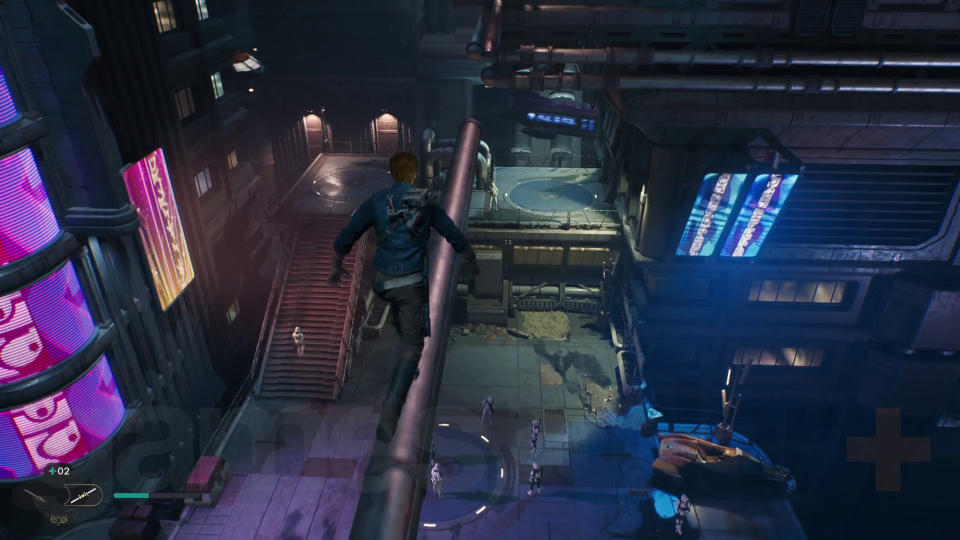
After the fight, cross over and tell Bode to move the red board, then run across it to reach the Renovation Site 4733 Meditation Point. Head up the stairs and wall run across the neon board, then follow the walkway and go through the bar on the left. Swing on the poles to reach the other side, then walk along the pipe above the troopers to trigger a scripted fall, leading into a big fight.
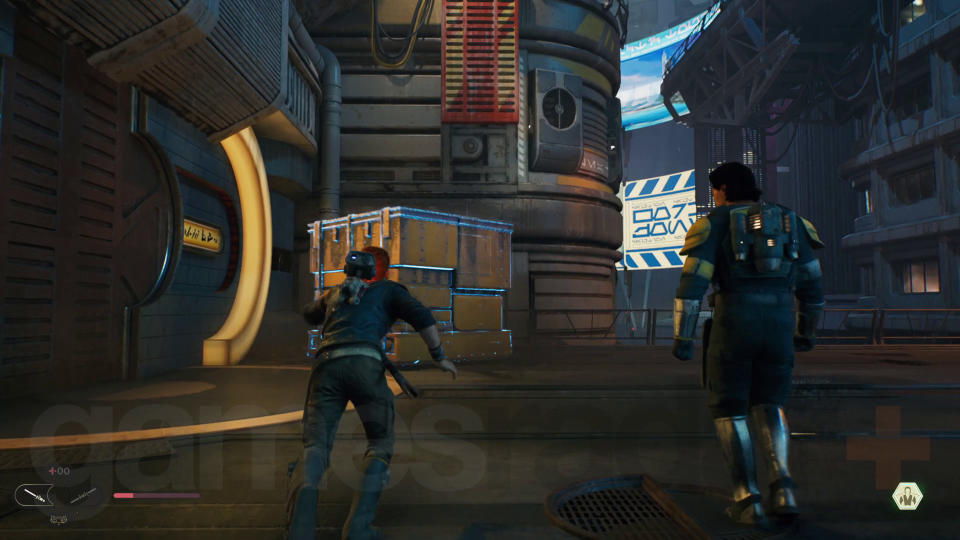
Afterwards, head down towards the round yellow door. Command Bode to lower the climbing panel on the upper-right ledge, then use the Force to move the large cube object against this wall so that you can climb. Get up and wall run along until you reach a tied rope. Cut the rope and use it to swing across to the climbing wall. Climb up then press on up some steps to fight troopers (there’s a zipline shortcut you can activate on the right too).
After going down some stairs and turning around, go through a squeeze gap on the left. This leads into a boss fight against a security droid called K-4O5 – it’s quite an easy fight as the droid has fairly slow and readable attacks.
Next, investigate the junk pile to get the Ascension Cable – a grappling hook and one of the first items in a list of Star Wars Jedi Survivor abilities, Force powers and gear you can unlock – then use it to reach Bode’s position up high. Activate the terminal to rotate a machine into place then grapple over and climb down to reach the renovation site Meditation Point again.
Now, start heading back to the bridge that you raised earlier – you can now grapple to the previously out-of-reach wall running panels. Continue forward to meet up with your crew and enter the Industrial Stacks area.
Board the Senator’s yacht
Before going ahead, immediately turn around and go up the steps to activate a zipline shortcut that leads back to the Meditation Point. Now to board the yacht, you need to move some pipes blocking the way. Go over to the twins – they’ll push a gate down, allowing you to grapple and climb to the first pipe and move it with the Force.
Climb on the underside of the yacht to reach the next pipe and move that too. Jump to the metal grates on the yacht and climb to the right then up to get on deck. Get BD-1 to open the door and head inside.
Gain access to the Senator’s terminal
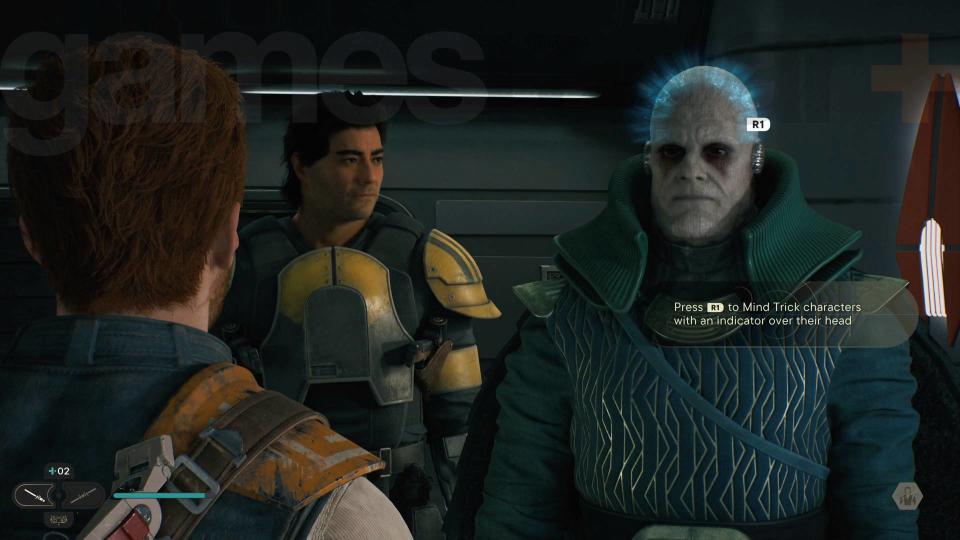
Move through the yacht and approach Senator Sejan to trigger the trust or reward Jedi Survivor mind trick (you can't actually fail, so choose whatever option you like). Your next objective is to extract the Senator, so just head back the way you came through the yacht. Unfortunately, an ambush from the Ninth Sister is waiting.
Escape Undercity Meats
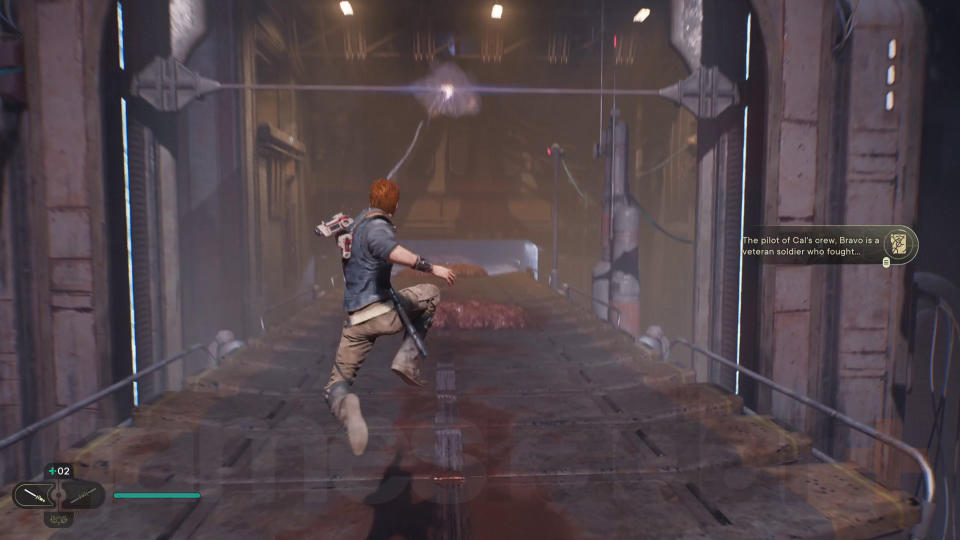
Cal drops right into Coruscant’s meat production zone, so escaping here is the next step. Start by turning around on the conveyor belt and grappling to safety. Move through the area then get up to the next level by wall jumping – repeatedly jump up this white wall with vertical lines to climb. At the top, you’ll reach the Undercity Meats Meditation Point. There’s also one of the Star Wars Jedi Survivor stim canisters to grab nearby.
Press on down the walkway where the large meat slabs are being transported along a rail. You’ll need to grapple up, then go inside a room to the left to fight a Purge Trooper. Once they’ve been defeated, walk through the dark room on the left and squeeze through the gap at the other end. In the next room you’ll learn the Confuse Force power, then you’ll reach the Freight Handling Depot.
Grapple a moving meat box on the above rail and drop into the next zone to battle the stormtroopers. Slice the exit door with BD-1 and get up to the next area – you’ll find the Freight Handling Depot Meditation Point here. Press on to get back to the Mantis.
Take down the Ninth Sister’s gunship and defeat the Ninth Sister
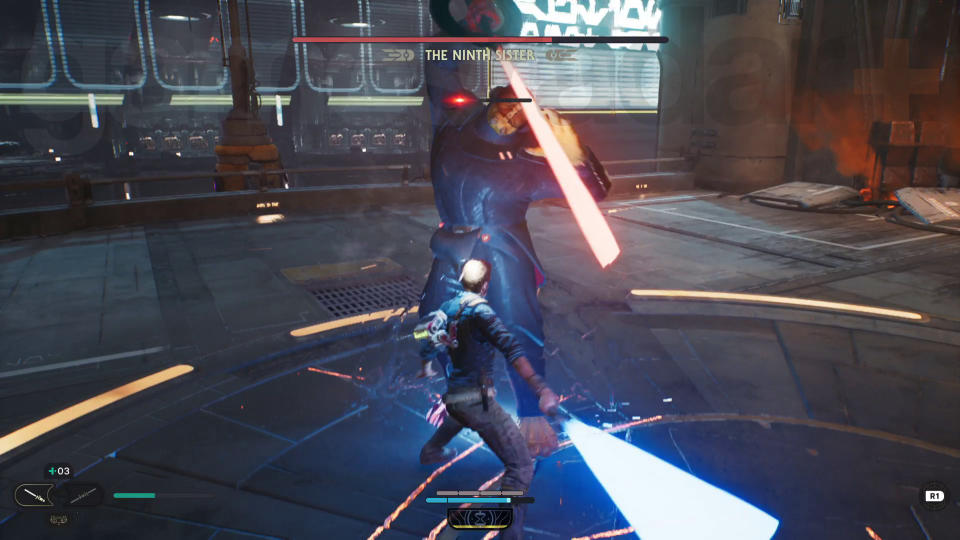
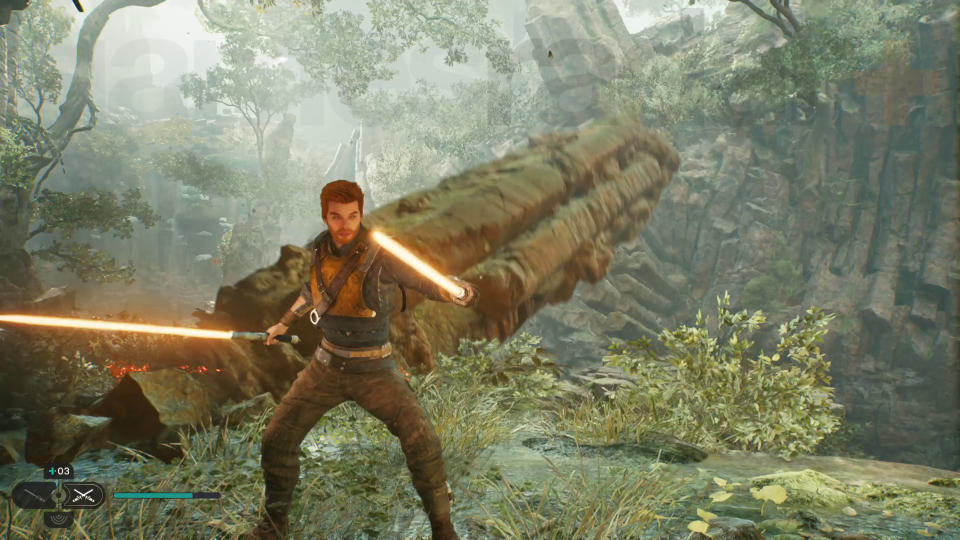
After the cutscene showing the yacht crashing in, climb aboard and bring down the gunship. This mostly happens in a cutscene, so you don’t need to do much. However, now it’s time to battle the Ninth Sister (again, if you played the first game). She has much the same moveset with her double-bladed spinning lightsaber. As with a lot of tough enemies, the best approach is to parry her attacks to drain her block, then strike back while vulnerable. You will defeat her for real this time and will unlock the Dual Wield Lightsaber Stance.
Get to the hangar
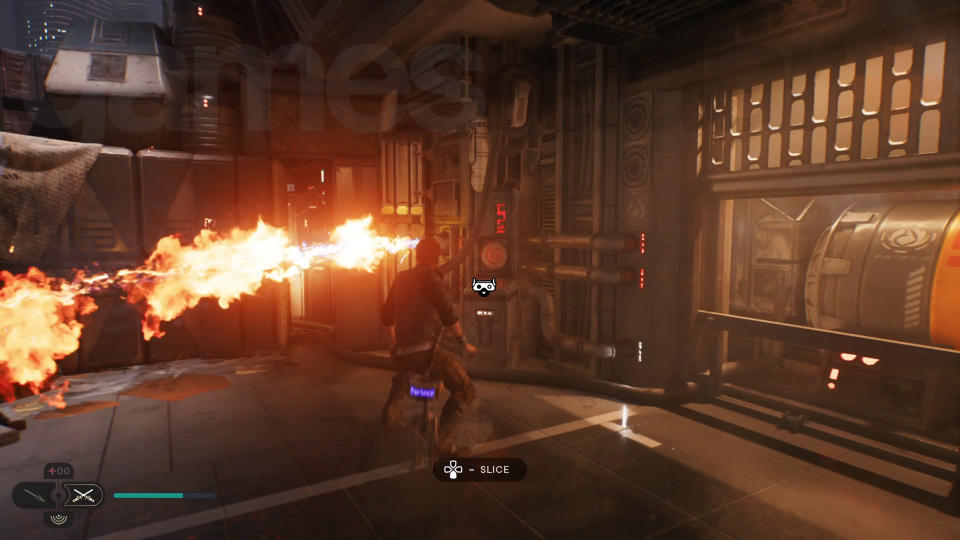
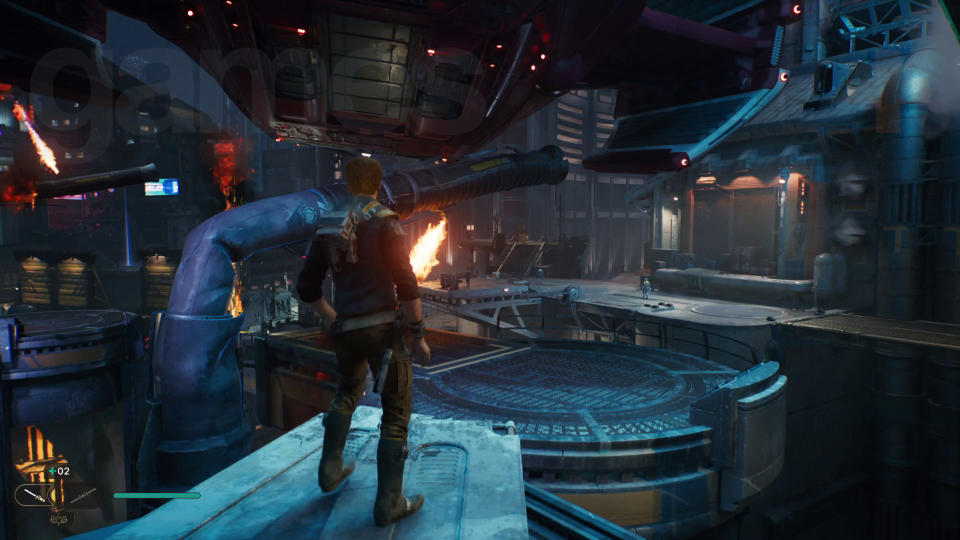
Get BD-1 to activate the terminal next to the flaming pipe on the right. This will extinguish the fire and allow you to squeeze through the gap. You’ll find the Skylane Regulation Station Meditation Point on the other side. Head down the stairs, then take the lift down.
Once you’re off it, head right, activate the zipline, and ride it up to progress. Next, head up the steps, climb the cable, and get to the ziplines – these will take you to Hangar 2046-C. Go inside the building to meet Bode and Bravo.
Free the Mantis
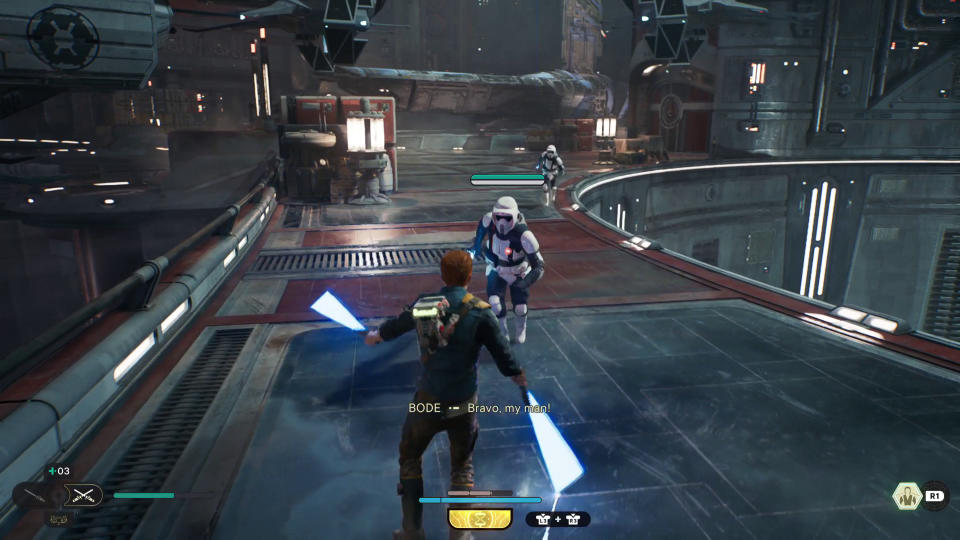
Press on and take the lift down to the Hangar 2046-C Meditation Point. Open the next set of doors and fight your way to the Mantis. Speak to Bode and Bravo to board the Mantis and make your escape.
After a cutscene, you can wander the Mantis. You need to clean it by picking up some BD-1 parts from the kitchen table and must use the Workbench. After that, go to the cockpit and interact with the pilot’s chair to travel to Koboh.
Cal has made it to Koboh, but a hard landing has left the Mantis damaged. This is the first part of a pretty long stint on Koboh, and you’ll be back several more times to explore other areas later. But your goal for now is to meet up with Cal’s old companion, Greez, to fix the starship.
Find Greez

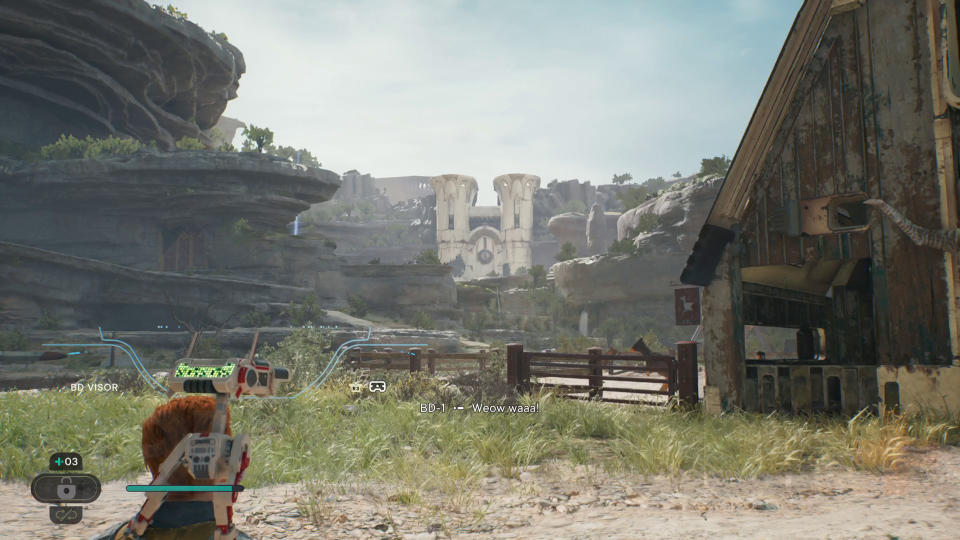
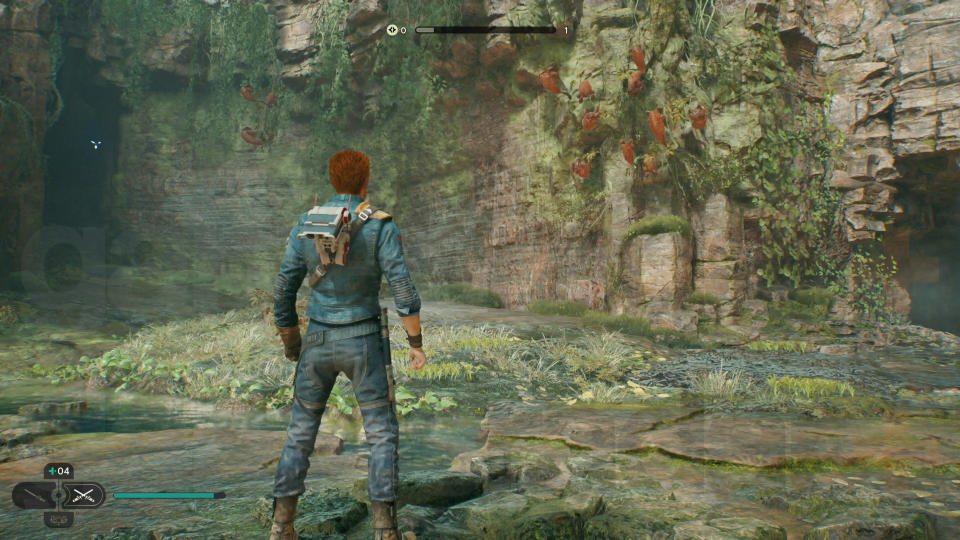
You’ll start your journey in the Gorge Crash Site but need to travel quite far to reach Rambler’s Reach Outpost. Start by following the path to the left until you’re eventually forced into a tutorial for BD Visor and BD-Noculars – set a beacon on the large Trontoshell creature.
With that done, head right and take the lift down to reach the Gorge Crash Site Meditation Point. From here, head left and wall run across the cliff wall on the right to reach some rock platforms and battle droids. Keep going forward and you’ll enter a cavern with more droids and a Bedlam Raider. Carry on through the cavern Now you can get out of the cavern by going through the dark tunnel and along the ridge, then climb up and left along the vines. Jump to the next area and activate the zipline shortcut back to the Meditation Point, then climb along more vines to reach more raiders and droids.
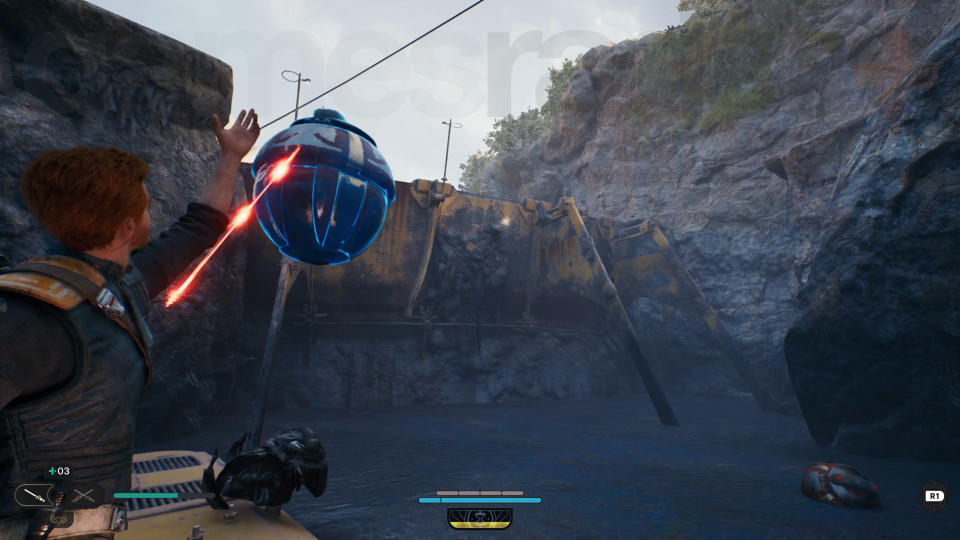
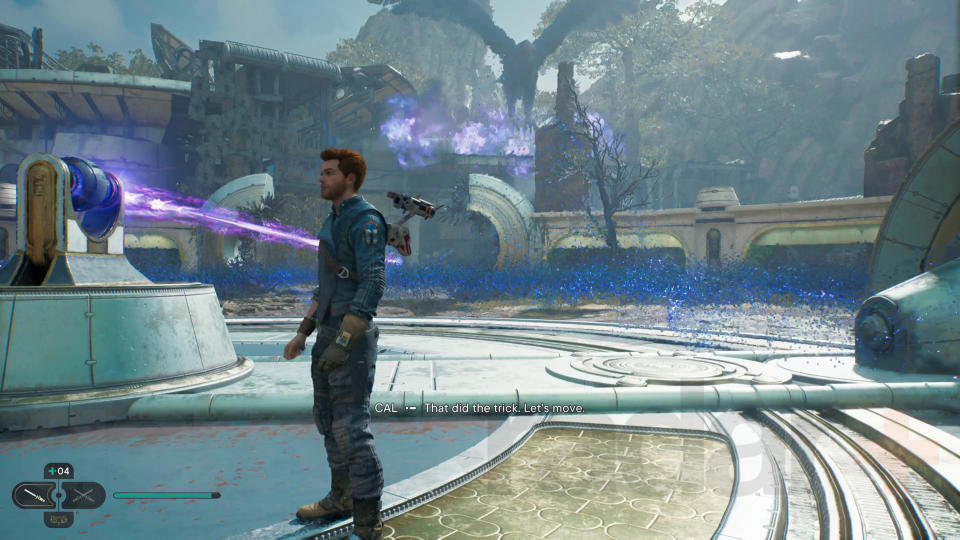
After this combat encounter, wallrun to the upper level, then jump to the yellow platform in the tar pit. To progress, you need to blow up the yellow dam ahead – do this by Force Pulling a roller mine droid from the tar then Force Pushing it at the dam to blow it up and flood the area. The platform you’re on will rise, allowing you to reach the next ledge, where you can sever a cable to set up another shortcut.
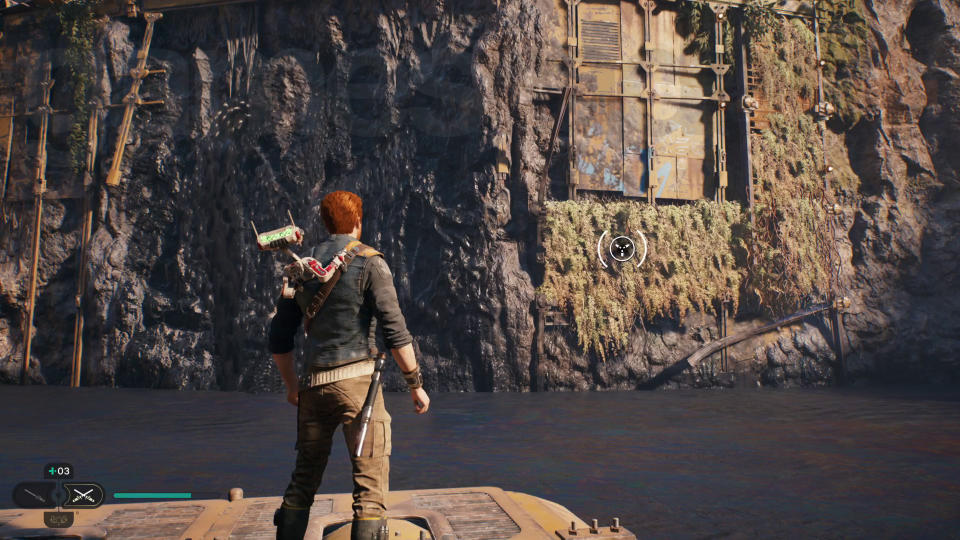
Follow the walkway around the tar, passing the pit droid as you go, to reach the Derelict Dam area. Head downhill to get to the Derelict Dam Meditation Point. From here, head right and go over to the yellow, gunked-up bridge. Cross over by jumping the gap to the left instead, then jump down to the platform in the tar pit. You will have noticed the crumbling dam and you’ll be blowing this one apart just like before, although there are a few extra steps.
Grapple to the vines, climb up the dam, and walk along it. You’ll notice a raider and some droids outside a building entrance below – if you just wait, roller mines will actually blow most of them up for you. Now, head inside and make your way through the tunnel, bearing left (you can find the Star Wars Jedi Survivor Vashtan Wolfe character here too), then drop into the hatch at the end.
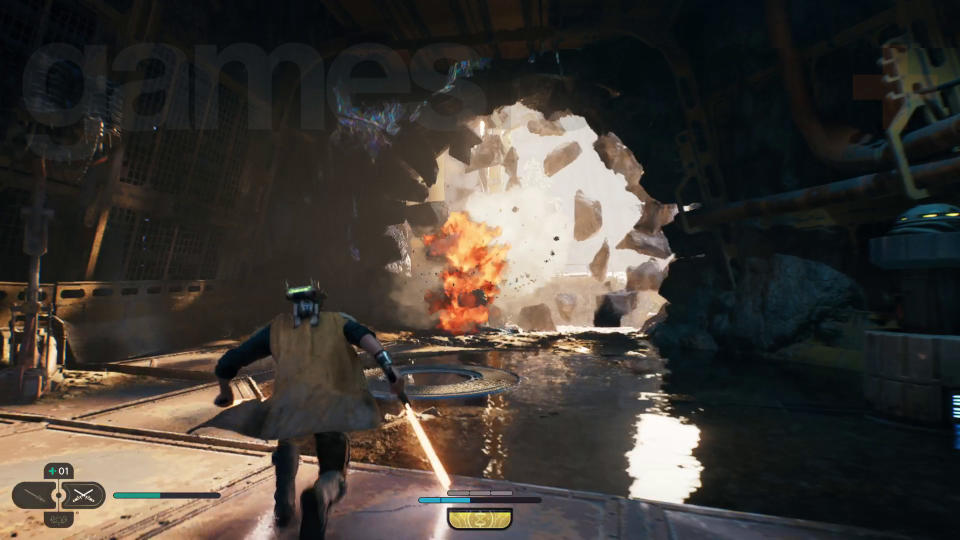
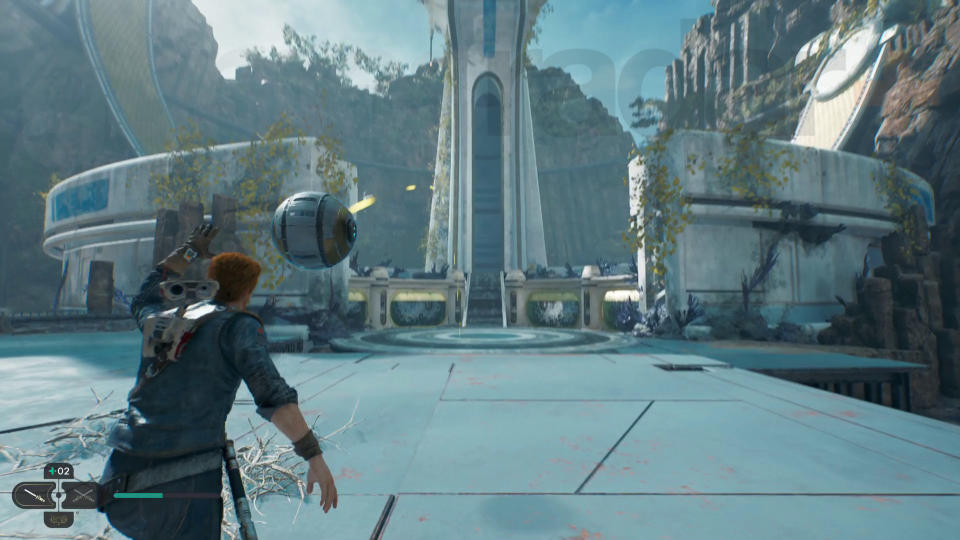
Carry on through and then get BD to slice the terminal to activate a roller mine dispenser. Pick a mine up and toss it using the Force at the cracked cave wall to blast it open. Now do the same but for the gunked-up bridge to lower it into place. Finally, get a roller mine to follow you across the bridge and then pick it up and lob it at the dam to blow it up and flood the tar pit. You can now hop across the platforms to reach the other side and the Trontoshell!
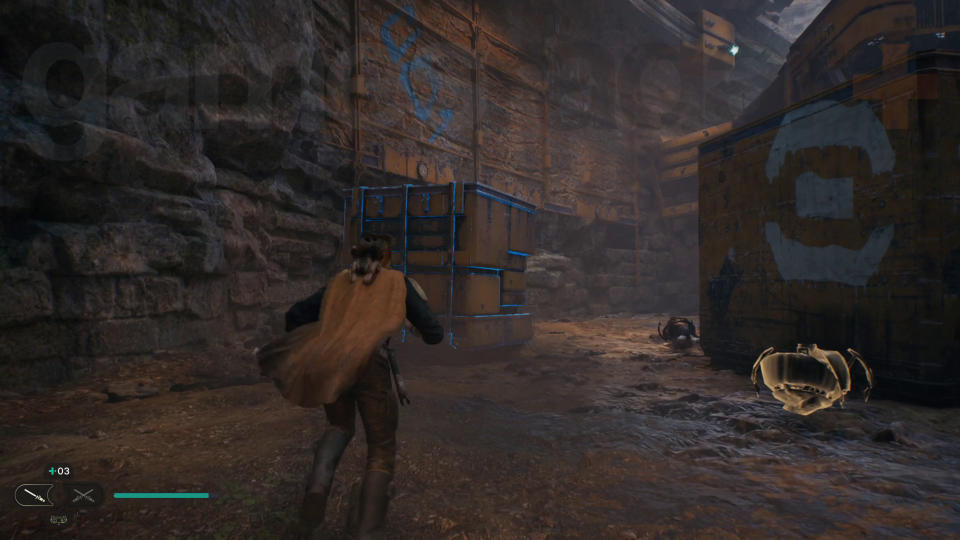
Next, press on, use lift to go down and follow the path around to the left to fight quite a few droids. There’s a large cube in this area that you need to Force Push towards the wall with a blue marking on it. Climb onto the cube and wall run around to the upper area, then cut the cable to create a rope that you can swing from.
Drop down and climb the ledge near the rope and then grab said rope and swing across to the yellow ledge where a Bogling is sitting. Follow the Boglings through the tunnel and up by wall jumping. This’ll get you to the Southern Reach Meditation Point.
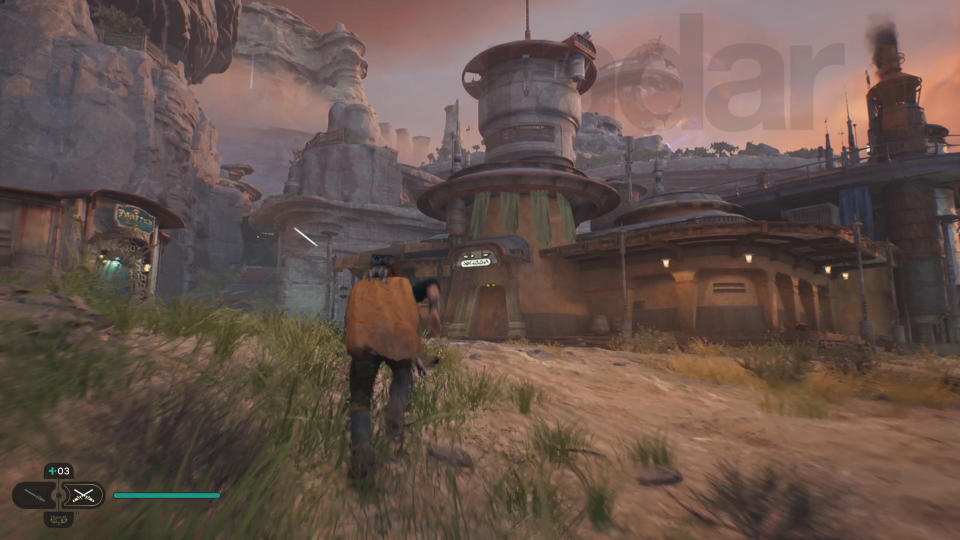
Follow the path around to the Southern Reach proper and you’ll meet a woman called Mosey in a cutscene, and Rambler’s Reach Outpost will be in your sights. Just head downhill towards town and you’ll reach the Rambler’s Reach Outpost Meditation Point. Carry on into the middle of town and look for Pyloon’s Saloon – the large building with the glowing sign above the brown door. Approach and you’ll be thrust into a cutscene that introduces Rayvis, leader of the Bedlam Raiders.
Zeik boss fight
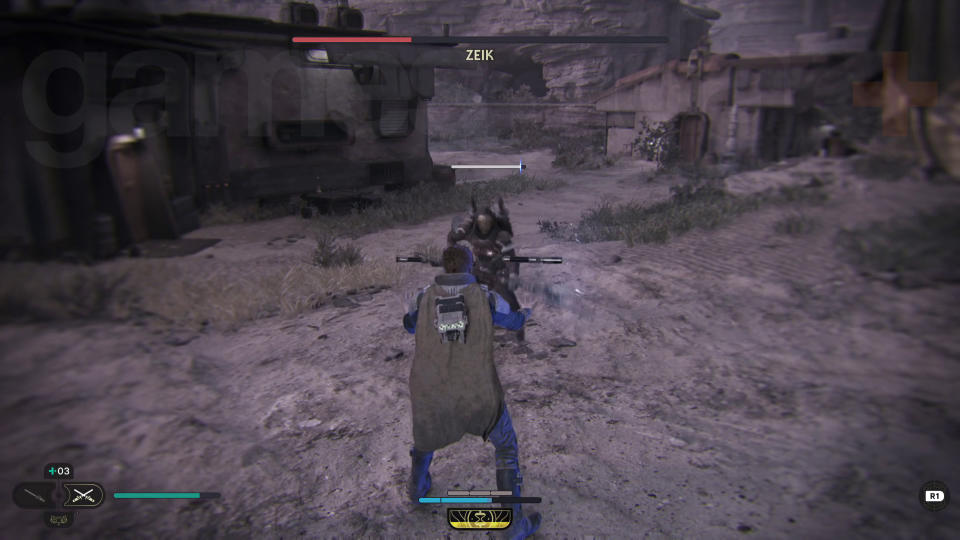
As Cal steps in, you’ll then go straight into a boss fight against one of the other raiders, Zeik. They have some hard-hitting unblockable attacks, but nothing too deadly and are pretty easy to beat. You’ll face a lot more Bedlam Raiders exactly like Zeik as you play, so consider this an intro to Jedi Survivor’s melee-focused enemies. With Zeik dealt with, you can finally head inside Pyloon’s Saloon to meet Greez!
Rest in the basement
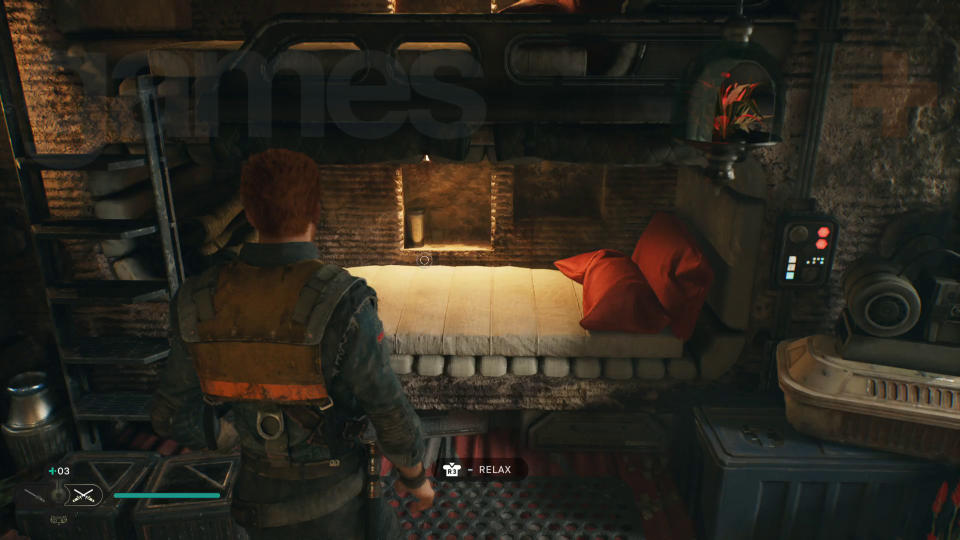
Now is a good time to explore the saloon but your objective is to rest in the cosy basement room. Head across the bar and go through the door on the right to get to the kitchen. Then head go through the door on the left to get down to the basement. You should rest at the Pyloon’s Saloon Meditation Point that’s down here, but to progress further, you need to interact with the bed.
After resting up, Greez tells Cal that he should be able to find a gyro module needed to fix the Mantis in a smuggling tunnel that joins to the basement.
Find gyro module
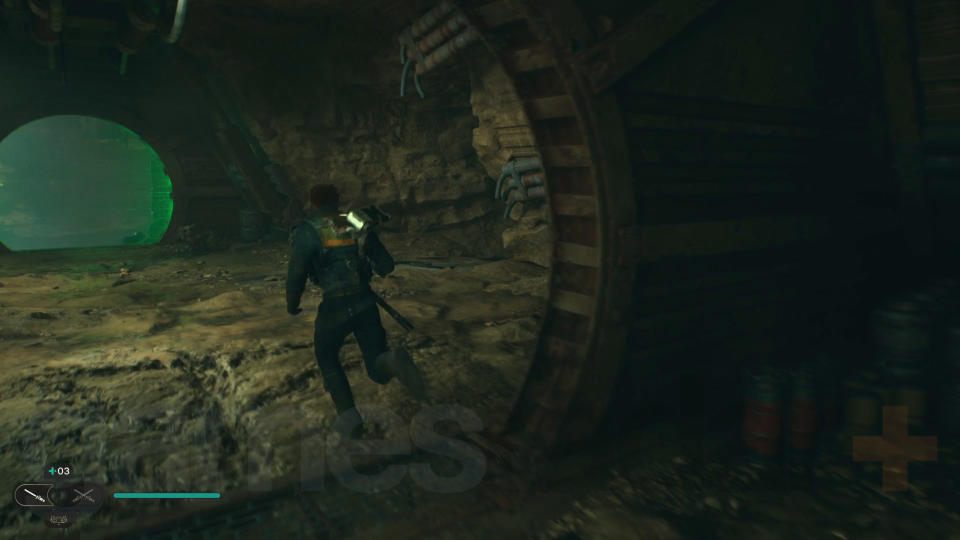
Head down the Smuggler’s Tunnel and when you get to the Star Wars Jedi Survivor green laser barrier, go right to squeeze through a gap in the wall. This leads into a cave which you can wall run around to get onto an upper path blocked by rocks which you can Force Push away.
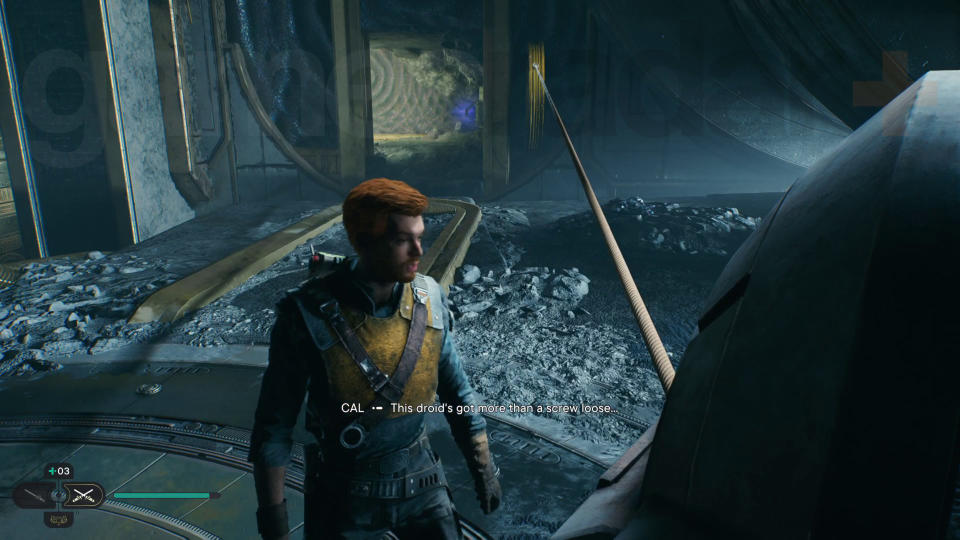
Now you’ll be in another cavern with some rock ledges that lead down. Make your way along and you’ll eventually find the gyro module on the ground, so interact with it to pick it up. However, Cal’s bad luck continues as he and BD-1 fall into a hole and end up in a mysterious chamber.
Bring gyro module to Greez
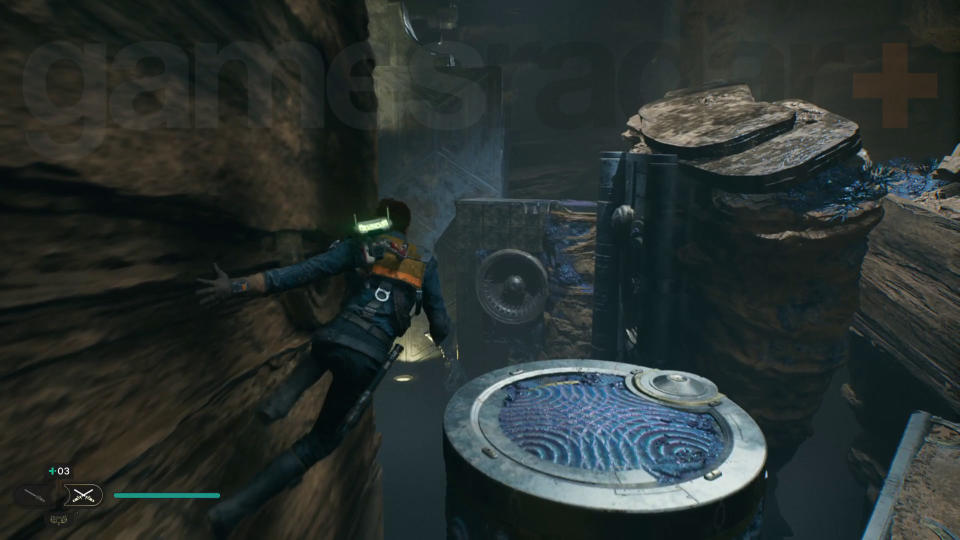
Now that you have the gyro module, you need to get through this chamber to reach Greez. Rest at the Collapsed Passage Meditation Point, then traverse further into the chamber – you’ll end up wall jumping up to a higher level which leads into the main area called the Chamber of Duality.
As soon as you get into the chamber, look left and Force Pull the metal orb from the coupler holding it, then Force Push the orb into the other nearby coupler that’s glowing blue. This will form a bridge so that you can cross over to the central platform. Do so and you’ll uncover an ancient High Republic droid known as Zee.
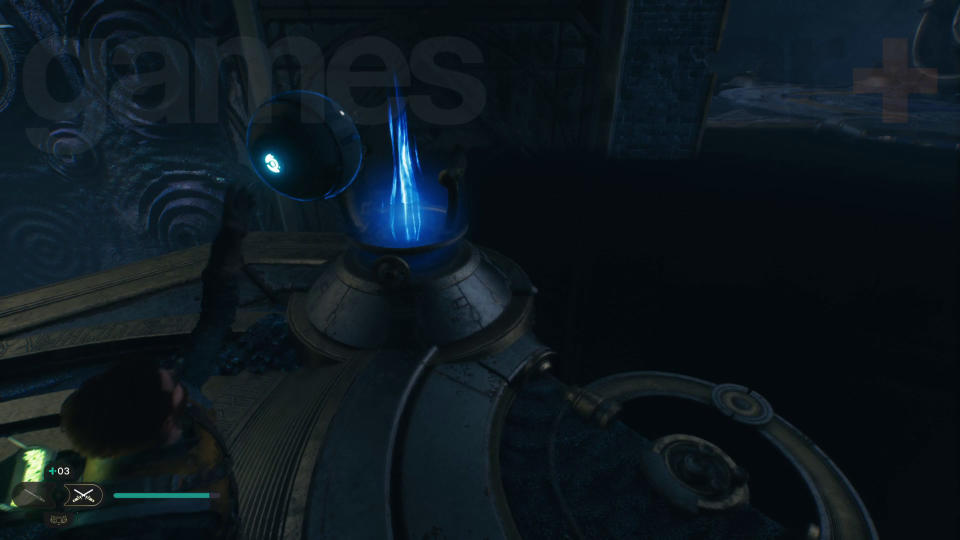
Unfortunately, Zee is trapped so you need to free her using more orb-and-coupler puzzles. Start by Force Pulling the orb from before and throwing it into the coupler in front of Zee. Once the new bridge has formed, get across, grab the winch cable on the nearby wall, and attach it to the locking device to open a doorway on the wall.
You can now grab a second orb from the newly revealed small room. Take the new orb back to the central platform and toss it at one of the two couplers that are behind Zee. Then grab the first orb and put it in the other coupler to activate the bridge.
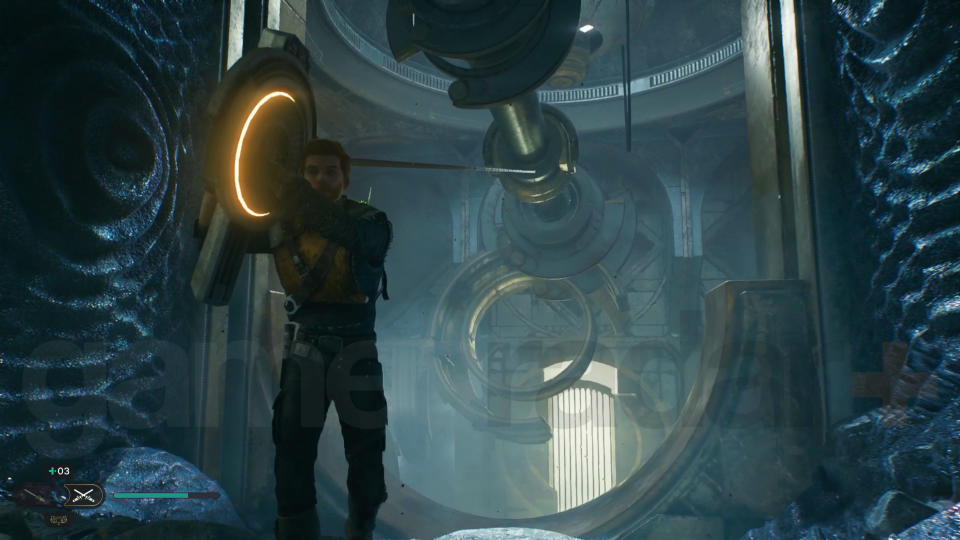
Cross the bridge, wall run to the left, then wall jump upwards on the opposite side. While you’re up here, pull in and lock another winch cable to raise the ruins pinning Zee down. Jump down to the droid and help her up. After the cutscene, follow her back across the bridge where she’ll access a lift that takes you right back to Rambler’s Reach Outpost. Lead her inside Pyloon’s Saloon to hand over the gyro module. While Greez and Bode get the Mantis fixed, it’s up to Cal to investigate a Forest Array to help Zee on her mission to open a path to the hidden sanctuary of Tanalorr.
For the next part of your Koboh adventure, you need to head well beyond Rambler’s Reach Outpost to first open the Forest Gate, then reach the Forest Array and help Zee on her mission.
Open the Forest Gate
The Forest Gate is a tall, white gate that’s easily visible from Rambler’s Reach Outpost. Using the map, head in the general direction of the gate’s objective marker and you should wander over to the Swindler’s Wash Meditation Point. You’ll notice that the area is divided by a small canyon carved out by a river with the gate up on the other side of the canyon, but no obvious way to get there.

To get across, follow the stream up to the waterfall and jump into the pool area – be aware that there is a large, red creature called a Bilemaw in this area. Now, head over to the rock wall behind the waterfall itself and wall run to the right up to a ledge.
From here, just run along this side of the canyon and you’ll end up right at the Forest Gate. You can set up a zipline shortcut that leads back to the Meditation Point along the way. Interact with the gate and Cal will open it using the Koboh Tuner he got from Zee. With the gate open, follow the path to reach the Basalt Rift.
Reach the Forest Array
To cross the first Basalt Rift area, you need to set up a zipline, but some protruding rocks are blocking the cable’s path. Start by wall running to the left and cutting down the rock pillars in this area. One will collapse entirely, forming a bridge. Walk across, then Force Push the protruding rocks to clear the path. Now you go back and get BD-1 to activate the zipline to travel across.
Carry on through the next area with a water stream, wall running and grappling to avoid getting swept away. Go through a squeeze gap, then go down the path to the left and traverse the area to reach the Basalt Rift Meditation Point. You’ll be able to see some Bedlam Raider droids fighting Imperial Stormtroopers ahead.
Get over to the droids and Stormtroopers and clear them out, then head down to the right. This path leads down into a cavern, but you need to climb across the gap using vines on the wall. There are more troopers to battle on the other side, but once you’ve fought them off, there’s a zipline shortcut you can set up that leads back up to the Meditation Point.

Continue further into the cavern and then go down the waterslide to reach an area with a couple of troopers and a Bilemaw. Once you’ve dealt with those enemies, head over to the cliff edge and start Force Pulling rock chunks out the opposite cliff. Jump to them to reach a wall-running wall and climbing vines that lead to the next area – another cave with a green Twi-lek woman called Toa.
Carry on through the cave and follow the path around to the left, but make sure you also cut down the rock pillar to create a bridge shortcut leading back to the Meditation Point. As you walk, a cliff section will collapse, crushing a couple of Imperial troopers. The obvious path appears to be to use the climbing vines to get around the debris and go uphill, but you actually need to drop off the ledge to the right of the vines, then keep heading down to get to the lower level of the jungle – heading uphill does lead to a Stim, however!
At the jungle floor, you’ll face another Bilemaw in a clearing. Once you’ve defeated it, there are more rock chunks that you can Force Pull from the cliff wall, allowing you to reach the next area.
Head down the path and you’ll come across these strange particles that inhibit Cal’s abilities and suffocate him- stay inside them for too long and you’ll die. Push on through the particles and you’ll reach a large pit area littered with the stuff. To get across it, head right and climb along the vines and the metal girder. This gets you to an upper area from which you can jump to a metal platform in the pit. Wall run down the chasm to reach the Forest Array area and Meditation Point.
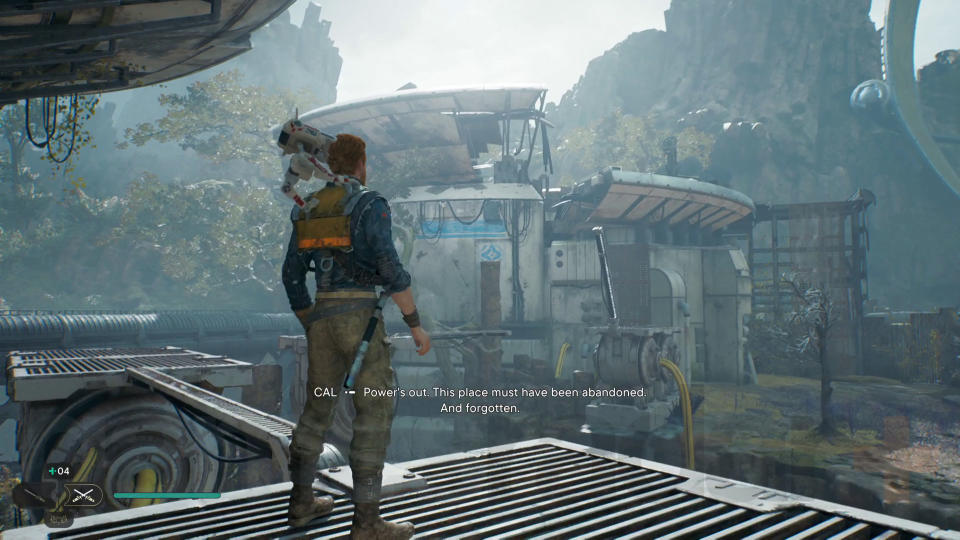
You’re now in the right area but there’s still quite a long way to go to reach your goal, and indestructible barriers of web-like Koboh matter block the critical paths for now. Start by heading left from the Meditation Point and Force Pushing the metal bar down. Now, traverse the platforms and bars ahead, avoiding the particles below, and then climb up and to the right. When you get to the top of this array building, you’ll spot a massive bird creature tangled in some Koboh matter. You can also set up a zipline shortcut from this position.
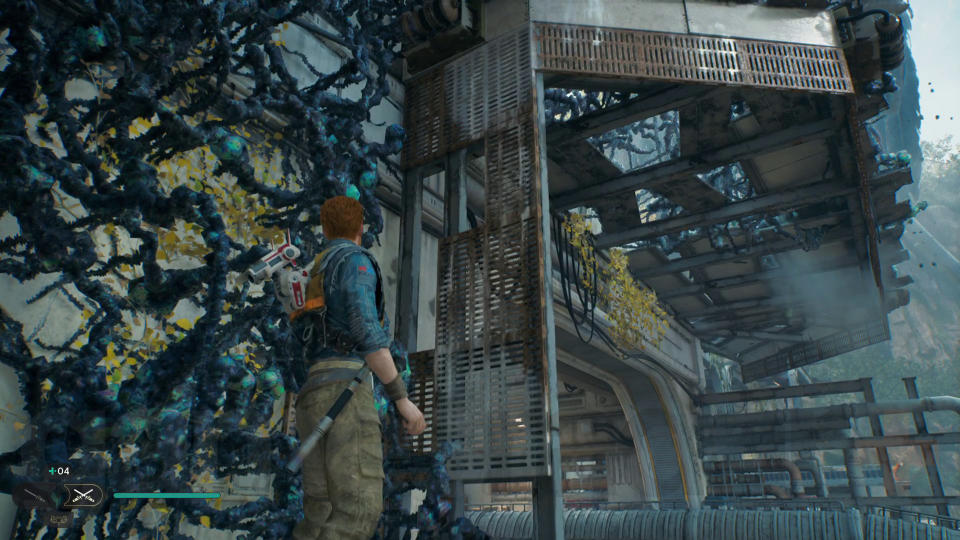
Next, head down to the lower part of the building, then jump to a climbing grate on the right next to a web of Koboh matter. Keep climbing along until Cal falls off in a scripted moment. Now you need to wall run to the previous building to progress, and there’s also a door shortcut you can open here.
Keep going through the structure until you cross a bridge to another building. Here you’ll face a ferocious Mogu creature, so be careful. Afterwards, climb up using the grate at the end of the bridge to get to the roof.
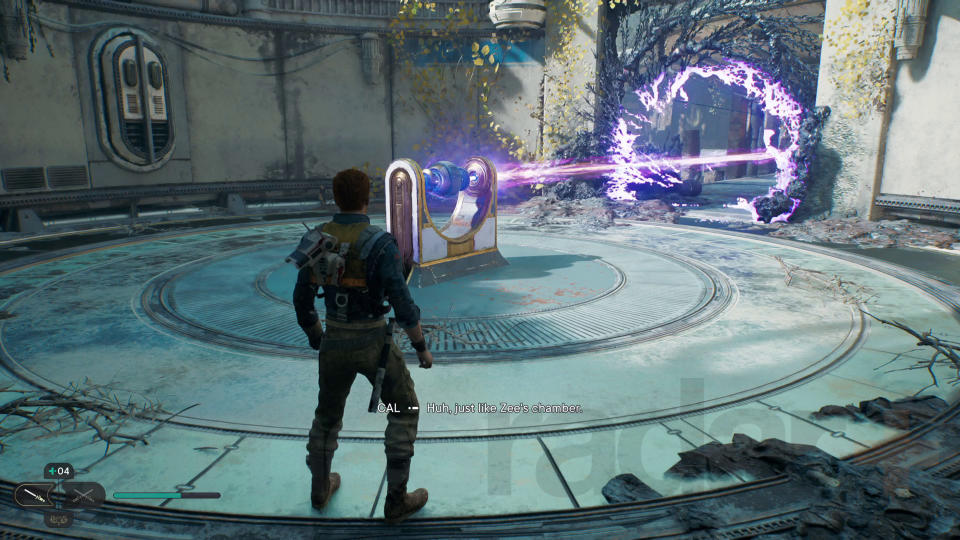
Once you’re there, jump down into the middle to find another orb and coupler. Move the orb into the coupler to create a beam that destroys the Koboh matter barrier ahead, leading back to the Meditation Point, and even the one on the opposite side.
Run across the walkway and follow the beam to the opposite area and jump up to the metal platform. You can swing off a pole to reach ledges that lead you out of this building – you can also cut a cable to set up a shortcut once you reach upper position. From the cable shortcut, drop down to the left and then head uphill to the right.
Once you’re at the top of the hill, head left and down another path leading into a squeeze gap. This takes you to the Bilemaw Den area and Meditation Point – be sure to grab the Force Essence in the little cave area that provides the Confusion: Major Fauna ability. Next, head up the hill to reach a small Imperial camp that’s under attack from the Bilemaw. You can use your new ability to ensure the Bilemaw continues attacking the Imperials.
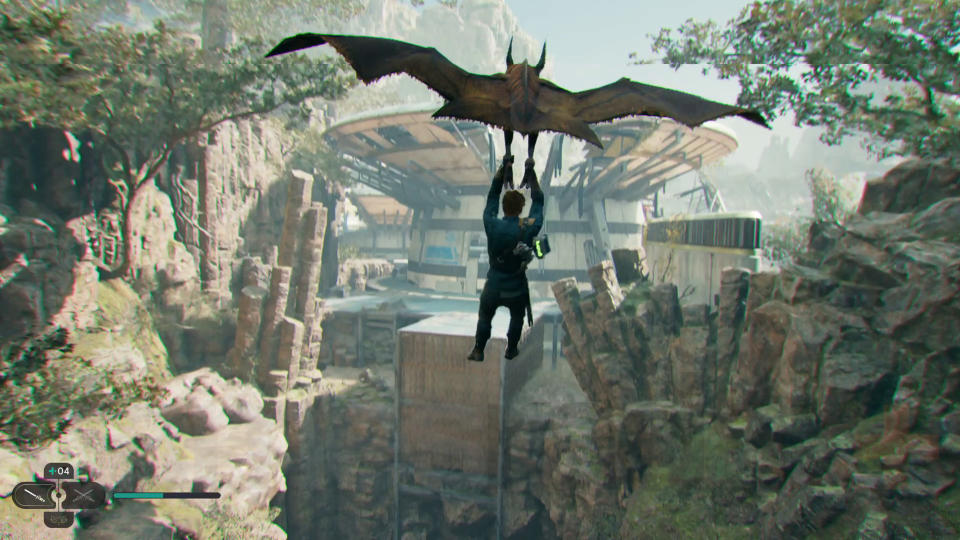
Follow the path through the Imperial camp around to the left then climb your way around the cliffs to reach a flying creature called a Relter. After a cutscene, you can tame the Relter to unlock the ability to glide with any Relter you find. Jump to this Relter and fly it through the chasm to reach the next Forest Array building. Make sure you also open the door in the cliff wall to the right to open a shortcut to the Bilemaw Den Meditation Point.
Walk around the building and battle the waiting Stormtroopers, then reach the Relter and glide to the central clearing with a big beam. Force Push the lever to rotate the beam so that it destroys the Koboh matter barrier blocking the way to the Forest Array Meditation Point. Rotate the beam again to destroy the Koboh matter trapping the big bird creature and open a new path.
Follow the beam to the grates that you previously climbed on – with the bird gone, you can safely climb across. Drop down into the next area and then use the Relter to glide over to the Imperial troopers at the main entrance to the Forest Array tower. After you’ve fought off the enemies, you can open a shortcut door that leads back to the central clearing with the beam.
Next, you’ll notice a coupler towards the array tower. Head back to the central clearing, grab the beam’s orb, then take it to the coupler – you can’t jump while carrying an object, so you’ll need to toss the orb across the gap first, then put it into the coupler. Walk across the formed bridge, grab the orb again, and toss it into the next coupler to get across to the Forest Array lift. Take it up to reach the Rehabilitation Wing Meditation Point.
Head through the Rehabilitation Wing and get BD-1 to slice the terminal, powering up the array. Now head through the door to the right. This triggers a cutscene where Cal places his hand on a bacta tank which then leads into a playable memory sequence. All you have to do is listen to the dialogue between the two Jedi, Santari Khri and Dagan Gera, then walk forward to get automatically teleported to the next area. Keep doing this until the sequence ends with another cutscene. After the cutscene, which sees Dagan Gera freed from the bacta tank, you’ll have to fight him because, he’s unfortunately embraced the dark side of the Force – oh dear!
Dagan Gera boss fight
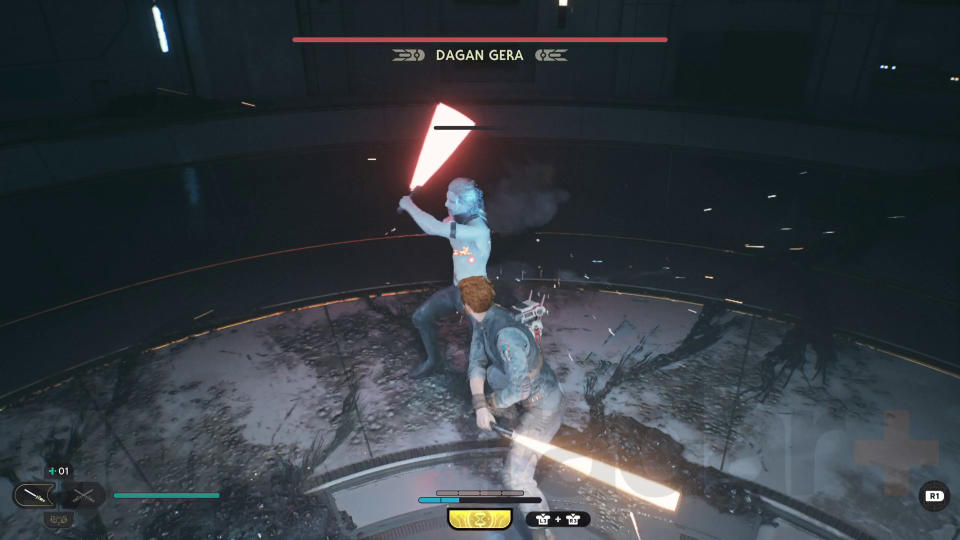
Don’t let Dagan Gera’s single arm and the fact that he’s just got up from a very, very long nap make your underestimate him – he’s still a competent Force user and Lightsaber wielder, but is definitely on the weaker side. In this boss fight, he mainly uses saber combo attacks that can be relentless but are also easy to read and should be parried at any opportunity to reduce his block.
He also has a few dangerous unblockable attacks, but they have long windups that make them easy to dodge and don’t have particularly good range either. Use this boss fight as an opportunity to practice your melee-to-melee combat technicques, such as parrying and perfect dodges as you’ll be facing many more melee-focused enemies throughout the rest of the game.
Leave the Forest Array
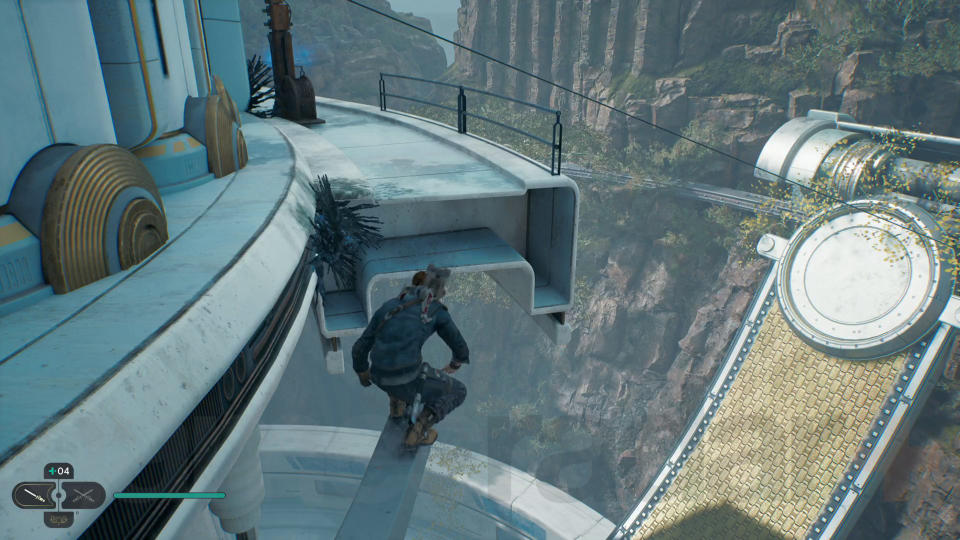
Unfortunately, before you can defeat Dagan Gera, his Bedlam Raider cronies, including Rayvis, show up to rescue him. However, you can now leave the array by walking out the window and climbing along the metal bar to the left. You can then use a zipline to get down to a Relter. Use it to glide all the way to the Nekko Pools and the Meditation Point.
Check on the Mantis
Start by using the wall-running walls to the left of the Meditation Point to get through the water stream cave. Slide down into the next area and you can tame a Nekko creature, which you can mount. Importantly, Nekko are not affected by steep, slippery terrain, so ride one back the way you came to the Meditation Point, then go up the wet hill ahead.
When you get to the yellow fence with the blue door, double jump on your Nekko to give Cal a boost that will get him over. Open the fence door to let your Nekko through, then carry on down the path to reach an area called the Bygone Settlement. Follow the path and you’ll notice the Bygone Settlement Meditation Point on your left, which you can reach by using the same double jump trick on your Nekko.
Keep going and you’ll see the Mantis fly in and land near Pyloon’s Saloon. Get over there and then speak to Zee. She’ll say that she’s staying at the saloon but will open her shop. Meanwhile Cal, Greez, and Bode are looking to find Cere somewhere on Jedha. Before you head off there, now would be a good time to visit Doma’s shop to spend any Priorite Shards you collected, perhaps on the Star Wars Jedi Survivor Mysterious Keycode.
© GamesRadar+. Not to be reproduced without permission.

