The rubber bridge is the hottest trend in indie guitar and a cheap mod to try – here’s how to install one on your electric guitar
For electric guitar bridges and saddles, steel and brass are kings, and there are plenty of other options: harder and brighter-sounding materials such as stainless steel or tungsten, for example, or softer metals like aluminium, not to mention modern synthetics including that aforementioned nylon or Graph Tech’s proprietary material it uses for its String Saver saddles (and slippery nuts).
Then, of course, there are wooden bridges (typically rosewood or another hard wood) used on jazz semis and archtops and back in the day; Danelectro and Dan Armstrong used rosewood for their one-piece bridge saddles, too. So, within a hardness range, there’s actually quite a bit of choice when it comes to bridge saddle material.
But a rubber bridge? Well, it does have some history – think about those string mutes (mechanical palm-muting, if you like) on a Fender Jaguar or Bass VI. And as with most materials there are plenty of different alloys, or in this case blends, from very soft foam rubber to a hard rubber. In certain circles, the rubber bridge guitar is becoming quite a thing. ‘Not in my bloomin’ circles!’ you might be thinking, but you won’t know until you try it. So, what should you expect?
The rubber trend seems to have been started by Reuben Cox, owner of the Old Style Guitar Shop in LA, who specialises in transforming low-dollar instruments into something new, including adding a rubber-bridge.
According to GW, his budget transformations have attracted artists from “The National to Phoebe Bridgers and Jackson Browne … [who are] mostly in pursuit of the unique and beautiful tone wrung from those rubber bridge builds. His instruments have permeated indie music, passing through the hands of the world’s biggest artists and cropping up on albums from the likes of Bob Dylan and Taylor Swift.”
Head over to YouTube to check out numerous tutorials, and if you search for a playlist on Spotify named ‘Rubber Bridge Guitars’ you might well become entranced with the short-sustaining, almost otherworldly voices these various rubber‑bridge guitars bring.
The ‘old sound’ can be further enhanced by using flat-wound strings, and because we’re talking specifically about electric here (not acoustic), a pretty high-output pickup (not a low-output PAF-alike) is suggested, presumably to compensate for the reduced energy of the rubber-damped strings.
If you’re after an even more lo-fi flavour, you could try one of those circular piezo discs wired to its own output.
Rubber Choice
The material itself has quite a backstory, but it’s important to note that we’re talking synthetic rubber here, not the natural latex that comes from the rubber tree (Hevea brasiliensis), found mainly in South America, that has been used for centuries. So would an everyday rubber eraser work for an electric guitar bridge?
Well, you can buy rubber erasers in numerous different sizes and, although the composition might vary, it’s potentially quite well suited; while it’s firm with little compression, it’s easy to shape with a sharp Stanley knife. There’s probably a good marketing angle here: get a car-obsessed rockstar to endorse a range of rubber bridges hewn from the tyres of a ’68 Chevy, for example…
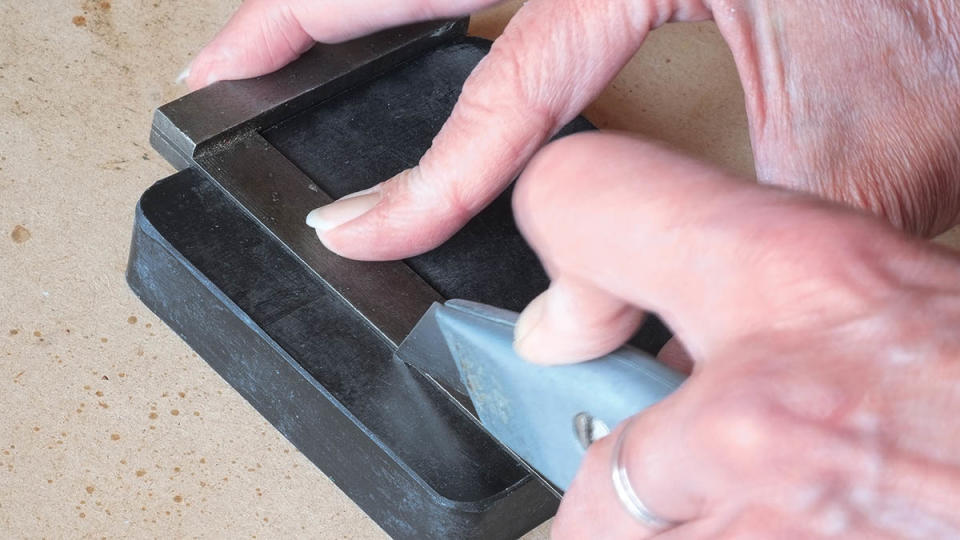
Back down to earth, one seemingly popular choice is a jeweller’s bench mat. This is used to absorb the shock when striking metals and also minimises noise and vibration, so it is presumably a harder type of rubber. I order a block that’s 100mm square and 20mm deep from Amazon (pic 1).
Geometry plays an important part in how any guitar sounds and, with counter-intuitive thinking in mind, we’re probably looking for less back angle behind the bridge to whatever the anchor point is. Standard Strats or Teles probably aren’t our best stop then, although a Les Paul – or any guitar with a tune-o-matic and stud tailpiece – might work as you can raise the height of the stud tailpiece to reduce the pressure over what would be your rubber-no-matic replacement.
A guitar with a Jazzmaster-style vibrato would work, too (probably not the vibrato bit), but the often lower string angle would suit our vague plan. If you’re thinking of this route, Waterslide Guitars actually offers a neat-looking bridge with rubber saddles for your Jazzmaster/Jaguar for around £70.
Also, a Danelectro with that adjustable rosewood might be good, just replace the wood with a slice of rubber, and a guitar with a trapeze tailpiece is definitely on the cards as it might also suit the ‘older’ style sound we’re expecting. Choices!
Get to work
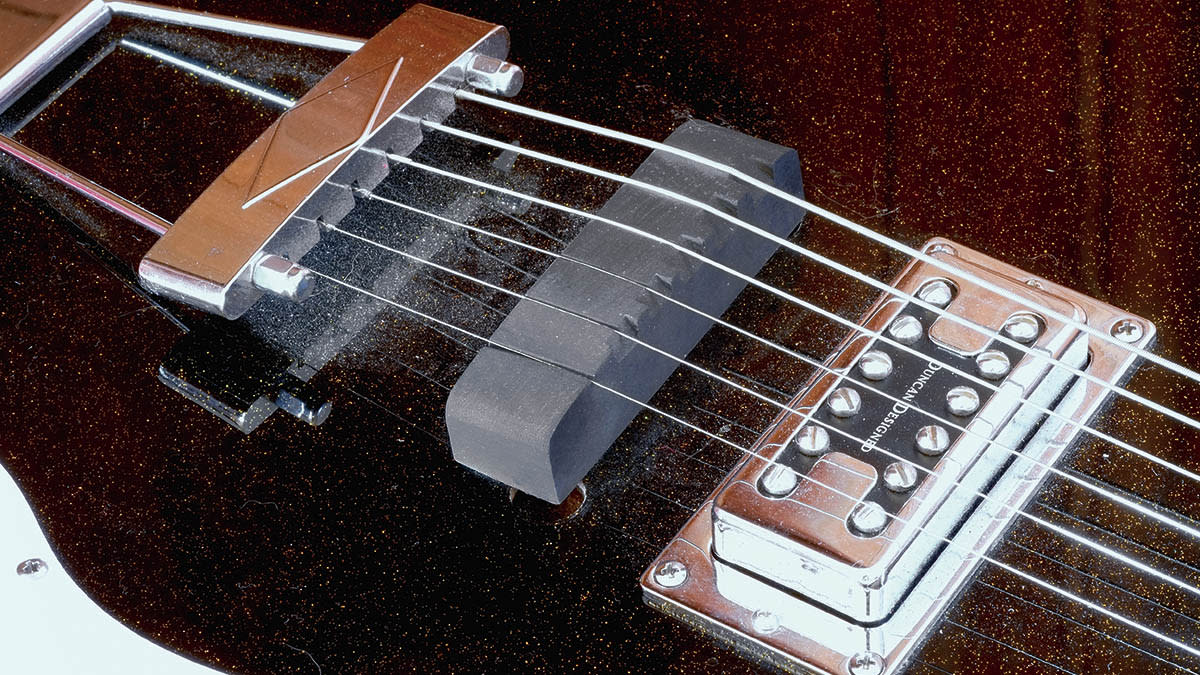
With no experience of the rubber bridge concept, it’s not clear where to start, but I really don’t want to muck up a perfectly good guitar in the pursuit of research. A cheapo Silvertone 1423 suits the old-style aesthetic and since it’s fitted with a tune-o-matic and trapeze tailpiece I can at least get the party started.
The G string sits around 18mm from the flat top, so this might work with the dimensions of my rubber block. At this stage, I’m not thinking about 100 per cent accurate intonation; I just want to see if the basic concept is worth pursuing (pic 2).
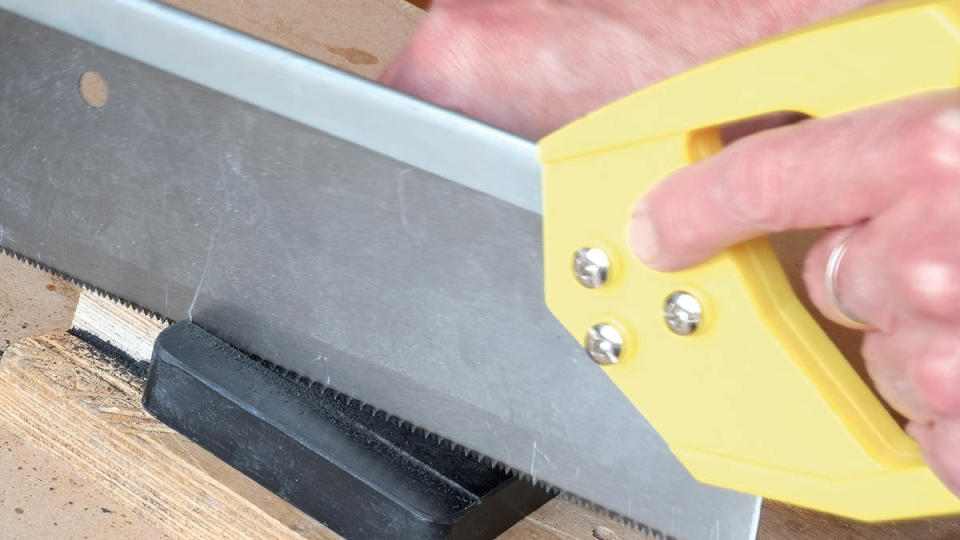
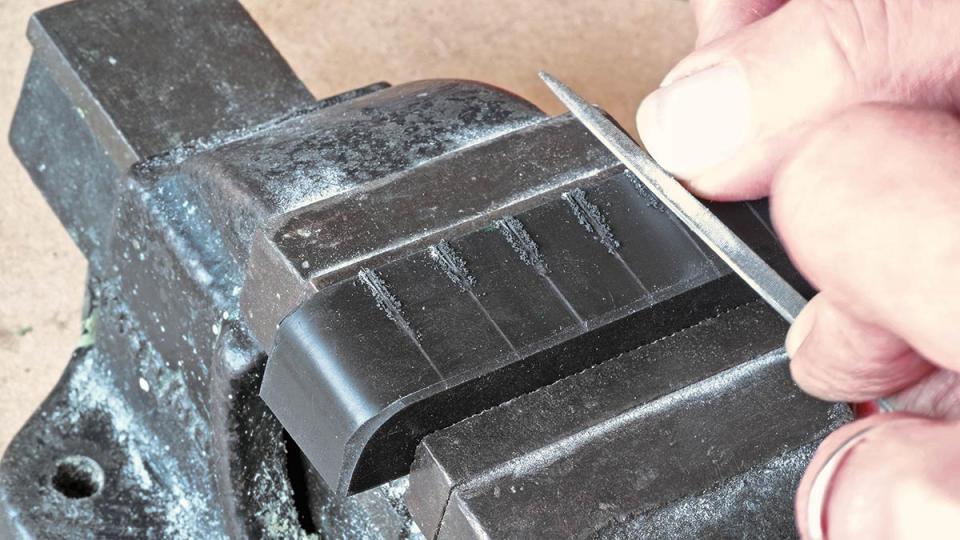
While cutting the block isn’t difficult as such, the cloying non-slip nature of the material does require some elbow grease and patience
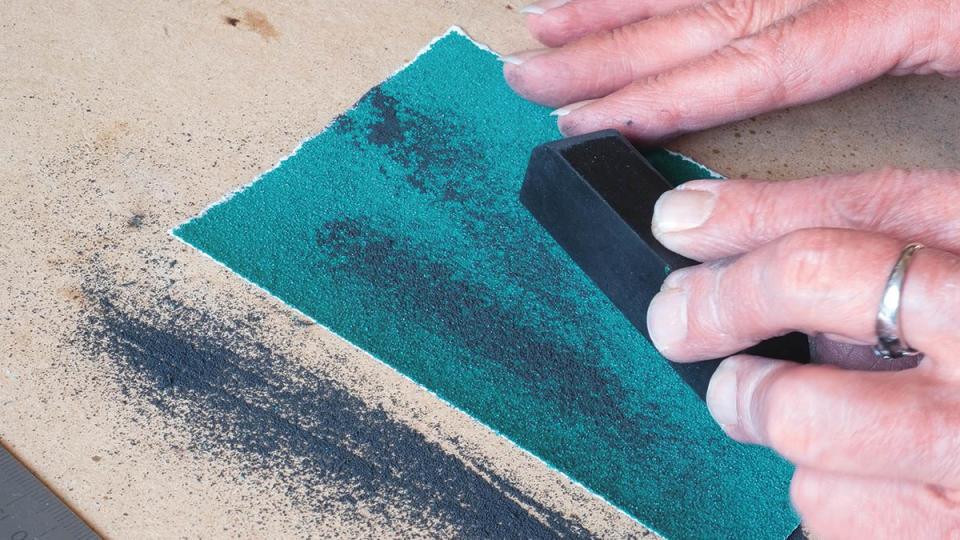
While cutting the block isn’t difficult as such, the cloying non-slip nature of the material does require some elbow grease and patience, even with a standard small backed tenon saw that rips though wood easily (pic 3). You can then tidy it up with coarse glass paper – I’m using aluminium oxide, which is easily available from any hardware store (pic 4).
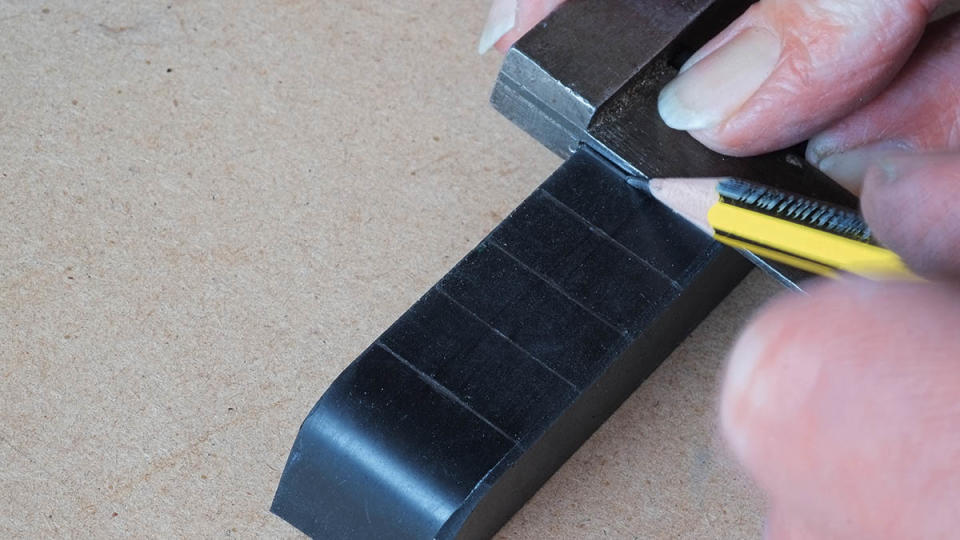
I consider adding a slight radius to the top surface (approximately 12 inches to match the fingerboard), but then realise I can easily cut the string slots to depth and/or sand a radius at a later stage as I dial in the setup. Using a piece of masking tape on either side of the bridge, I mark it with a Sharpie to give me the approximate positions of the original bridge’s intonated saddles. Before I remove the tune-o-matic, I measure the approximate position of each saddle in relation to the top E string saddle, too.
I’m working blind here as, quite frankly, I don’t know what I’m doing. For example, I mark (pic 5) and then lightly cut the string grooves (pic 6) with a small three-corner needle file on the top of the bridge before I realise that if I’m going to angle the bridge to get the basic intonation correct, those slots won’t follow the line of the strings.
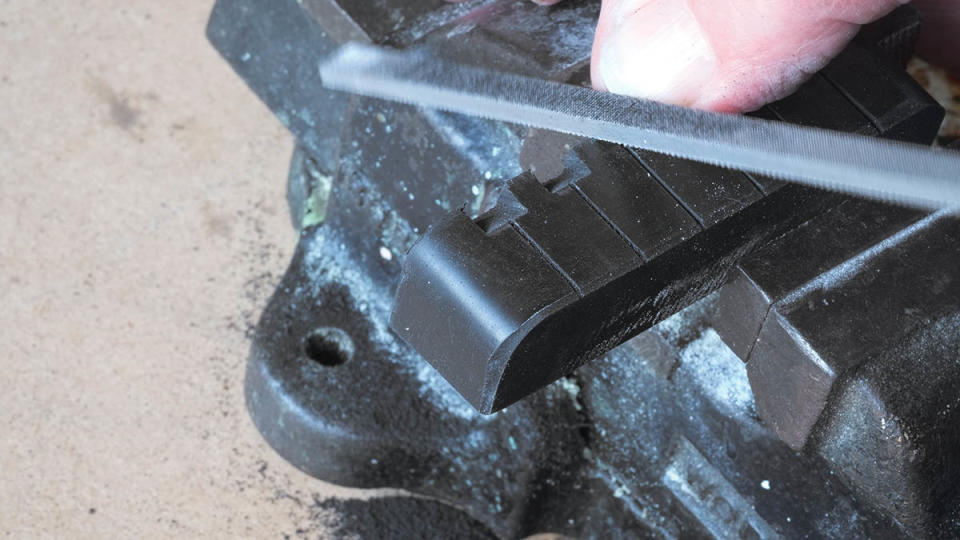
To be honest, I don’t even know if I need string slots because of the nature of the rubber and the string tension. Using those measurements I took from the original tune-o-matic, I pare away the rubber at the front of the bridge under all but the top E to create my intonation compensation (pic 7). My rubber bridge isn’t exactly a looker (I hope Trev Wilkinson isn’t reading this!): it looks like an oversized top nut, but it should work. Let’s see.
I slacken strings, remove the metal tune-o-matic and its ferrules, which hold it in place, to give me a flat surface. I put the rubber bridge in place then retune and set the bridge so it sort of lines up with those Sharpie marks.
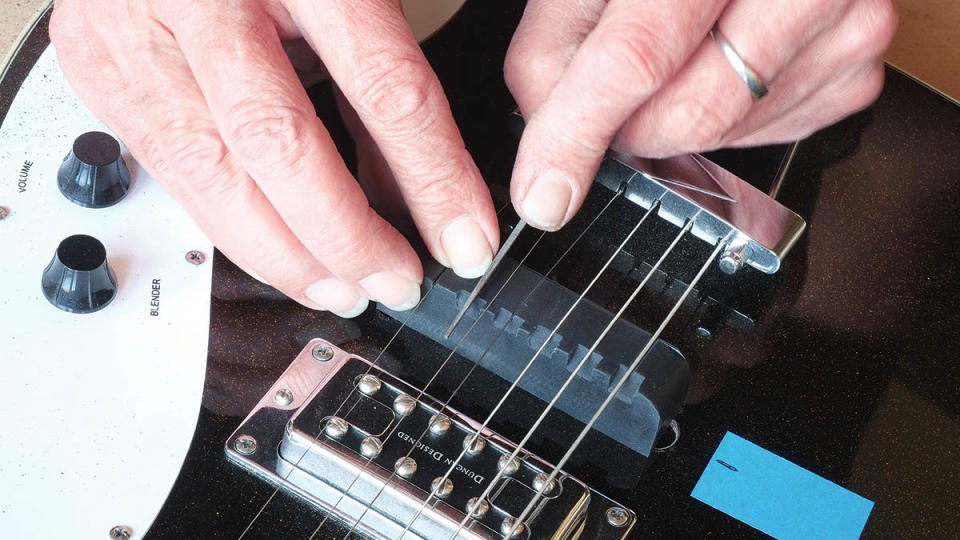
Even in this basic state, you can hear the ‘plunky’ sound concept. But the strings are a little high, especially on the treble side, so with a StewMac string height gauge and a thinner needle file (pic 8) I lower each string to around 1.8mm (0.07 inches), a bit like rough-cutting a top nut, really.
The string tension holds the bridge in place (pic 9) and the nature of the material means it doesn’t slip on the gloss poly finish. It also means if you want to further tailor your rubber creation, then it’s dead easy to slip it out and reshape or re-sand. It’s the low-tech version of Relish’s fabulous pickup-swapping concept. Well…
But this is also prototype #1. Is the rubber I’ve used too hard or too soft? Is the bridge too big and wide? Would a thinner piece of rubber affect the sound? Bearing in mind the low cost and pretty fast fabrication of this project, not to mention the easy fit, those are questions you could experiment with easily. In the meantime…
Rubber sounds
Okay, so the note sustain is considerably reduced, but, surprisingly, it’s not as dead as if you were to firmly palm-mute. It seems to push the fundamental vibration of each string and note – not dissimilar to a pizzicato technique on a violin or cello, or a muted old archtop. If you’re looking for a really old guitar sound, with years-old strings, here it is. It’s a vivid antidote to the pristine modern digital world.
Plug into a basic pedalboard, however, and you have a very different driver: tremolo, big reverbs and long spatial delays create other-worldly soundscapes; tapped and timed delays can sound like you’re playing an electric kalimba, if such a thing exists. And if your song needs some short and sharp fuzzed riffage, you can tick that box, too.
If the rubber-bridge world isn’t for you, then this is a completely reversible mod that cost me £6, cheaper than a London pint. But along the way it also introduced me to plenty of artists that weren’t on my playlists.
It gets you thinking that other materials might suit this lo-fi vibe, too, such as a simple softwood bridge, perhaps with a non-slip rubber base, which could just as easily be made in the same way with simple hand tools on your work table. Vive la révolution!

