How to Repot a Plant, According To a Professional Plant Repotter

Your home is nothing without plants. I said it and I meant it. Covering corners, tabletops and window sills in greenery is a must for any home interior. Not only are indoor plants aesthetically gorgeous, but there are even said to be a number of health benefits that indoor plants can bring to people living in the same home as them. From the potential of relieving stress to improving the air quality of your space, keeping plants in your home can be extremely beneficial to your health. But, here’s the issue: when you buy a plant at the store, you can’t keep it in that wimpy plastic container. You’re going to need to learn how to repot a plant.
Repotting plants can get a bit spooky if you think about it. The potential of accidentally doing it wrong, all that dirt, whether or not the pot is the right size for your plant — all can make your brain go in circles. While there isn’t much of a difference on how you’d plant a low-light plant in a ceramic pot to a plant that needs total sunlight in a hanging planter, there is still an art to repotting plants every plant lover should know about.
Today's Top Deals
New Coupon Drops Price on Whisper-Quiet Sonic Massage Gun To $79
Stock Up for the Semester: Purell Clip-On Backpack Hand Sanitizers Are on Sale Today
So, to learn how to properly repot a plant, we pulled out the big guns and contacted a professional.
Brittney from The Sill is what one might call a professional plant repotter at the store’s largest in-person location in Chicago, but officially, she’s The Sill’s Area Manager for both the Chicago and Boston locations. For those of you unfamiliar, The Sill is a popular indoor plant shop that’s known primarily for its fast and easy online delivery service that we’re borderline obsessed with. I met Brittney a few months back when The Sill kindly gifted me a housewarming plant to help start my new journey here in the Windy City. That’s where I became enamored with her plant repotting skills.
I’ve owned tons of plants in the past, but repotting is something I was always so scared to do myself. I was sure I’d somehow do it wrong, but Brittney made repotting my new bird of paradise look as easy as pouring a bowl of Honey Nut Cheerios. Something I’m sure would have taken me half an hour took her three minutes tops.
That said, I knew Brittney was the perfect person to learn from. Consider her Master and me, Grasshopper. Little did I know, repotting a plant is one of the simplest tasks on the planet that simply seems way harder than it actually is.
Gather Your Supplies — Everything You Need to Repot a Plant
To start us off, there are a couple of items you’re going to need to have in order to properly repot your plant. Of course, you’re going to need some space to repot your plant. We suggest repotting plants outside because of the mess you’re most certainly going to make, but if you don’t have an outdoor space, try your bathtub, sink or a carpet-less area of your floor. “Placing a garden mat or tarp on any secure surface big enough for the size of your plant is the easiest way to maintain the soil and makes for a painless clean-up,” Brittney from The Sill tells us.
In addition to space, here are some items you’re going to need:
A Plant
Well, this one seems obvious, but you need a plant in order to repot a plant. We suggest looking at places like The Sill or Home Depot for some gorgeous plants. In addition, your local grocery store or mom-and-pop plant shop will most certainly have a few you can choose from. You can also check out the SPY guide to the best places to buy indoor plants online.

Indoor Plants from The Sill
Indoor Plants from The Home Depot
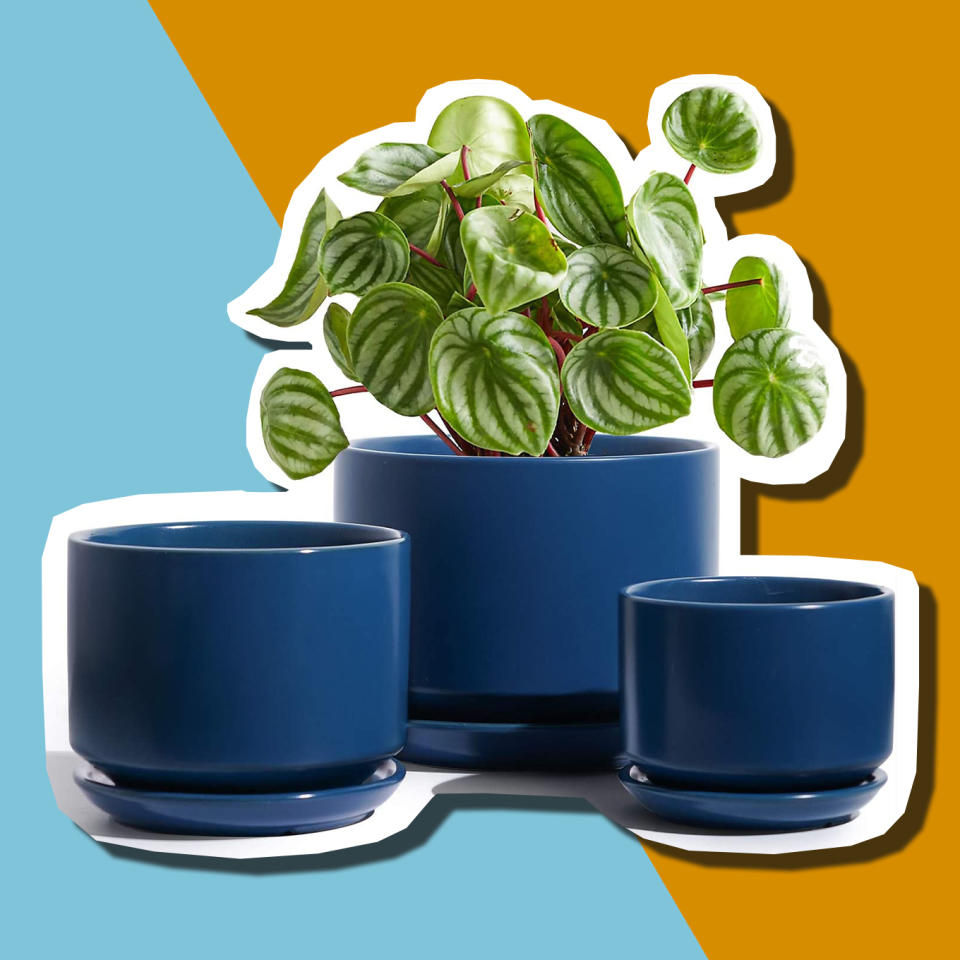
A Planter
Like the plant, a pot is necessary. You’re trying to switch from one plastic pot to a real one, right? That’s really the point of repotting. Make sure you have a pot to get planting and be sure there is an ample amount of space for your plant to spread its roots throughout. “Finding the correct size planter is based on the size of the plant’s grow pot,” Brittney from The Sill tells us. “We typically suggest choosing a planter 1-2 inches larger than the grow pot so the roots have enough room to settle into their new home.”
We suggest trying Amazon, The Sill, The Home Depot, etc.
Planters from Amazon
Planters from The Sill
Soil
Sure, the plant you’re repotting will have some soil in the original pot you purchased in, but you’re going to need more than just that soil. There are tons of places you can purchase soil such as Amazon, The Home Depot, Target or local mom-and-pop plant shops.

Soil from Amazon
Soil from The Home Depot
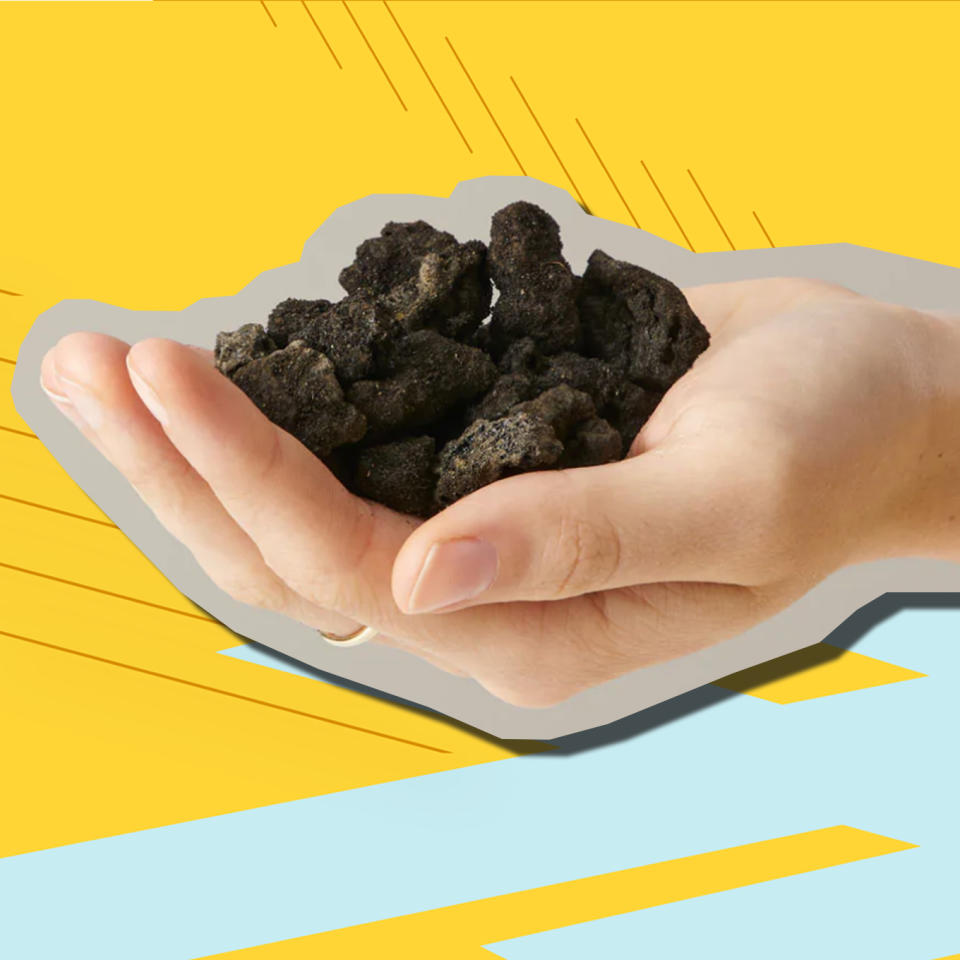
Lava Rocks
Lava rocks? Lava rocks. A lot of you are going to think, “what the hell are lava rocks?” Because that’s what I thought prior to Brittney repotting my plant. Lava rocks are essential to repotting plants in planters that do not have drainage holes at the bottom. These rocks will help your plant drain water internally so you don’t unintentionally overwater it.
Lava Rocks from The Sill
Soil from Amazon
Get it? Got it? Good. Now, let’s repot a plant.
How to Repot a Plant
First, grab that plant you intend on repotting. Then, grab the pot. To begin with, we suggest placing the plant while it is still in the plastic container you purchased it in directly into the planter you plan on repotting it into to see if it fits with a little bit of room on all sides. It’s important that the plant has room in its new planter so its roots have space to spread out.
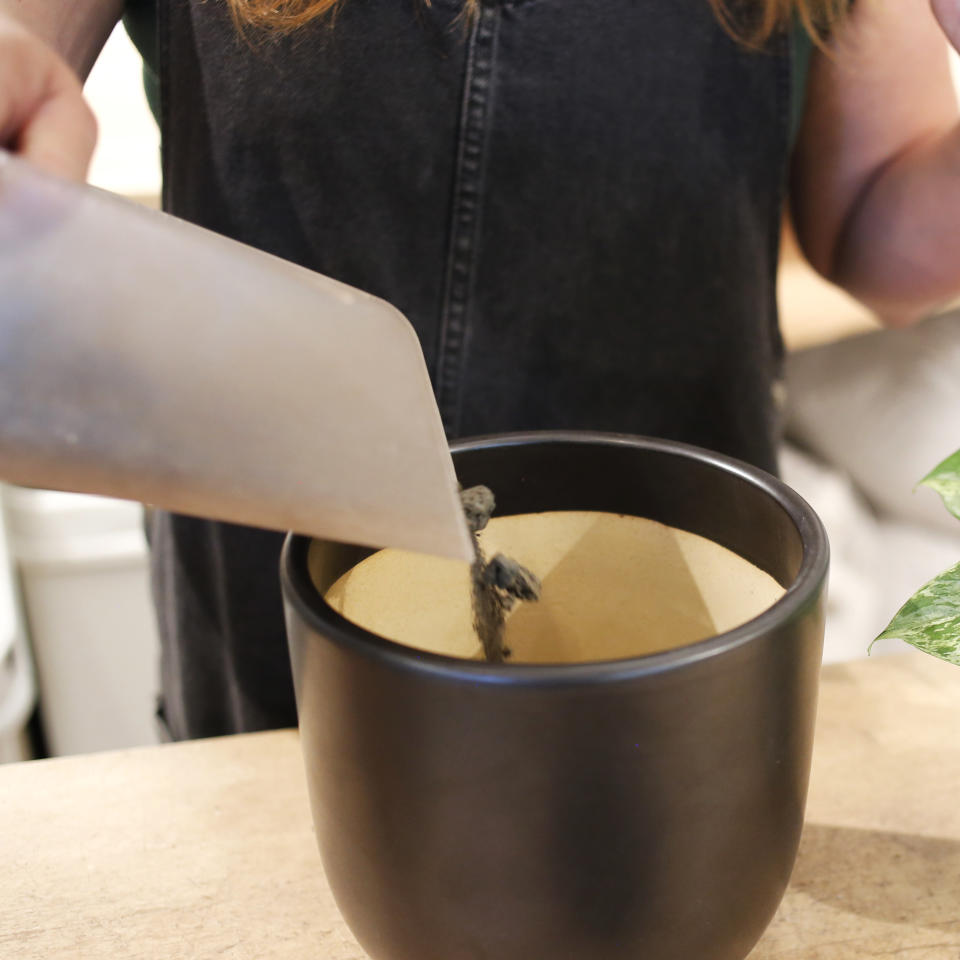
From here, you’re going to want to check the bottom of your planter. Does it have a drainage hole or does it not have a drainage hole? If it does have a drainage hole, great. Do nothing. If it does not have a drainage hole, grab those lava rocks we told you about and pour a comfortable amount at the very bottom. The amount poured will depend on how large your planter is, but we suggest it should take up about 5-10% of the inside of the planter. Don’t overdo it!
Just to remind you, these lava rocks are essential to allow your plant to drain properly when you water it. Again, if your planter has a drainage hole, you should be good to go.
Now, throw some soil into the pot to give your new plant a bit of a base to start with. This isn’t all of the soil you’re going to be placing inside of the planter, so leave room for the height of where you want the roots of your plant to sit and room for more soil to join in afterward. Again, this really depends on your planter, but at this point, your planter should be a little more than 1/3 of the way full with soil and lava rocks if you put them in.
Now, you’re going to want to wiggle the plant out of the flimsy plastic potter it came in. This is something that always freaked me out. Why? Because I didn’t want to hurt the plant. Sure, you can use scissors to cut the plastic planter off and rid of the shell that way, but that may damage the roots if they’re unintentionally cut. Brittney suggests squeezing the sides of the plastic plater to help loosen the dirt and detach it from the home it’s made for itself inside. From there, stick your hand down the side of the dirt and pull upward. The plant should come out very easily.

Now, you’re going to be left with a plant that somewhat holds the mold of your plastic planter. While you can go ahead and place this directly into the soil you poured into your new planter, Brittney suggests removing some of the soil to help the roots loosen from the compact dirt mound created in the plastic planter. Removing this soil will help bring movability back into your plant’s roots so they can expand easier in their new home.
From here, it’s time to place the plant inside its new home. Sit it on top of the soil in your new pot, top it off with some fresh soil and pat it into place. That’s it. You’ve repotted a plant.
From here on out, you’re going to have to water every so often to make sure your plants are being properly fed. General rule of thumb to know when your plants are thirsty? Place your index finger about an inch into the soil and feel whether or not it feels damp or cold. If it doesn’t and feels dry, then your plants need water. Fill up a glass and let ’em drink.
Now, look at that. You’re officially an indoor plant aficionado.
More Top Deals from SPY
This TikTok Famous Pet Brush Is Now Just $17 - Perfect for Shedding Season!
Apple's USB SuperDrive Just Reached a New Low Price for Prime Members
Best of SPY

