How guitar frets evolved and changed the course of guitar-playing history
Looking back many hundreds of years, early lutes were fretless, but they began getting frets from the late 16th century. These frets subdivide a fretboard so a string can be pressed anywhere between two frets and the note will have the desired pitch. Without them, extreme accuracy is needed for intonation.
Lute builders, aka luthiers, tied lengths of gut or nylon around a neck with the knot placed at the top edge of the fretboard. In addition to making it easier for players to pitch notes correctly, these frets made it possible for multiple notes to be used simultaneously. This also allowed for chords as well as single notes – and frets soon became commonplace on guitar-like instruments.
Lutes are still fretted in this way, and tightening and replacing tied frets is regarded as routine maintenance for these instruments. Earlier luthiers also inlaid wood and bone frets, but gut was gentler on the very expensive strings that were also made of gut, and it was more economical to prolong string life than fret life.
The introduction of metal and wire wound strings during the 19th century meant that metal frets were needed, too. Nowadays, all our guitars have metal frets and that’s what we’ll be investigating in this feature.
Shape shifts
If you examine 19th-century American guitars, you’ll notice the frets look quite different from modern frets. Often referred to as ‘bar frets’, the ends appear rectangular and were installed in milled slots just wide enough to provide a snug friction fit.
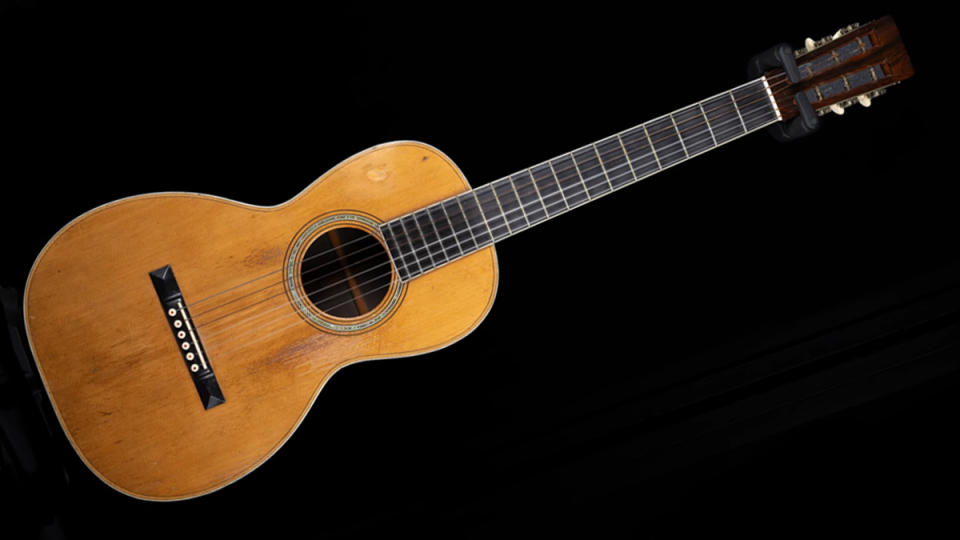
Since these slots are wider than modern fret slots, bar frets must be used when restoring very old instruments. Martin Guitars, for instance, manufactured its own bar frets before phasing them out around 1934.
Bar frets are still available from specialist manufacturers and skilled luthiers can use them to adjust neck relief. Pre-war acoustic guitars, for example, didn’t have truss rods, so installing slightly wider bar frets in the appropriate areas can reduce excessive upbow. If a neck has a slight back bow, narrower bar frets can sometimes allow string tension to correct the issue instead.
In 1929, Clinton F Smith was granted a patent for his ‘T-fret’. The design was quickly adopted by guitar manufacturers and has remained the industry standard ever since. The ‘T’ refers to the tang rather than the shape because, viewed end on, T-frets have a mushroom-like profile.
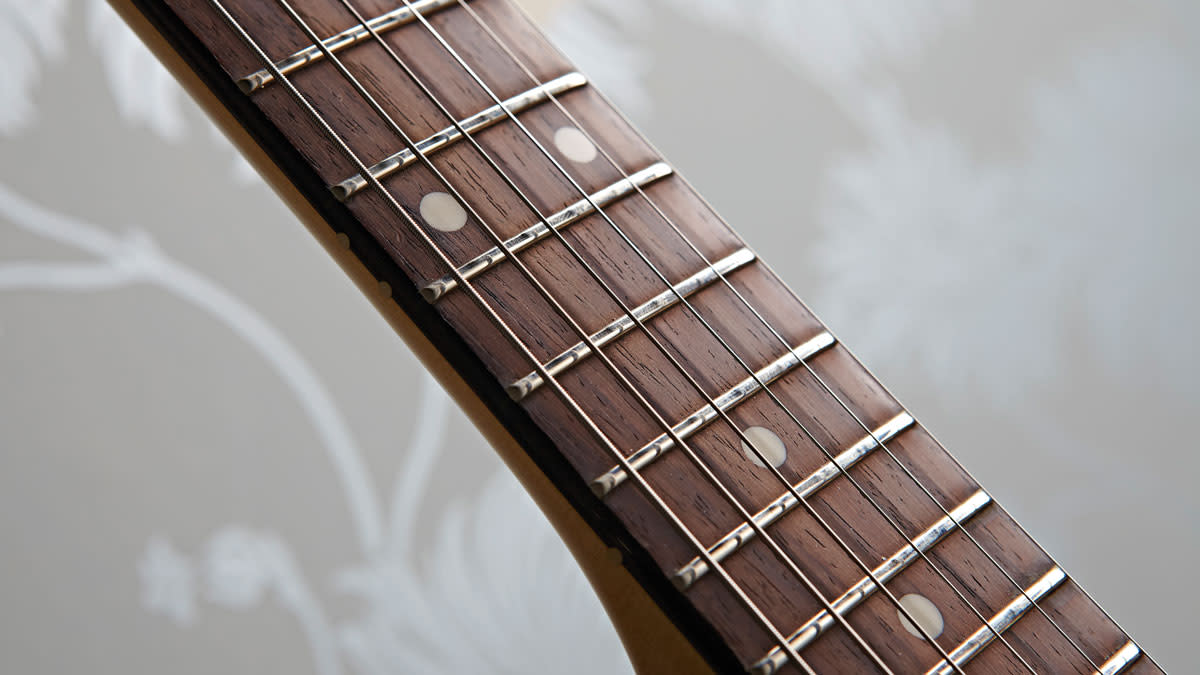
The upper part is called the crown and, being wider than the tang, the flat underside sits on the fretboard surface. The crown’s top is curved, with the apex dead centre. The idea is that the strings have a clean take-off point that is directly above the slot and the minimal contact area allows the strings to ring true and optimises intonation.
Since the tang is so much narrower than a bar fret, the slots can be sawn rather than milled. Larger-scale manufacturers use machines to do this, but guitar makers that build by hand can make fret slots quite easily using a suitable saw. To secure the fretwire in the slots, the tangs have small barbs running along the sides.
Alloying fears
Most fretwire is made from ‘nickel silver’, which is an alloy of copper and nickel containing about 18 per cent nickel for durability and 80 per cent copper. Jescar’s popular NS wire contains 62 per cent copper, with 18 per cent nickel and 20 per cent zinc.
While nickel silver is soft enough to file and polish, it’s also still fairly durable. Cryogenically treated nickel silver wire from US luthier parts supplier StewMac is claimed to be tougher still, and stainless-steel frets are the toughest of all.
Some luthiers refuse to install them because they quickly wear out files and cutting tools, as well as softer strings. The plus side is that they’re near-indestructible, they facilitate smooth bends and they have pingy metallic attack that some players prefer.
Jescar EVO Gold fretwire is an alloy of copper and titanium that is harder than nickel silver but softer and less metallic-sounding than stainless steel. It’s a great compromise and, like stainless steel, it’s ideal for players who suffer from a nickel allergy.
Banging them in
Fretwire has to be forced into slots in the fretboard and they can go in from the top or sideways. The former is the most common method and the fretwire can be squeezed into place using an arbour press or fretting jaws, or it can be hammered in. Before installation, the fretwire is pre-bent to match the fretboard radius – or sometimes slightly over-radiused.
Leo Fender created a device that pulled fretwire through the slots, so the wire went in sideways. If you’re ever trying to decide whether pre-1984 Fender fretwire is factory installed, look for sharpened tangs on the treble side of the fretboard. Although slightly trickier, Fender-style necks can be fretted sideways without any need for specialist equipment.
For bound fretboards, it’s common to square up fret ends to the edge of the fretboard prior to glueing on the binding. Once the binding cement has set, excess binding between the frets can be removed and fret nibs shaped around the fret ends.
Alternatively, the tang can be cut away from the very ends of the frets so the crown can extend over the binding. When refretting a bound fretboard, most luthiers will sand away the fret nibs and extend the wire to the edges of the binding. It is possible – but tricky – to cut fretwire to the exact width of the ’board to preserve or reinstate the nibs, so this method is mostly confined to high-end vintage restorations.
Although the tang and barbs should be sufficient to secure the frets in their slots, many luthiers choose to use glue when fretting – and especially when refretting. Super Glue, fish glue and Titebond Original are popular choices, and the only stipulation is that the glue should be reversible with heat. The glue sticks to the wood, rather than the metal, and fills any voids in the fret slots.
Pulling them out
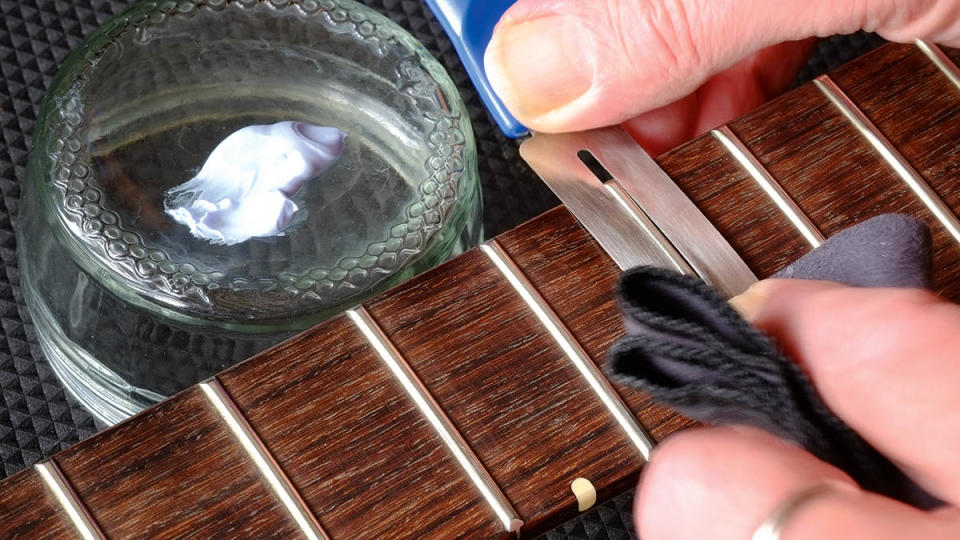
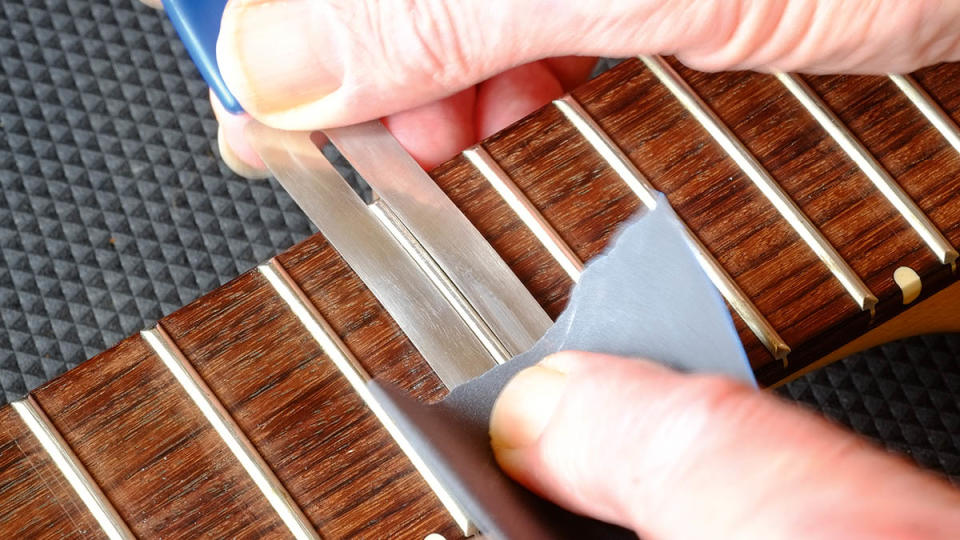
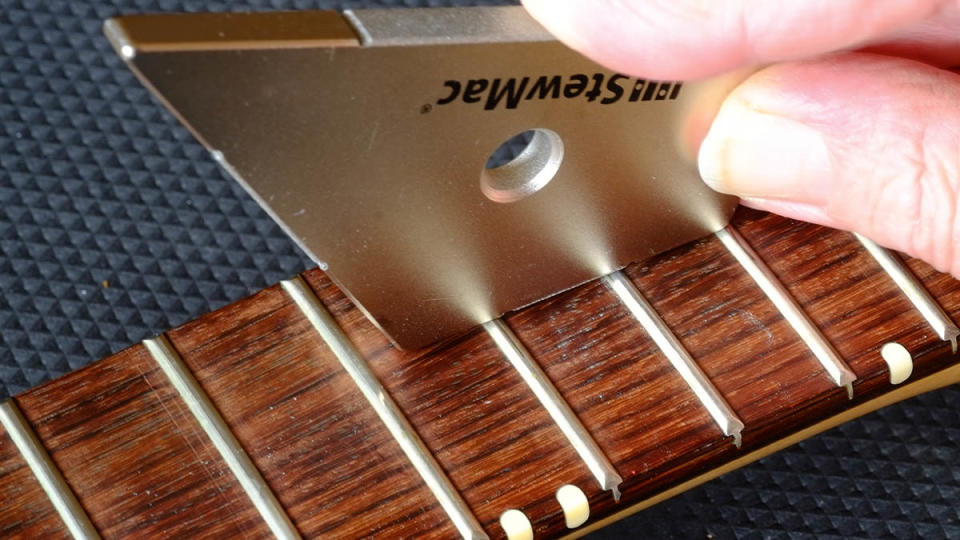
Eventually, all frets will need replacing and since most frets go in from the top, they will come out the same way. Heating the fret with a soldering iron should loosen any glue, while specially sharpened fret removal pliers are needed for a clean extraction because they can squeeze under the crown and prise up the fret.
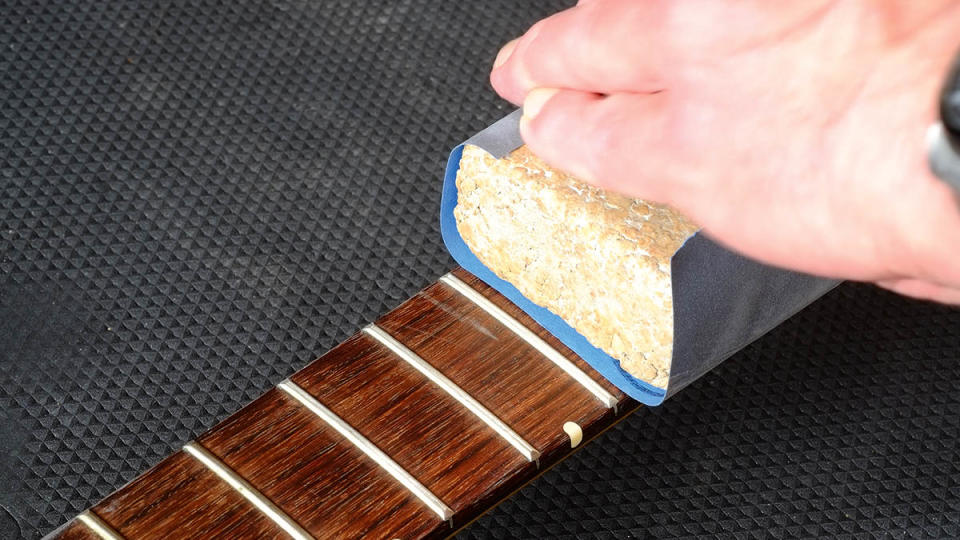
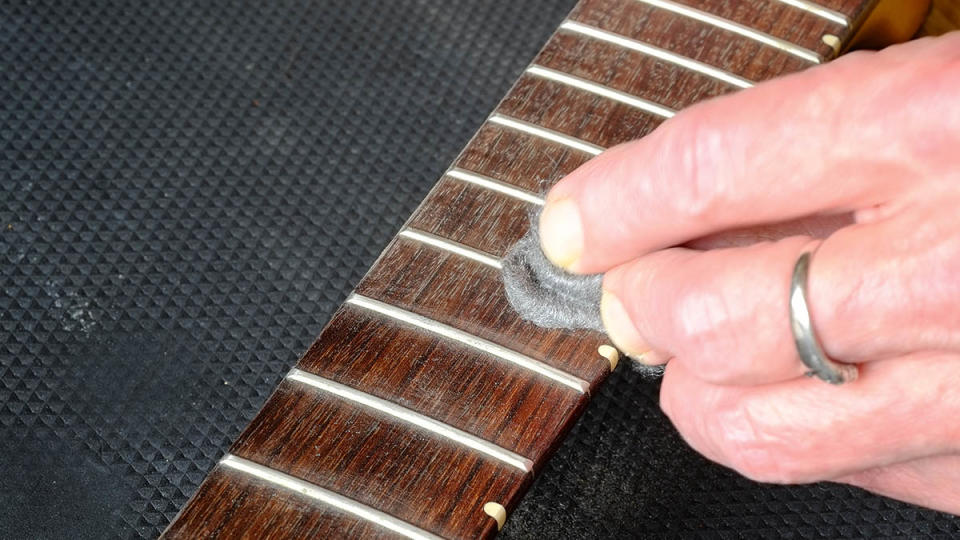
Luthiers start at one end and work their way along, taking great care not to dent or damage the fretboard. Some use metal shields for added protection, but chipping can be expected, especially with rosewood ’boards, and minor repairs may be necessary. After the frets are removed, debris or detritus should be cleaned out of the slots.
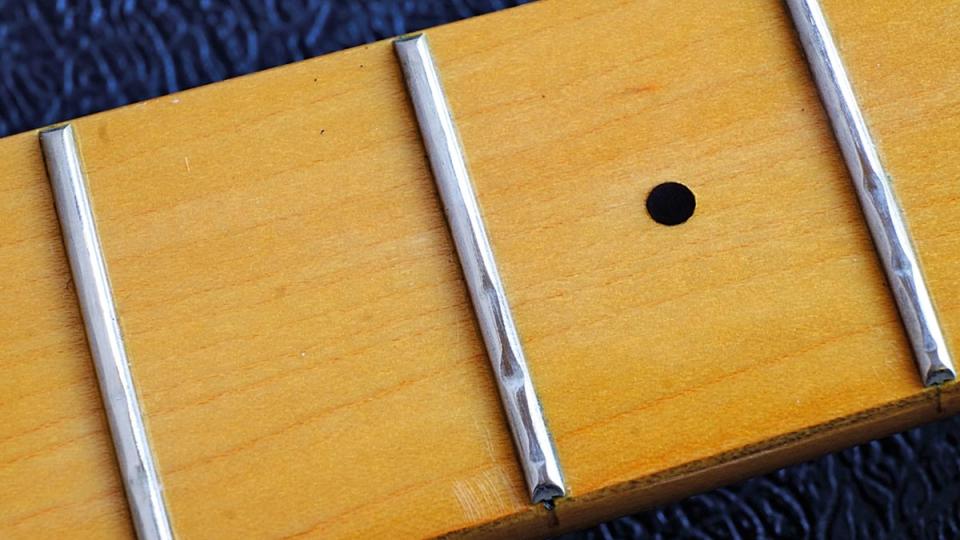
When it comes to vintage Fender instruments, the fretwire should be tapped out sideways for a chip-free extraction. It’s a tricky and time-consuming operation, but when done properly it leaves pristine slots. Evidence of chips and splinters along the fret slots on a vintage Fender neck are signs that the neck has been refretted before the internet made Fender’s sideways fretting technique common knowledge (take a look at my video of the neck restoration on a ’63 pre-CBS Strat below).
Four dimensions
When choosing fretwire, there are four dimensions to consider: crown height and width affect the playing feel and look, while tang depth and width have to be a consideration for the luthier. If the chosen fretwire tang is too wide, the slots may need to be widened to prevent the neck from going into a back bow. When the slots are wider than the tang, the wire will not grab and glue will be needed to hold them in place. This is sub-optimal, to say the least.
Sometimes the tang can be too deep for the slot, meaning the fret won’t seat properly unless the slot is deepened. With bound fretboards, it really isn’t worth the effort – and with veneer boards, deepening the slots may result in sawing into the maple. If your preferred wire won’t fit into the slots, choose the next best option that will.
Very tall frets can feel similar to a scalloped fretboard and some players prefer them as it’s easier to get your fingers under the strings for bending and vibrato. But when frets are tall and narrow, things can feel a tad bumpy as you move up and down the neck. Extra width allows for a more gradual curve towards the top of the crown and in turn means a softer ride.
Throughout the latter part of the 1960s, Gibson seemed to favour low and wide frets. In a sense, these were a throwback to the ‘Fretless Wonder’ Les Paul Custom models favoured by Lester himself. Les Paul’s playing was fast and slick, and he ventured all over the ’board.
He also played a lot of chords, but he wasn’t a big string bender. So although low frets suited him well, rock and blues players often struggle with bends and hand fatigue. And when low wide frets wear down, the top surface can become flat and nearly impossible to file back into a crown. If the take-off point for the string shifts from the centre to the leading edge, intonation can be compromised.
Vintage-era Fender fretwire was far skinnier than Gibson’s and it was also fairly low. It can be both bumpy and unsuited for string bending. However, the narrowness can enhance chime and snappiness, as well as intonation.
Taller wire is popular for 184.15mm (7.25-inch) radius ’boards because luthiers can create a compound radius by removing more material from the centre part of the wire further up the neck. This is called a ‘bender’s dress’.
Ultimately, wire selection should be a personal choice based on playing feel. If you’re restoring a vintage instrument, then you may wish to consider something period correct – but collectors are far more pragmatic about refrets than they used to be. Most importantly, the wire should facilitate what you can do as a player and maximise your enjoyment of the instrument.
When frets are properly installed and crowned, the surface area where the string and fret make contact should be much the same, irrespective of height and width. As such, replacing those skinny Fender frets with super jumbo bass frets won’t make you sound more like SRV after all, but it might just help you to play a little more like him.

