Are your drive pedals sounding the best they could? Here are 19 ways to get more from your overdrives, distortions and fuzzes – and make them work with your rig
GUITAR SHOWCASE 2023: If you own an electric guitar and an amp, the chances are you’ll inevitably entertain the idea of welcoming a drive pedal into your lives. A well-chosen overdrive pedal can take your relationship with the instrument to the next level.
There is so much choice – not least the fundamental question of whether you need a boost pedal, overdrive, distortion pedal or fuzz. There are also lots of different ways to incorporate a gain pedal in your rig.
Here, we look at 19 things to consider when using drive pedals of any stripe, and you can get the best out of them, living happily ever after… Well, until the next must-have drop from your favorite pedal company…
1. Tube amp saturation using a boost
This is the oldest tone trick in the book. Tube amps sound best when they’re being pushed. Using a gain pedal in front of an amp results in additional breakup and compression.
This works best with smaller tube amps, as they run out of headroom quicker, and trip into power tube saturation. For higher-wattage amps, add some preamp gain at the amp, too.
2. Don’t use too much gain
Most of the time, distortion and overdrive pedals don’t sound great when maxed out. Start at a low setting, and gradually raise the gain until you’re happy with the sound.
Even for metal, most bands are using less gain than you think. As discussed above, into a tube amp, the level control is the one you want to push as high as possible to thicken your sound.
3. Djent with a Tube Screamer
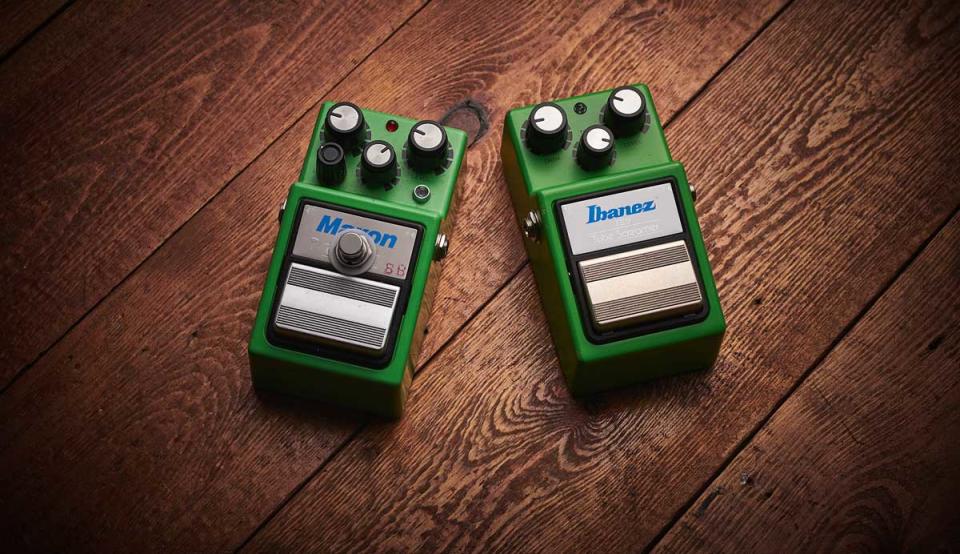
Overdrive pedals add compression of their own, as well as a distinct EQ profile – and the Ibanez Tube Screamer, with its mid hump, is excellent placed in front of a high-gain amp.
With a valve amp on its drive channel, turn the Screamer’s gain down low, then bring up the level until it djents. Many other companies have Tube Screamer clones in their catalogues.
4. Don’t overload the level
So far we’ve only discussed tube amplifiers, but what if you’re going into a solid state piece of kit, or an audio interface? Simple – you don’t want to push the level, as that will result in audio clipping of the kind you don’t want. Instead, always push the level up to the point where clipping occurs – usually the red light on an interface, then back off the input trim slightly. This will give you the thickest sound.
5. Decide if you actually need a fuzz
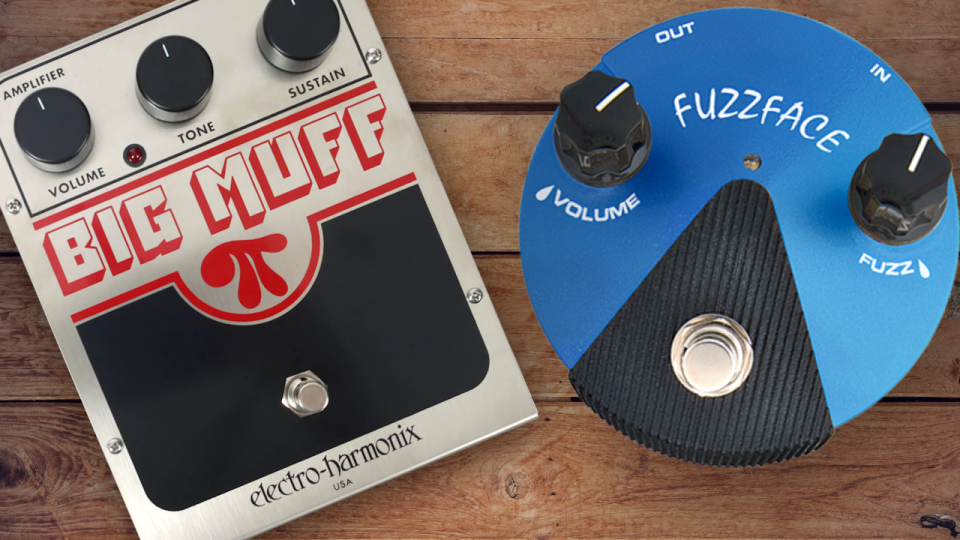
For players that remember ’90s albums like Smashing Pumpkins’ Siamese Dream, fuzz is the thickest distortion tone. Right? Well, even a lot of fuzz-obsessed bands – including SP – recorded using other gain devices in studio, and looked elsewhere for their live tones.
For extreme saturation, Rat-style distortions and flatter-EQ pedals often record better. Open the gain right up, and it can sound pretty close to a fuzz pedal once recorded.
6. Learn how pedals’ tone controls affect your sound
Most gain pedals have a tone pot, but there are many different types. Some are tilt, some are low-pass filters, and some pedals have more than one.
If your pedal has a single tone pot, make sure you’re not making assumptions. Try it at the limit of its range to figure out its operation, before pulling it back to a place that works for you.
7. Learn about how your gain stages interact
The trick to thick, rich guitar tone is higher-order harmonics. These are most easily added with gain stages. Ever notice a distorted signal sounds louder and punchier? This is why.
Even low-gain amplifier stages will add additional harmonic content and richness. Managing your gain stages – boosts, overdrives, distortions, fuzzes and amplifiers – is the key to great tone.
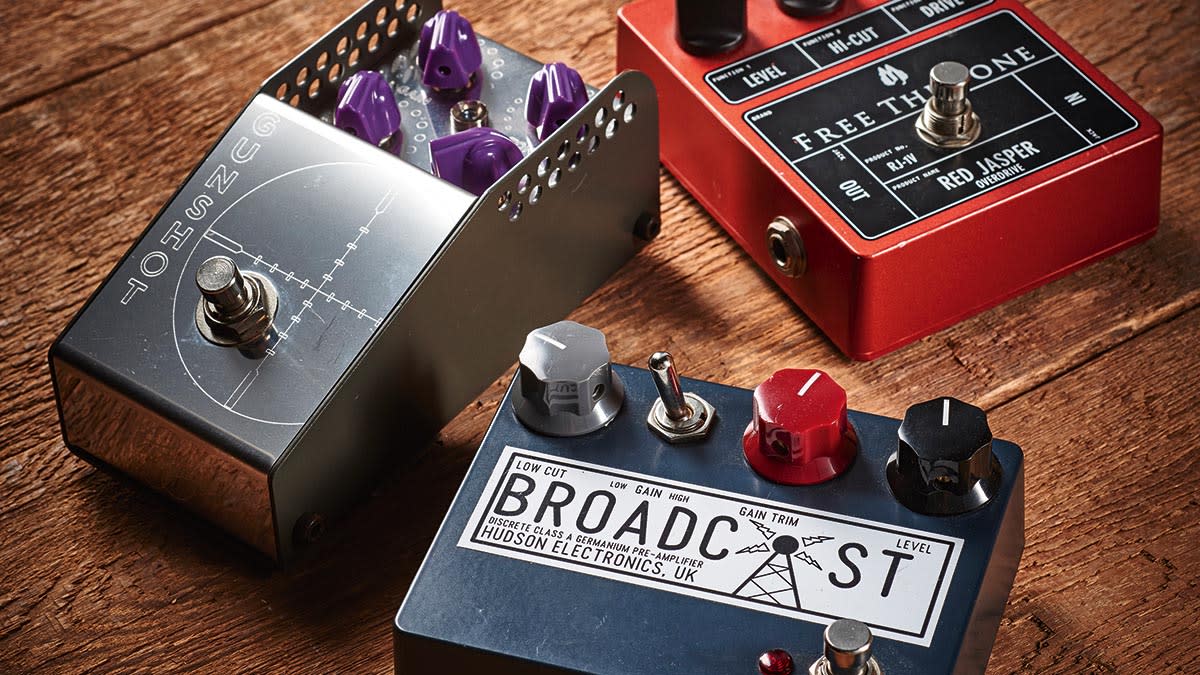
8. Consider using a buffer
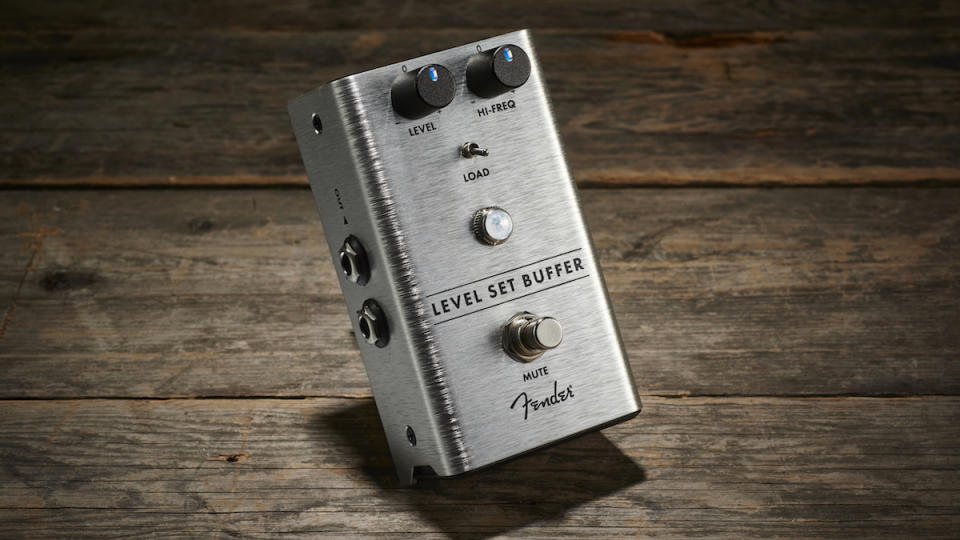
The true bypass revolution that came along with boutique pedals was a necessary correction in some ways. Before that, most pedals were buffered, and long chains of buffered pedals could have an adverse effect on tone.
However, to manage impedance mismatch between different pedals, a buffer is still very useful. So if your signal chain is a little weak-sounding, or dark, then consider adding a buffered pedal or dedicated buffer to the start of your chain.
9. Flatten the EQ profile of scooped-EQ pedals
The Big Muff sounds as massive as it does in isolation because of its pronounced mid scoop. However, in a band or recording context sometimes this isn’t what you want.
Luckily it’s easy to solve – pair it with another gain stage for solos or rhythm work. Classic options include an MXR Distortion+ for solos, and Ibanez Tube Screamer for rhythm. The latter adds additional compression, and flattens out the EQ profile.
10. Try a wet-wet drive setup
If you’re running a stereo setup, or two heads into a stereo cab, you can try running two different drive paths. Normally, you’d probably have the same gain stages set to run into both amps, and only split at stereo time effects.
However, splitting earlier – if your rig has a full stereo path – means you can have two more distinct ‘voices’. This is ideal for thickening your tone if you’re a lone guitarist.
11. Cut bass when using higher gain
If you’re palm-muting or playing with an extended-range guitar, pay close attention to the bass EQ on gain pedals. Generally speaking, the more bass in your guitar signal, the more careful you need to be about higher-gain settings.
Mud and rumble builds up at the bottom-end fast. If you’re unsure, as the gain control goes up, cut the bass. This reduction and tightening actually makes the bottom-end sound more focused.
12. Stack gain stages
Heard of gain stacking? Put simply, this means using more than one drive stage – and that could be a couple of drive/distortion pedals, plus your amp’s own gain. The question is: how much stacking of pedals is too much?
Well, if less is more, then imagine how much more ‘more’ will be! The answer is to try stacking every gain stage you own, in different orders, to see which combination of gain stages and EQ profiles work best. When stacking, generally you want lower gain pedals first, with level controls used to trim.
Example 13. Remember! Cymbals eat guitars
If you’re having trouble punching through a mix, either live or while recording, remember this: certain frequency ranges get very busy and your guitar won’t punch through – especially if there’s lots of treble content.
Instead, EQ your guitar around these to find space, and cut the ‘muddier’ bands. This is where combining a preamp and EQ pedal with your gain stages can really make the difference.
Example 14. Tone Triage
If something sounds off and the culprit isn’t obvious, try systematically taking pedals out of the chain one by one to make a diagnosis. In the worst case, plug directly into the amp.
Everybody with a larger ’board at some point has had to do this, tearing their hair out, before finding that one faulty patch cable, drained battery or rolled-off knob. As you do this, check the tone controls on each gain pedal, as this is another common pitfall.
15. Use a compressor
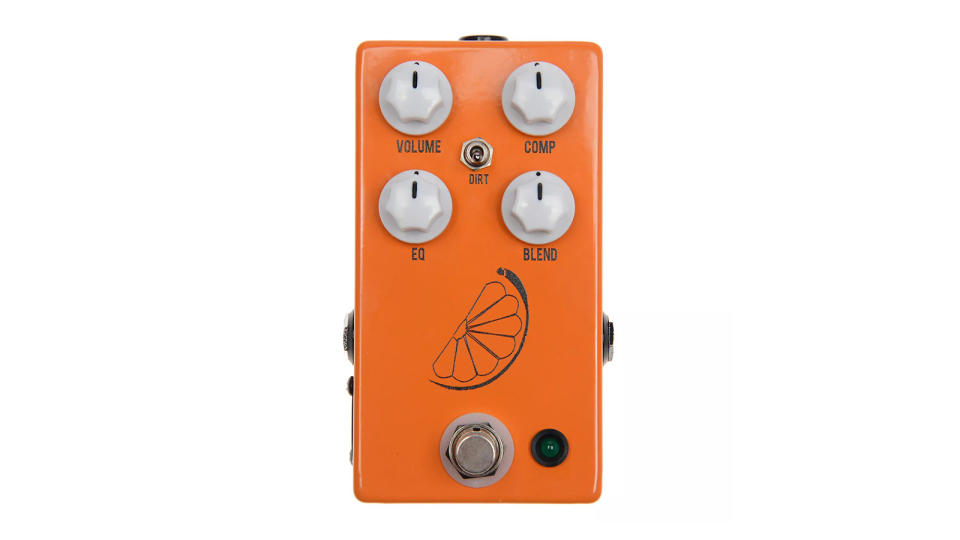
Compression is a type of dynamic amplification that evens out the levels in your signal. You can think of it as making the loud bits quieter, and the quiet bits louder.
As a result, it’s great for times when your guitar needs to punch right through, regardless of whether you have drive pedals running or not. Examples would be solos and tapping phrases, especially clean ones.
16. Use an isolated power supply
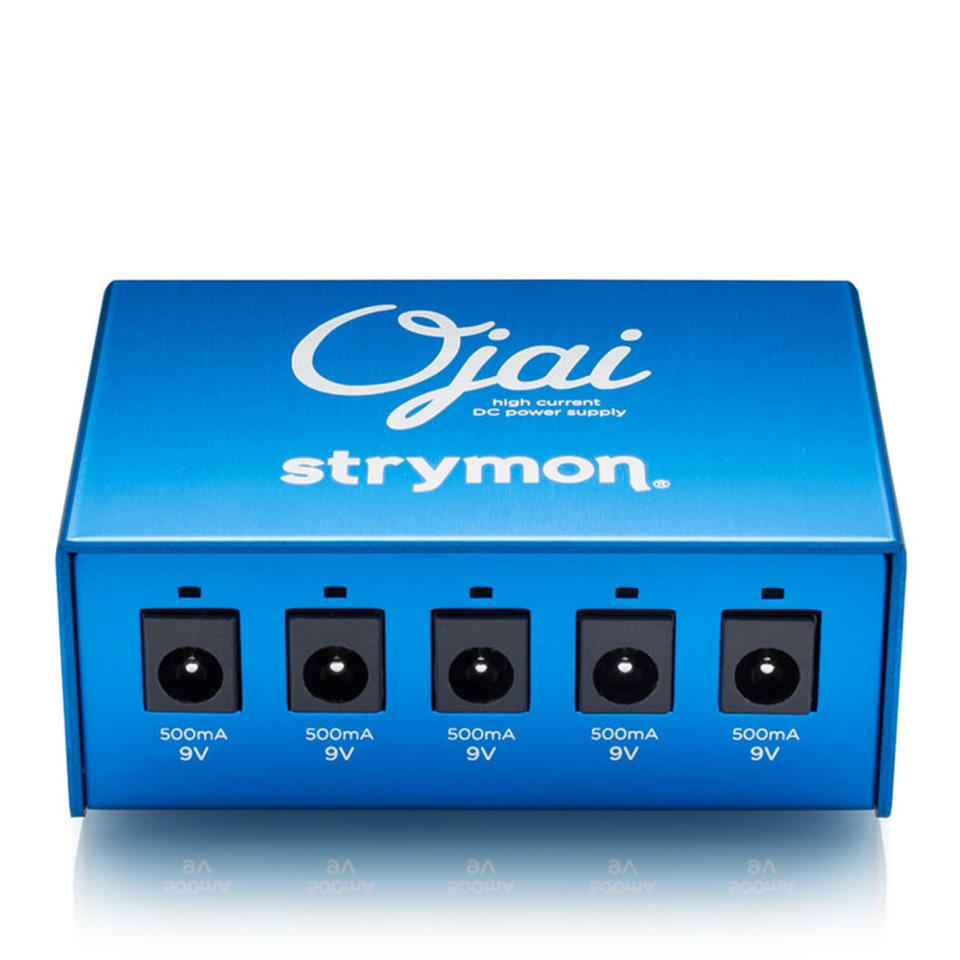
If you’re getting audio line noise, then one of the most likely culprits is a pedal without power line filtering. Once you’ve eliminated your drive pedals as the source, then the next likely suspect is your pedalboard power supply.
Isolated power supplies are a boring purchase, yes, but they’re one of the biggest things you can do to improve your tone, especially if your rig does suffer from noise problems.
17. Check whether gain stages are out of phase
Amplification stages have an inverting or non-inverting topology, which means they either invert the phase of the input signal, or leave it as-is. This means that in certain situations using some combinations of gain pedals can result in a thin, out-of-phase sound.
This can happen live, or when double-tracking with particular pedals in the studio. Change the pedal or flip the phase of the mixer channel to hear the sound thicken up immediately.
18. Try an always-on boost
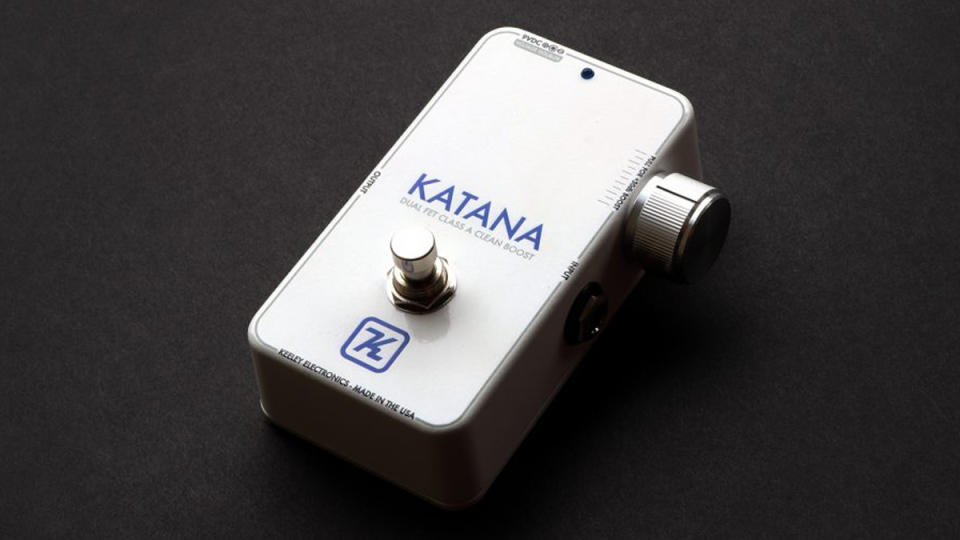
We’ve talked about how important adding additional amp stages and gain is. So why go without it? Many players buy a boost or preamp pedal and simply leave it on all the time.
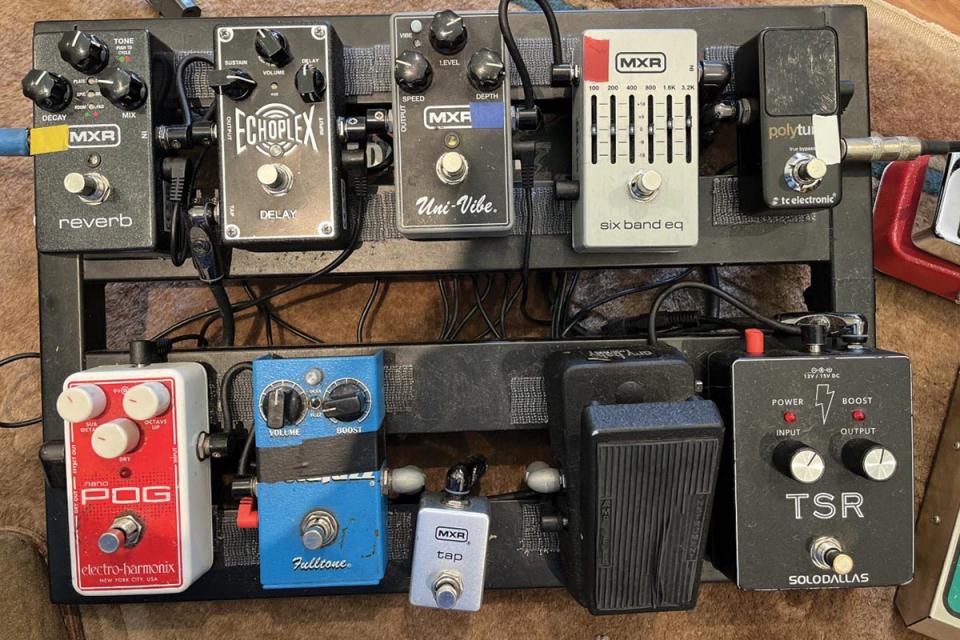
In the case of classic tape echoes like the Echoplex and Roland Space Echo, some guitarists kept units in their signal chain even after the tape itself had broken – like Nick Zinner from Yeah Yeah Yeahs. Spare yourself the hassle of lugging around a vintage tape machine and get a pedal recreation, and leave it on to thicken your tone.
19. Use an EQ pedal as a gain stage
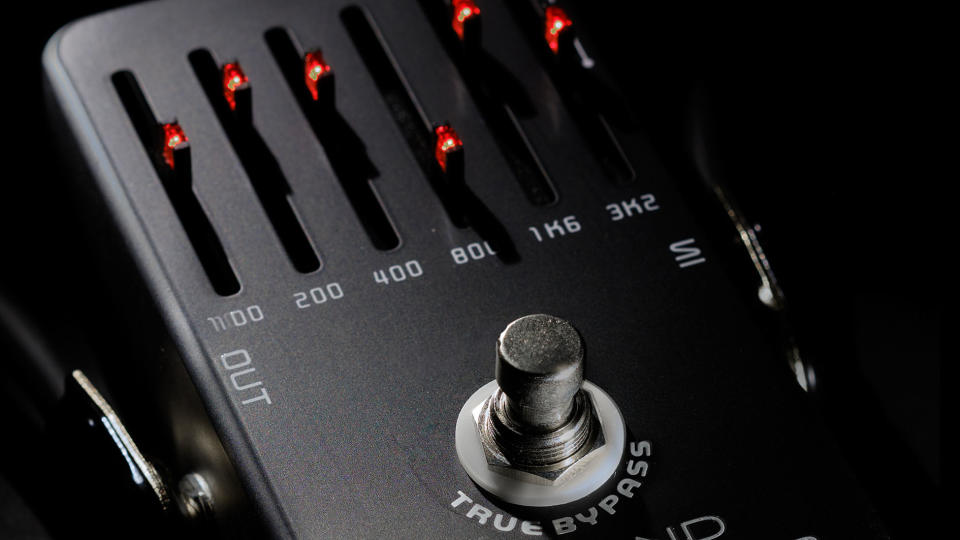
Both flavours of active EQ pedal that you normally encounter, graphic and parametric, are also a gain stage. Use an EQ after your drives to passively cut problem bands, or put it early in your chain as an additional stacked amplifier stage. It can be used to boost specific bands for punchier voicing, and will thicken your tone.
For more on the ultimate pedalboard secret weapon, check out our guitarist's guide to EQ: how to make your guitar tone bigger and better than ever before.

