How to Digitize Vinyl Records
Between the vivid sound, full-size cover art, and even the texture of the sleeve, enjoying vinyl records can be a multi-sensory ritual. But vinyl can also be wildly impractical. The discs are heavy, fragile, vulnerable to heat and humidity, not terribly portable, and difficult to keep organized. Much as it might pain purists to hear it, there are lots of times when it’s more convenient to listen to your records—including vinyl-only titles and out-of-print rarities—on your computer or phone.
For that you’ll need to digitize your vinyl—rip it—onto your computer. It’s not rocket science, but it’s trickier than you might expect. I can’t tell you how many times I’ve tried to rip a record and failed miserably: The audio made a terrible crackling sound at the song’s climax, or the quiet bits were full of clicks and pops, no matter how diligently I thought I’d cleaned the wax.
In hopes of demystifying the process, I spoke to a handful of experts and audiophiles about the gear you’ll need and the steps to take.
(Pitchfork earns a commission from purchases made through affiliate links on our site.)
Setting Up Your Gear
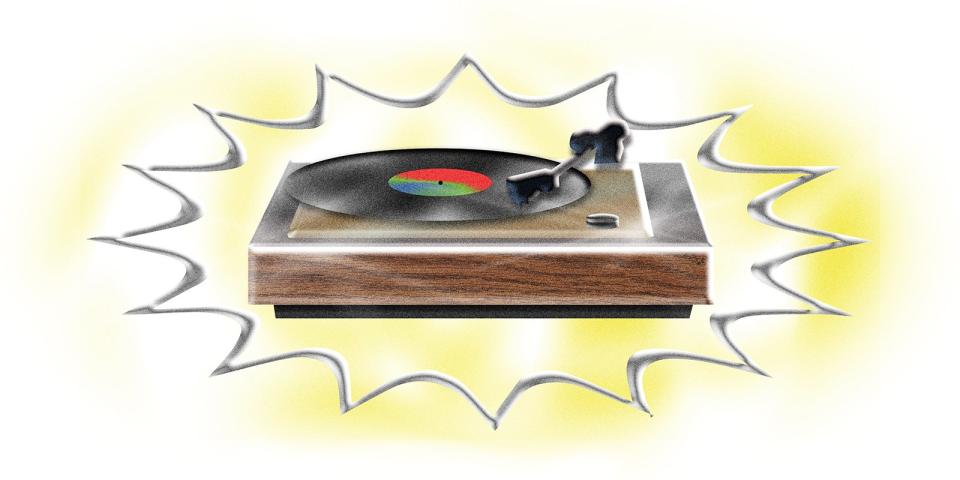
Turntables
First of all, you’ll need to figure out how you’re going to get the music from the record player into your computer. If you have a turntable with a USB output, you’re in luck. You can start by running that sucker directly into your laptop. There’s likely to be a tradeoff in audio fidelity, but this is the quickest, most convenient route to getting your records into a digital form. And the most economical, too: An entry-level Audio Technica AT-LP60XUSB goes for just $129, with no additional gear necessary. Plenty of higher-end turntables also feature USB outputs, like the bestselling $599 PRO-JECT Debut Carbon DC USB. (Check out our turntable buyer’s guide for more options.) If your deck doesn’t have a built-in USB connection, or you want to maximize audio fidelity, you’ll need to go through a few extra steps.
Pre-Amps
Turntables typically require amplification, so you’ll often need a phono preamp to boost the signal of your deck. Daniel Baughman, music curator of the Barcelona listening bar Nica and A&R of the Hivern Discs label, explains, “You want to beef up the record at the beginning of the chain in an organic way, rather than using [software] plug-ins.” Some phono preamps, like the Rega Fono Mini A2D ($175), come with a built-in analog-to-digital converter and USB out, meaning you can run them directly into your computer. Another good USB-equipped option is the NAD PP4 Digital USB Phono Preamp ($199).
More traditional phono preamps, which don’t come USB-equipped, focus exclusively on boosting the signal from the turntable. A versatile option is the Radial Engineering J33 ($200), which includes both RCA outputs, for connecting to a home stereo system, and also balanced XLR mic-level outputs. For a step up in quality, several people I spoke to recommended the Graham Slee Audio Gram Amp 2 Communicator ($299), a moderately priced preamp that has been earning rave reviews since it was introduced 20 years ago.

Audio Interfaces
To connect these traditional phono preamps to your computer, one more device is required. This is called an audio interface, which converts the analog sound coming from your turntable into a digital form that your computer can process. It’s an extra step, but if you’re interested in achieving higher-quality audio, it’s one worth taking.
“If you have a good turntable, cartridge, and preamp, then the audio interface matters,” says Stephan Mathieu, a musician and mastering engineer. The Focusrite Scarlett 2i2 ($160) is a popular entry-level model, but many electronic musicians swear by the more expensive Apogee Duet ($649). The record archivist and anonymous proprietor of the Music Republic blog, which specializes in immaculately digitized rips of out-of-print music from around the world, calls it “the best investment I’ve ever made. The difference is huge.” Given that much of his vinyl-digitization setup is relatively no-frills—not to mention that his rips of even the most lo-fi recordings still sound like a million bucks—I’m inclined to heed his advice.
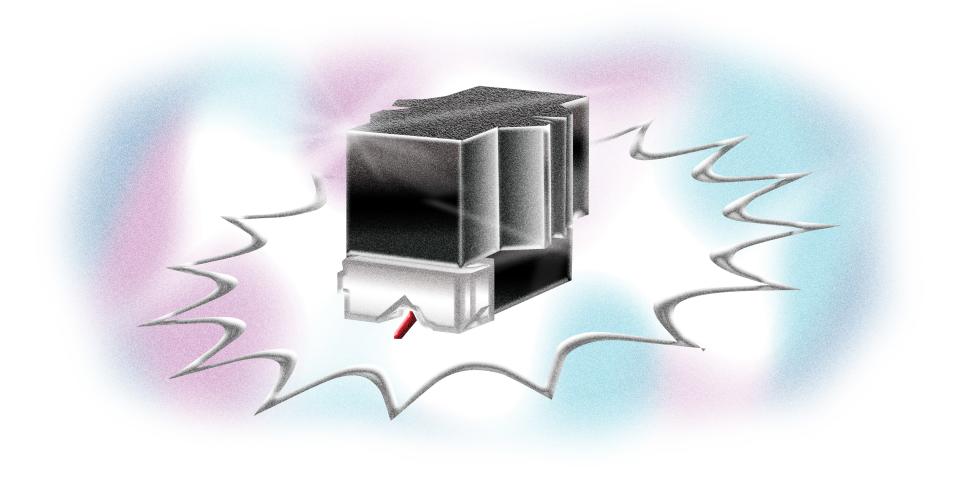
Needles
If you have a turntable, chances are you already have a stylus, or needle. But not all needles are created equal. You can get an entry-level cartridge like Grado’s Prestige Black1 for $75. The popular Ortofon 2M Blue ($236) is well regarded for clarity and accuracy, while the Ortofon 2M Red ($99) is a slightly more affordable option, and the Nagaoka MP-110 ($135) gets rave reviews. Ortofon’s high-output Club Concorde ($171) is a good bet for punchier sounds.
Whatever setup you’re using, make sure you’ve calibrated the tonearm of your turntable correctly in order to minimize the wear on your records. And keep track of how often you’re changing your needle; most manufacturers recommend replacement after 1,000 hours of playing time. Just remember that a worn needle can do damage to your wax.
And keep your needles clean! More than once, I’ve listened with alarm as the sound of a record became noticeably garbled, only to look up and watch the needle go sliding across the surface of the disc, held aloft by a gargantuan dust bunny. Don’t let that happen to you.
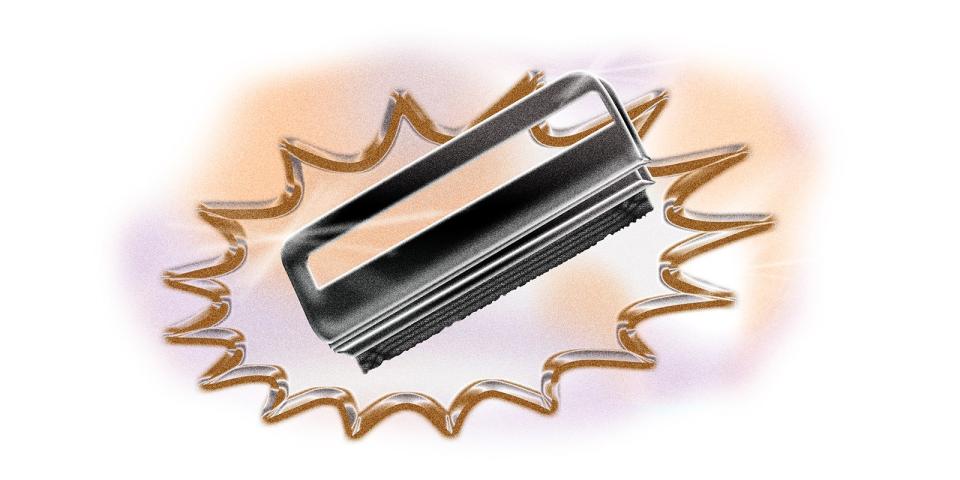
Cleaning Your Records
Along with cleaning your needles, don’t forget to clean your records! Dust, dirt, and oil from your hands can damage wax, cause excessive wear on needles, and degrade the quality of your recording. There are a number of cleaning fluids on the market, like AM Clean Sound’s Record Cleaner ($12) and Discwasher’s D4+ fluid ($10), that can help remove dust and fingerprints; they’re typically sold alongside soft cloths or brushes. Anti-static brushes like AM Clean Sound’s ($9) help keep dust and grit from settling on vinyl.
The Music Republic blogger recommends his own recipe: one-quarter isopropyl alcohol, three-quarters demineralized water, and a few drops of Kodak Photo-Flo solution ($9), which darkroom buffs might know as the chemical agent that reduces streaking and water spots on negatives.
For really dirty records, give ’em a good wash by diluting a small amount of dish soap in water, and make sure you have a soft cloth on hand to dry them carefully afterwards.
Sebastian Grätz, a Hamburg record dealer better known as Basso, proprietor of the Growing Bin shop and label, cleans his records on a VPI HW-17 Record Cleaning Machine—but with a retail price of $1,500, it’s likely to appeal only to the most meticulous of neat freaks.

Choosing the Right Software
Once you’ve got everything set up and squeaky clean, you’ll need an audio-editing application in order to record the music from your record and save it as a digital file.
If you’re already using a full-featured digital audio workstation like Ableton Live, Logic, or GarageBand, that’ll do the trick. Many people opt for Audacity, a free, open-source multi-track audio editor that works in almost every type of operating system. I’m partial to Amadeus Pro ($60), an easy-to-use multi-track audio editor for Mac that I’ve been utilizing for years, for everything from making samples to editing interviews. The Windows-only SOUND FORGE Audio Studio 12 ($60) features much of the same functionality as Amadeus Pro and also comes with iZotope Ozone Elements, a mastering plug-in.
Setting Levels
You’re ready to record! As the record spins, and its sound makes its way into your computer, the most important thing to bear in mind here is to leave plenty of “headroom”—that is, you don’t want the signal coming from the turntable or preamp to be so loud that it results in the digital distortion known as clipping. Mathieu, the mastering engineer, recommends setting your volume so that the loudest part of the track peaks at -1 decibels (dB).
Others recommend leaving even more room. Chicago DJ Eris Drew says that controlling volume levels at every step in the signal chain, from preamp to audio interface—aka gain staging—ensures a clean signal and leaves more opportunities to process the sound later on.
Declicking
You may discover that, despite your best efforts to keep your record clean, your digitized audio is still plagued by the occasional click or pop. You have two options here—manual edits or plug-in filters. The lo-fi solution is to zoom into the digital file, find the offending noise—it will look like a sharp seismographic spike in the wave form—and edit it out by hand. The bit you delete will usually be so miniscule that the cut is imperceptible. “We’re talking milliseconds here,” says Hivern’s Baughman.
Others opt for more high-tech digital solutions. Izotope’s popular RX 7 suite of post-production tools includes automated noise-removal tools like De-click and De-hum ($129). Both Mathieu and the Music Republic blogger recommend Click Repair ($40), a shareware audio-restoration application for removing clicks, background noise, and hum. “You use the preset, you hit the button, it’s done,” marvels the Music Republic blogger. “There are no side effects.”
Equalization and Normalization
To get your digital recording sounding as you like it, you may wish to do a little final tweaking. Mixing engineer and Running Back Records label manager Matthew Styles likes to give a boost to specific frequencies in the high end, known as a “high shelf,” to compensate for limitations in the vinyl pressing. Eris Drew turns her attention to the other extreme, adjusting the EQ to cut a little rumble out of the recording. “Not the actual bassline,” she stresses, “But incidental, low-frequency information captured by the needle—feedback, hum, and surface noise.”
Since older records tend to be quieter than contemporary vinyl, DJs might want to take additional steps to beef up the sound of that vintage wax for club play. Drew recommends using a limiter like Waves’ Ultramaximizer L1 ($50) and L2 ($60) plug-ins, which maximizes overall loudness. But, she cautions, “You sacrifice dynamics, so saving a reference copy of your vinyl rip without limiting would be an archivist’s ideal.”
Find Your Groove
With those basics in mind, you’re ready to rip. It can be a laborious process, so it might take some time to find your flow. Running Back’s Styles recommends ripping a bunch of records in one session, then settling in to edit and separate tracks later. And be aware of your surroundings: If you’ve got hardwood floors, be careful with your footsteps, as the needle could pick up the vibrations. Remember, too, that there may be no such thing as the ideal rip; part of the joy of vinyl is its perfectly imperfect sound. “Each copy of a record has its own life and history,” says Baughman. “It’s nice when you can hear that story—to a certain degree, of course—through its condition.”
Originally Appeared on Pitchfork

