The beginner's guide to Logic Pro for iPad
We’d been speculating that Apple could release Logic Pro for iPad for rather a long time before the company’s big reveal a few months ago. They had, after all, been quickly upping the specs of the iPad for a couple of generations, making great strides towards turning the device into a true tablet powerhouse.
The inclusion of the Apple Silicon chips in the latest iPad Pro range was the final signal that a full-fat version of Logic Pro could make the jump from desktop to iPad iOS, and sure enough, shortly after their arrival, Logic Pro was revealed running on the iPad in all its glory.
But the best news is you don’t actually require a full-blown iPad Pro with those Silicon chips to run it. Even iPads with the A12 Bionic chip (and running iPad iOS 16.4) are capable of running the app, which means devices going all the way back to the 8th generation iPad, 5th gen Mini and 3rd gen Air.
For many older iPad users, though – including us, it has to be said – running Logic Pro on iPad might mean an upgrade to the latest iPads currently on sale. Those are 9th and 10th generation iPads, the iPad Air and iPad Pros which have A13, A14, M1 and M2 processors respectively, and should run the software without any issues.
So the question is, is this long-awaited release enough to make you upgrade your iPad? And if you already have, how can you make the best of Logic Pro for iPad? Read on!
It's Logic... and then some
The first thing to report is that Logic Pro for iPad is very much its own beast. While it will be familiar to both GarageBand and Logic Pro users, on whatever platform they are used to making music on, the new iPad version of Logic very much does its own thing, in its way. And really the app has to forge its own path. It’s bringing in an all-touch ethos into Logic music making so will require a slight (and sometimes big) shift in thinking. So this isn’t a port of the desktop version, more a practical vision of Logic Pro that makes use of the new touch environment in which it now sits. And that means it will require some getting used to.
That said, it is also very familiar. You’ll recognise many of the 100 plugins that come with the software like ES2, Space Designer and Retro Synth. However, all-new plugins including Sample Alchemy and Beat Breaker deliver some magical audio and beat features, albeit in a very Logic(al) way. These alone really are worth trying the app out for.
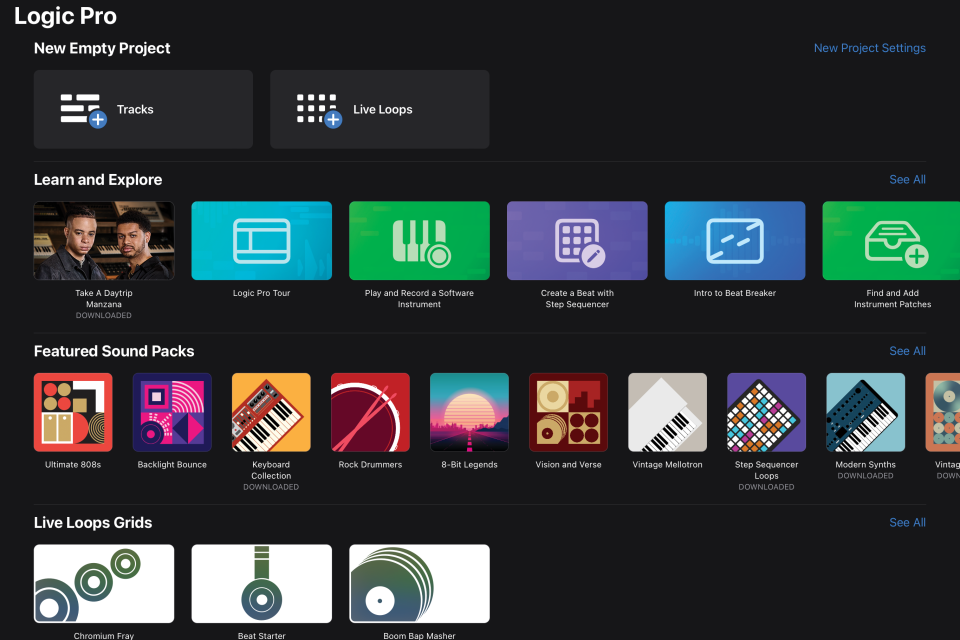
And like the desktop version, you can download as much content as you like, although the maximum is rather less than the 72GB the Mac version requires. For the iPad, you are looking at a very reasonable 15GB, so we say go for the lot.
OUR REVIEW

Apple Logic Pro for iPad review
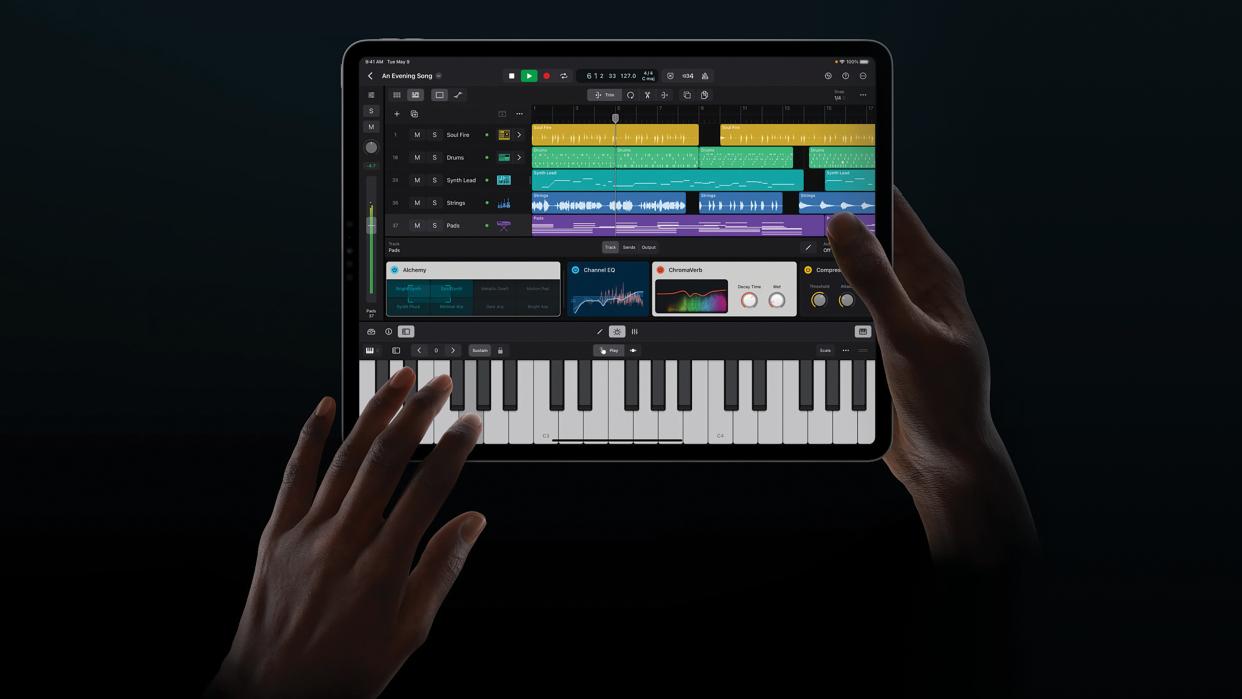
Once you are up and running, you can enjoy full automation and a great mixing experience. The mixer itself is very familiar, you get stacks of effects in blue and the main instrument per channel in green. Some features have obviously been redesigned to make the whole touch workflow that bit easier, so simplified instruments and effects are lined up per channel in Tile View – a chain of devices - You simply double-click on each to open the full interface with all the controls.
Other parts are direct lifts from Logic in terms of the design. The Ableton-style Live Loops feature, where you can launch audio and MIDI clips, always in time, looked pretty much like it was designed for an iPad when it came out, so that stays very close to the desktop version, as does the Step Sequencer. Many of the plugins look very similar to the originals, too, particularly the effect devices.
New arrivals include a tag browser for easy auditioning of sounds, but it’s that touch workflow that is the biggest difference. You’ll soon realise that you don’t need the menu system that a mouse and pointer always leads you to, and that touching, twisting and pinching gets you where you need to be, in many cases probably quicker than you might be used to with the desktop version.
Something old, something new
It’s perhaps likely that some of those long-term Logic desktop users might be more confused by some of the new ways of doing things with this all-new Logic Pro – experienced and existing iPad users will probably find it all very intuitive and comfortable.
So, if that long-term desktop Logic user is you, you’ve come to the right place. Over the next few pages we’ll detail some of the new workflows – some of the different ways of getting where you are used to going with desktop Logic – and also some of the great new features you can enjoy with Logic Pro for iPad.
You can enjoy the app totally for free for 90 days, so if you have an iPad with the power, give it a go
Indeed it’s those new Logic features that make it worth trying out the new DAW. In fact we’d urge you to do just this, because you can enjoy the app totally for free for 90 days, so if you have an iPad with the power, give it a go, and use the following tutorials to immerse yourself in this new Logic touch environment, and then decide if it’s worth a long‑term purchase.
Logic Pro for the iPad could very well be what your music-making has been waiting for. All that power, all those plugins and all those professional features on an iPad so you can make music anywhere. At last, a proper DAW in the iOS environment – yes, please! So try it for free and see if you are as excited by this new touch DAW as we clearly are.
Multi-touch functionality
The familiar approach of song tracks going from top to bottom and song arrangement from left to right still applies, but the big difference here is obviously touch operation. Using a stylus is good – not absolutely essential – but for some of the more precise moves in Logic Pro for iPad, it is recommended.
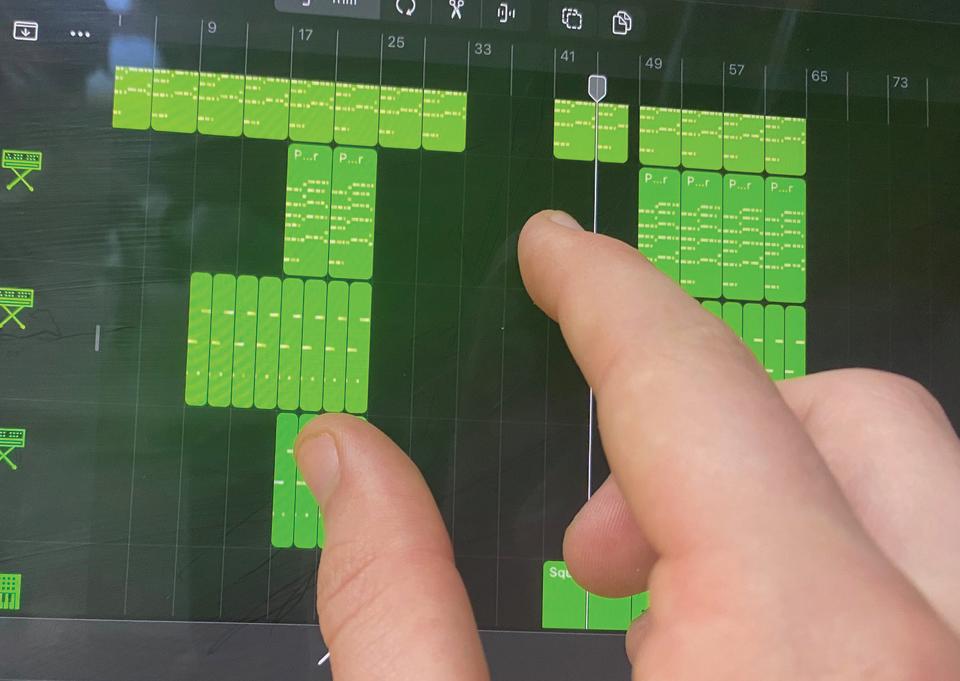
Moving around your main project is as simple as touching the screen and swiping up, down, left or right – a single gesture will take your from one side of a project to the other. You can also highlight tracks and regions simply by touching/clicking them.
The touch operation comes more into its own when muting and soloing. Click per track or click and drag/swipe to mute and solo several adjacent tracks simultaneously. Many tasks like this are now undoubtedly faster with touch.
One such task which we think will revolutionise our particular workflow is the pinching of the UI for zooming in and out both vertically and horizontally. Yes, there are different ways of doing it on the desktop version, but pinching has been made to feel so natural by touch devices like the iPad that zooming is now second nature.
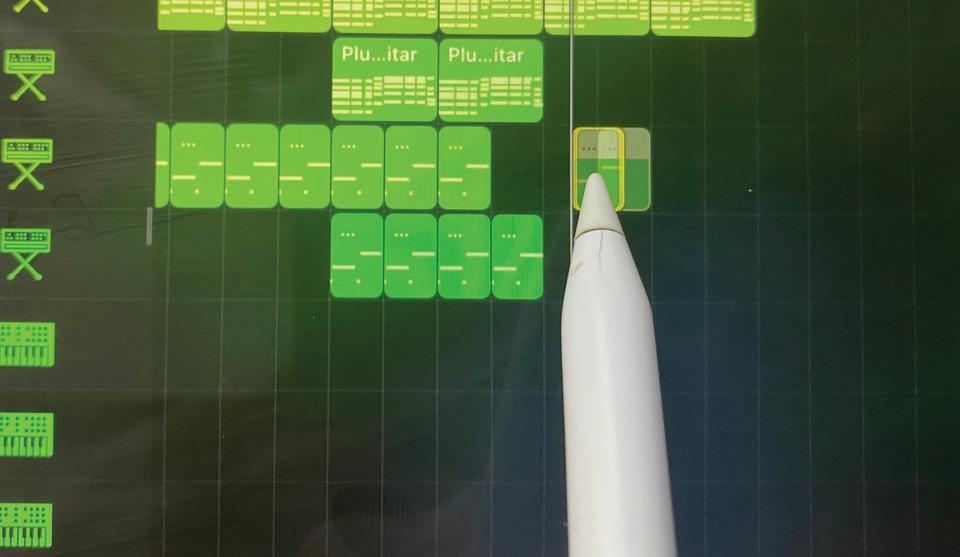
In the main screen, it’s just as intuitive to move parts around. Simply click and drag with either your finger or pen/stylus, just as you would that mouse and pointer. Click on the edge of the event and drag it to extend.
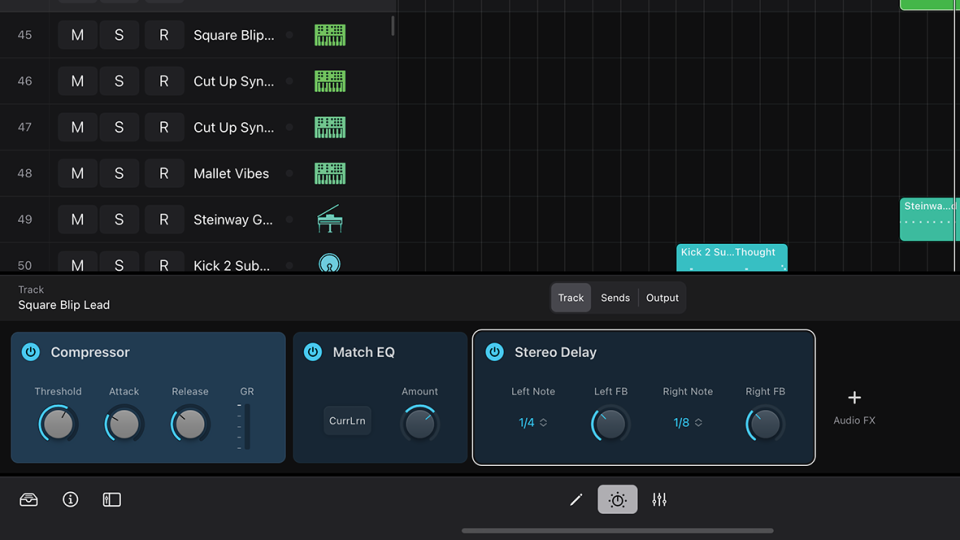
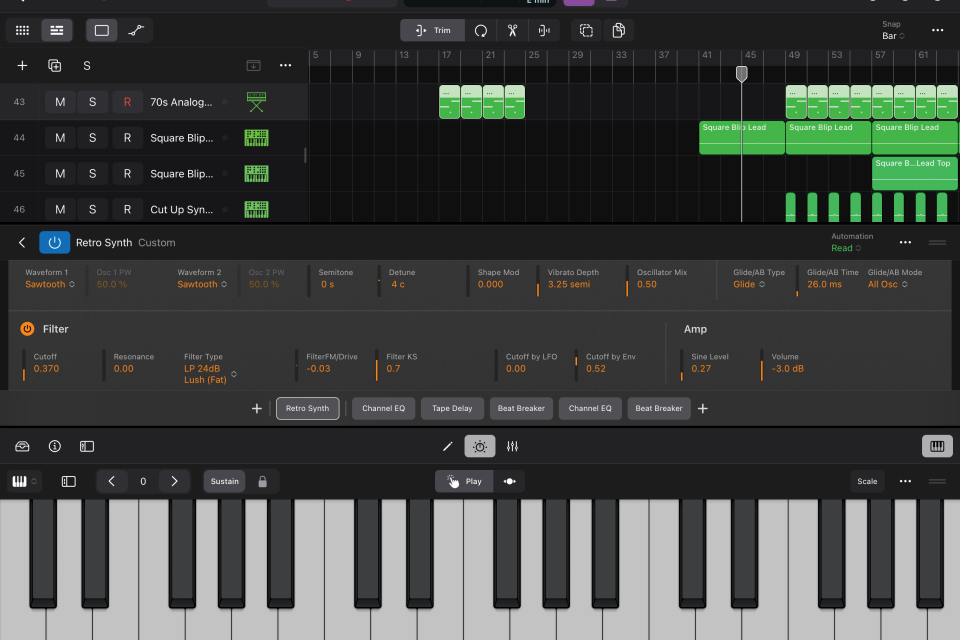
The plugins Tile View is a cool new feature. It’s an easier way of seeing devices on a channel and operating their most important parameters, with large enough controls to be able do this by touch. Devices on a channel are listed left to right, in an Ableton Live style.
Navigation, devices and the mixer
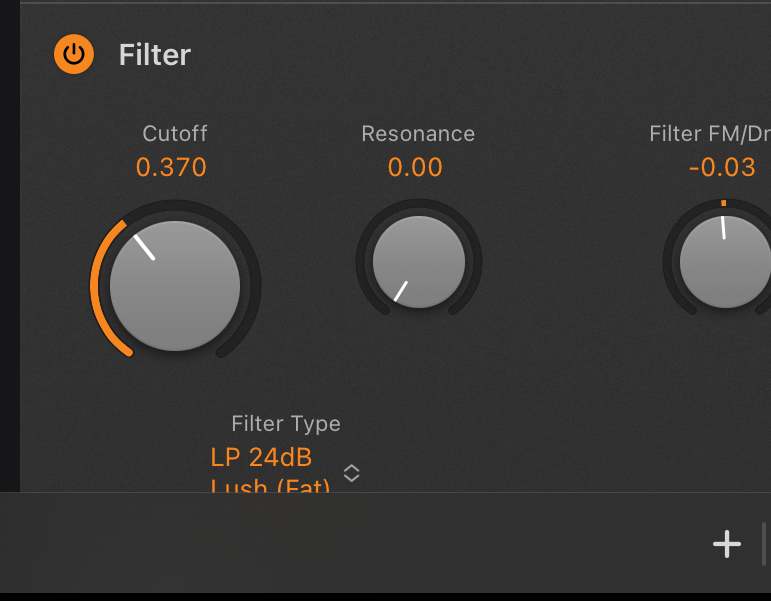
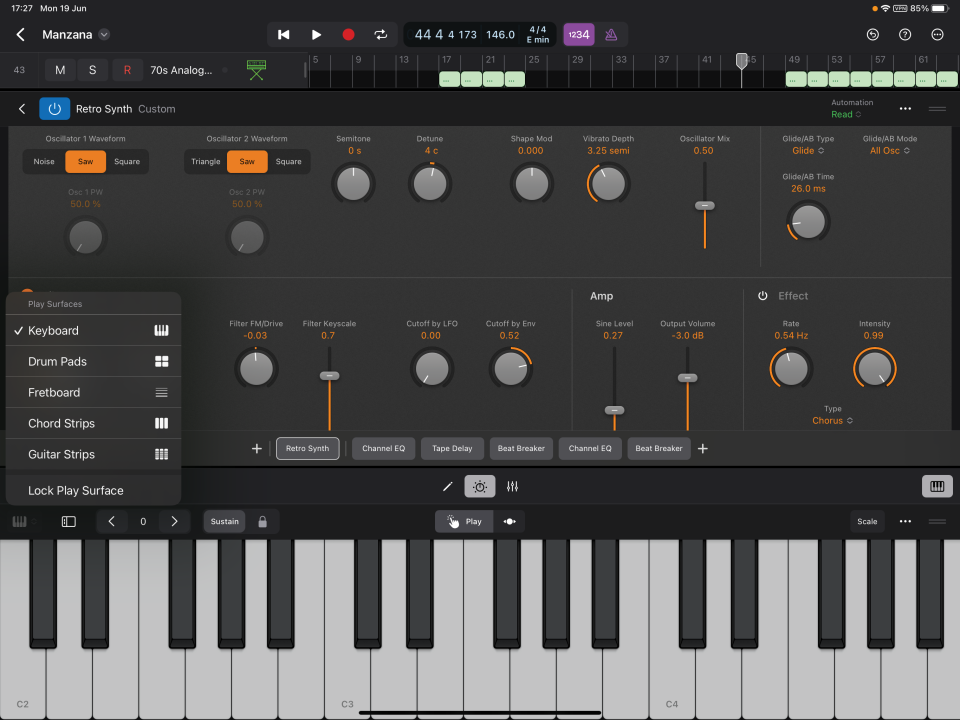
You get MIDI effects, instruments and audio effects, and the main controls are on show and very easy to see. Retro Synth has its Filter and Resonance controls, for example, often the most commonly used synth options.
Clicking on a device tile opens it up so you can quickly access more of its controls. You might have to make the window bigger to see them, but once again, it’s a case of swiping up and down to navigate around the plugin’s UI. Here’s Retro Synth bigger.
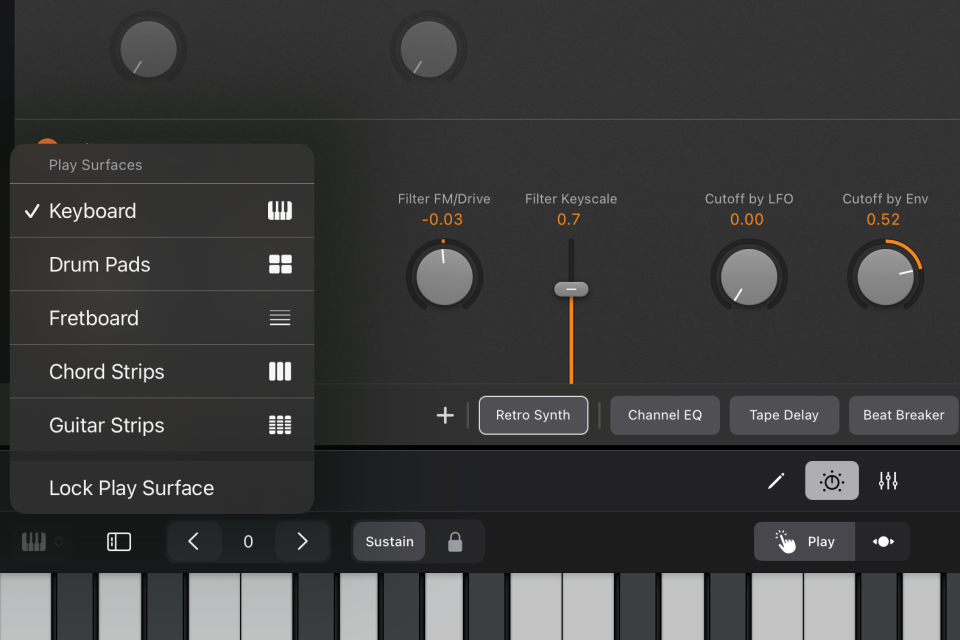
The Play Surfaces icon (bottom-right corner of the UI) opens a menu of performance/recording options – Keyboard, Drum Pads, Fretboard, Chord Strips and Guitar Strips – to play an instrument. Again, these are multitouch so you can play the keyboard with both hands, if they are small enough or your iPad is large enough!
By now you’ll have opened up plenty of instruments and effects but one of the neat – and necessary – workflow features of Logic Pro for iPad is that all the windows are resizable by clicking and dragging on the right-hand side so you can customise everything that is open. Here we’ve reduced the size of Retro Synth.
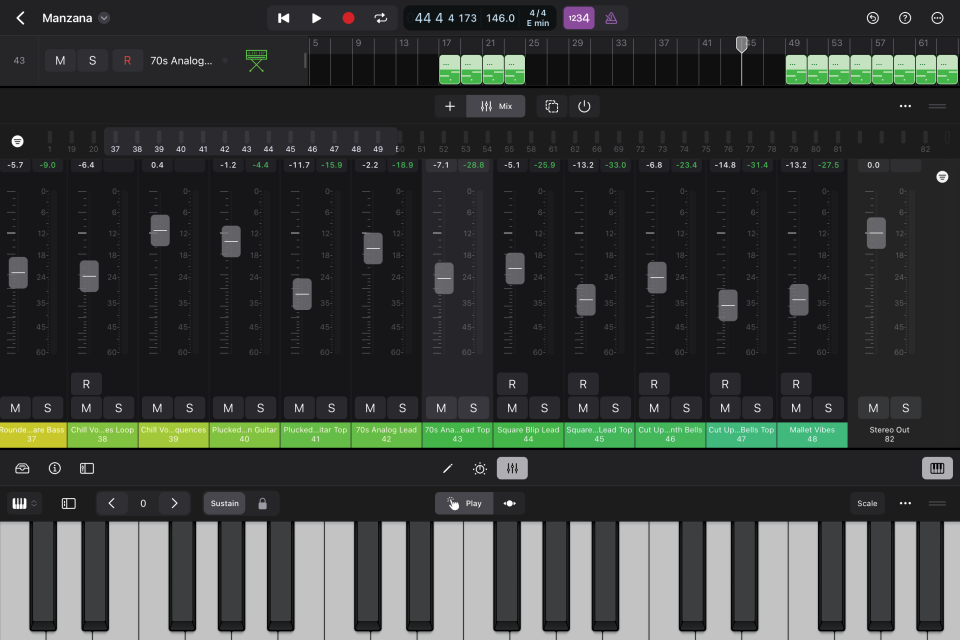
One such window is one of the most important: the mixer. Access this with the bottom-right-hand icon. This can be impressively resized to cover most of the UI and again you can use a single swipe to go right or left across your entire range of inputs and outputs.

You can also select different sections of the mixer – blocks of 12 tracks at a time, say – by clicking the top panel. And, of course, as it’s multitouch, you can adjust multiple channel volumes with multiple fingers simultaneously. Try doing that with a mouse…
Creating a song part and exploring the new workflow
Start a new project (‘+’ symbol top of screen). You can load example projects, sounds or lessons or start from scratch (hit Tracks or Live Loops). As with desktop Logic this means choosing a track type. There are MIDI (software instrument) and audio options plus Drummer for beats and Pattern. Hit any to open the new browser.
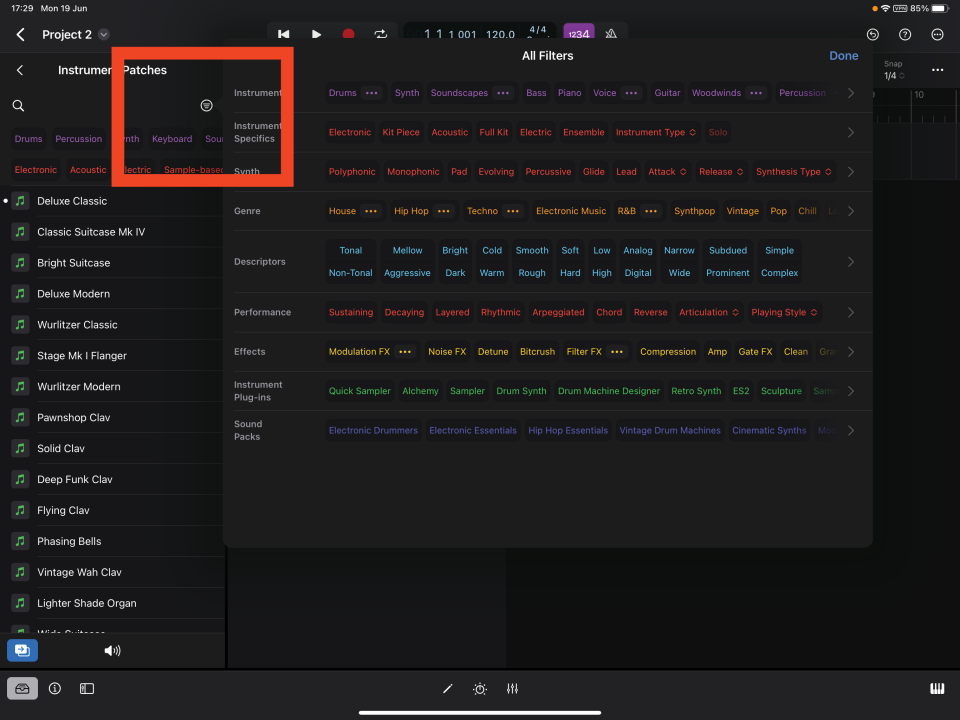
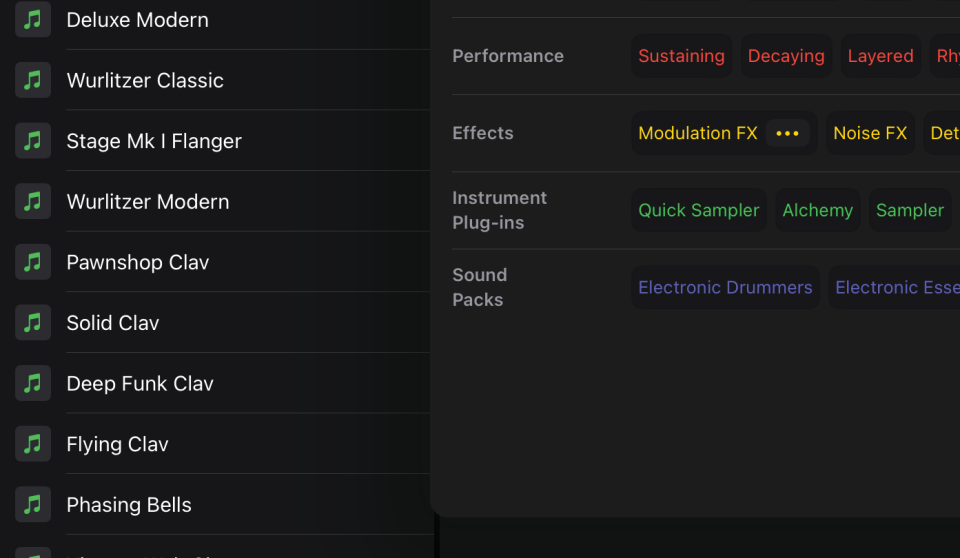
The browser for loading in such sounds and instruments has been redesigned, making choosing what you want much easier. There’s an all-new filter system to choose by instrument or description. A button on the right-hand side of the browser (highlighted above) opens up a huge set of filters so you really can focus in on a sound.
As you filter, you’ll be presented with a list of suitable sounds, and you can audition by clicking the notes on each one, which is a great way of quickly identifying what you want – even if you didn’t set out with a specific goal in mind! Click and drag your chosen patch into the song and Logic automatically creates a track. Superb!
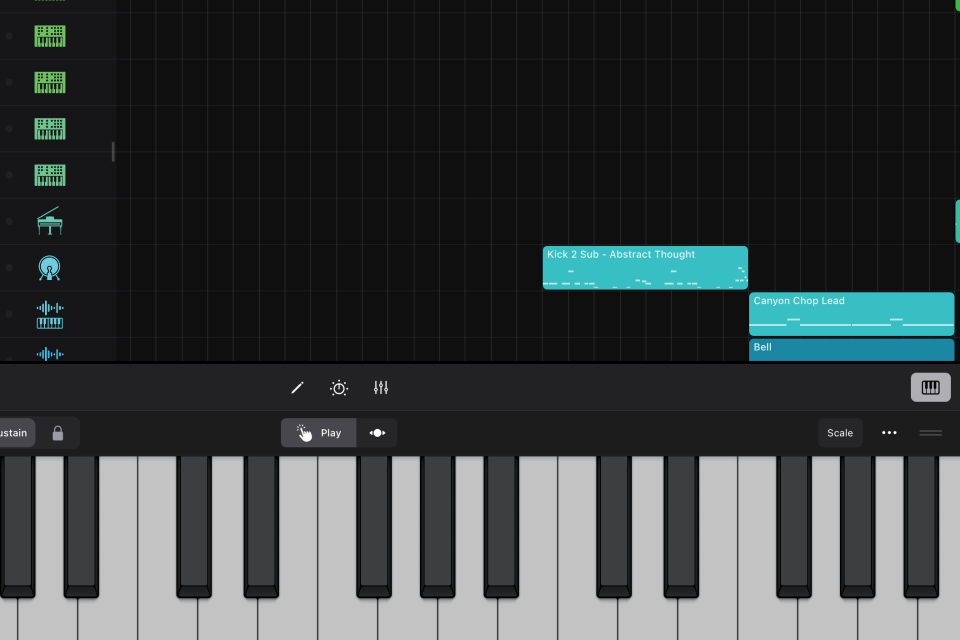
Now it’s a case of playing and recording your sound. For that we return to the Play Surfaces (bottom-right icon). Open the options by hitting the keyboard icon (bottom-left). Depending on your sound, you can choose a suitable way of triggering it here, the keyboard and drum pads being the most recognisable for melodic riffs and beats.

But one of the easiest ways to get going with a song is to create a chord sequence. That might be harder in a standard DAW but here it is easy, just use the Chord Strips option which lets you play chords with one finger to create a cycling chord progression in seconds.
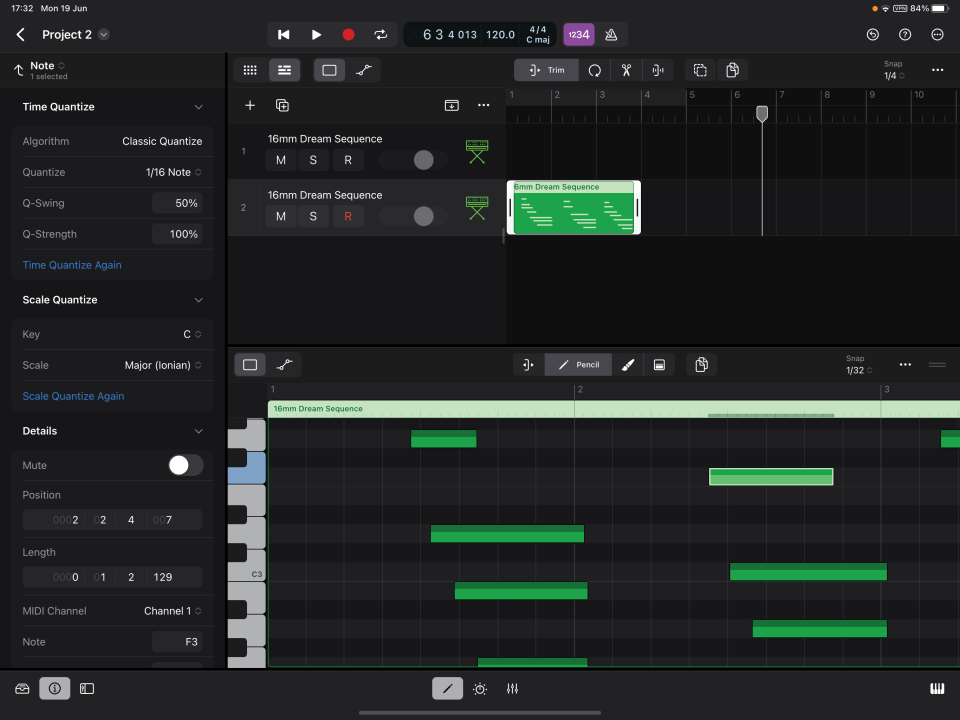
If you need to edit the notes (length or position), return to the Edit screen (the pencil icon on the left above the Play Surface). Here you can also quantise notes by opening the inspector (bottom-left centre ‘i’ icon) and choose a quantise value from the drop-down menu.
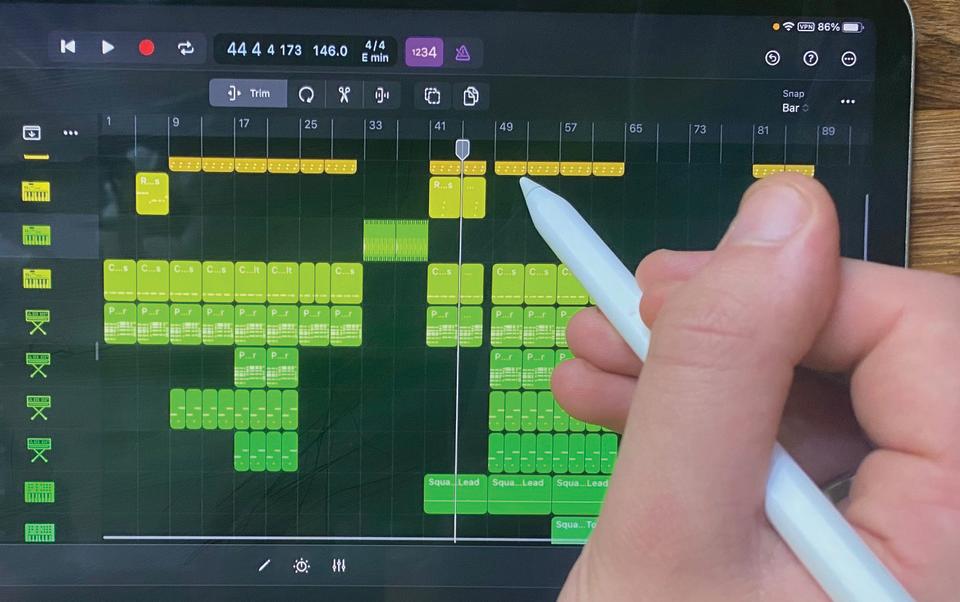
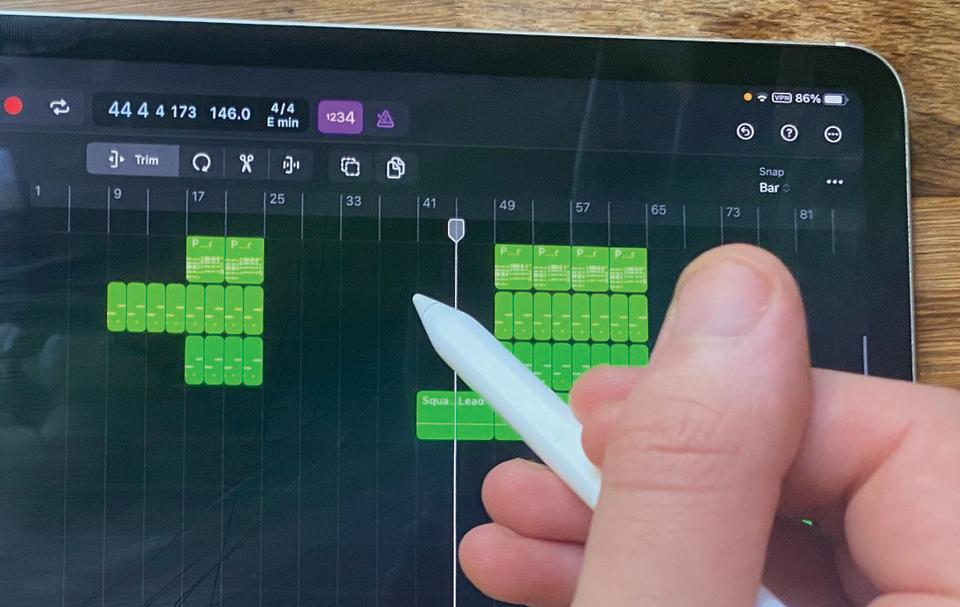
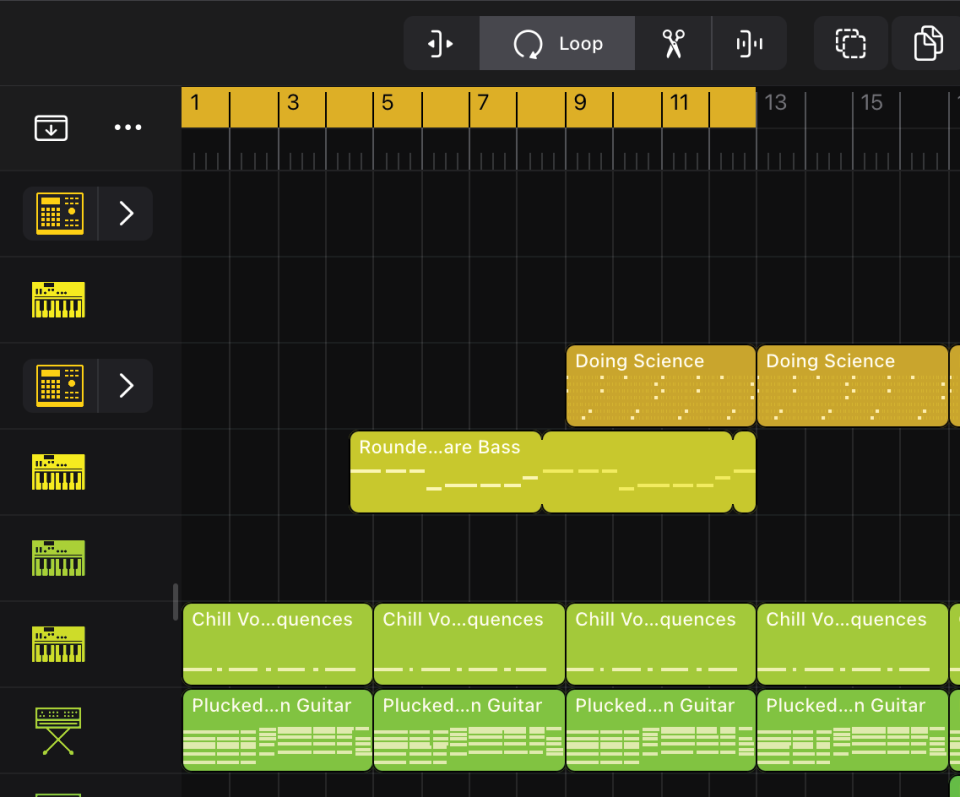
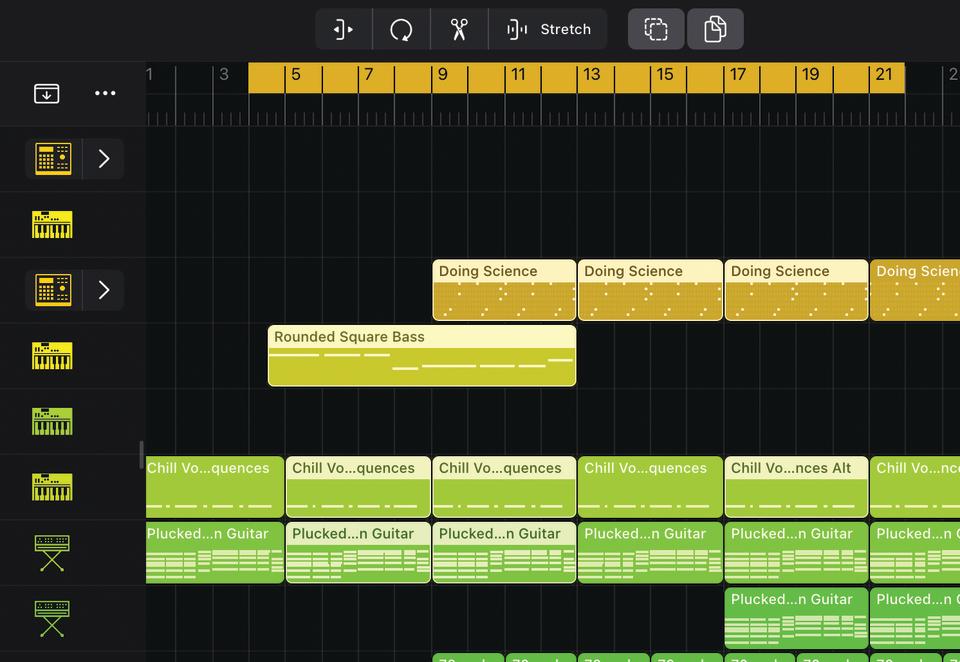
4. Arranging your song
For the last part of this tutorial, we’ll look at arranging a song with the several parts that you could create by repeating steps 1 to 6 on the opposite page. To arrange these parts into a song, we’ll start by focusing in on the icons above the main arrangement window. The left-hand one is Trim and allows you to resize regions.
Then the Loop icon – second from left – lets you loop parts. Simply click on the greyed our area above the whole arrangement to loop (click and drag to adjust the size), or set loop points by clicking and dragging the loop handles on each region. Easy!
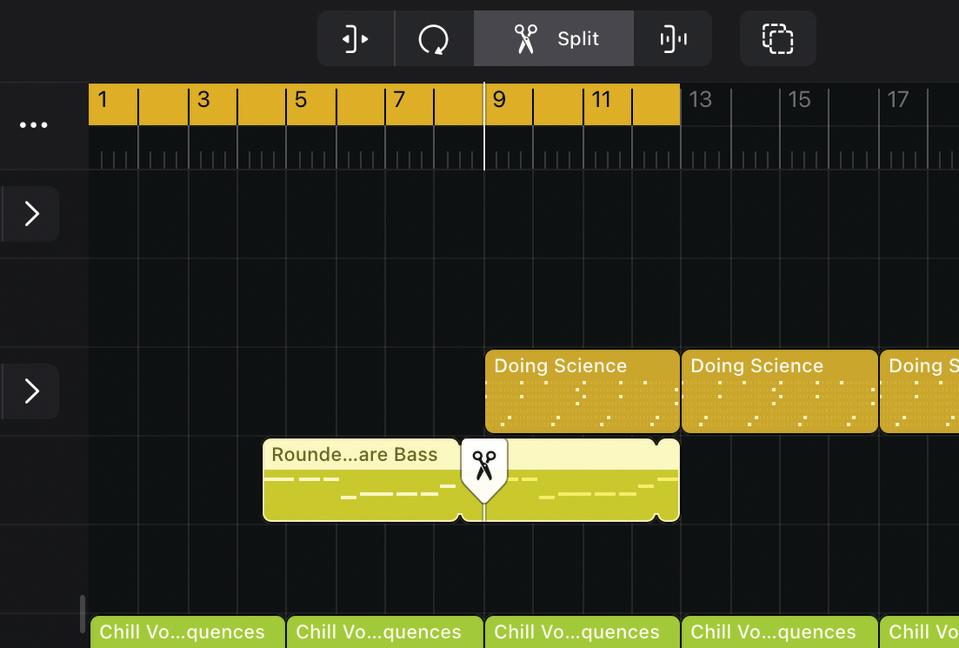
The next Split tool is well implemented. You click and drag it to the place where you want to split a region and then drag it down to effectively cut that region and Logic zooms in so you can see it in close-up detail. Very neat.
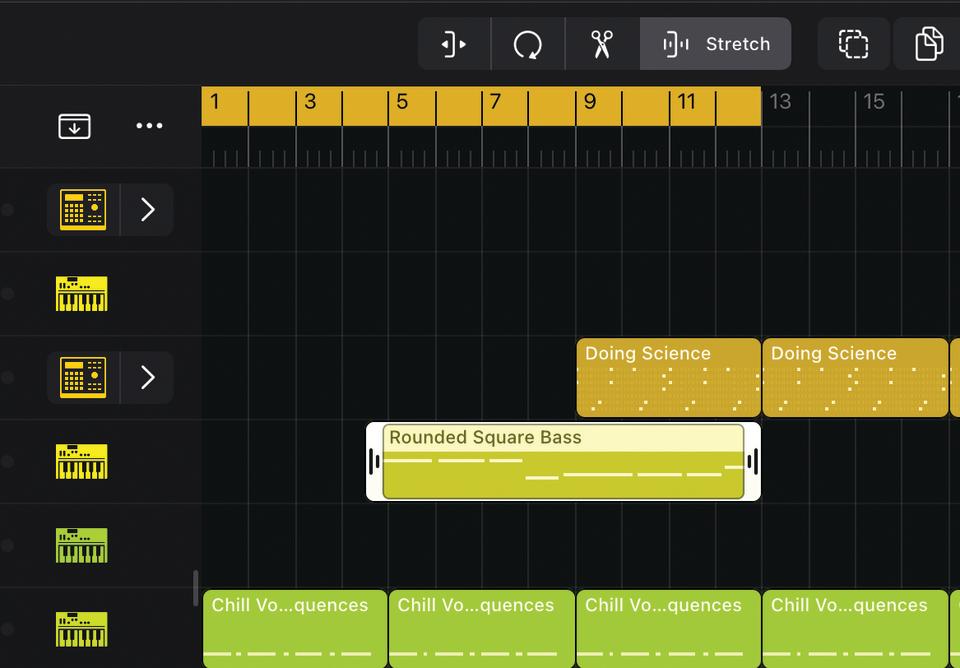
Timestretching – the next icon – is much easier than on desktop Logic. Once again handles appear on your chosen region and you simply click and drag these to stretch it to whatever you choose. This is amazing and so much quicker than you might be used to.
The final two icons let you select and deselect multiple regions and – the important bit for arranging (!) – copy and past parts. Select this icon and simply click and hold a region and it will copy itself so you can drag it and paste it where you like. No more Option button.
That gives a quick overview on track and song creation in Logic Pro for the iPad. We think you’ll agree that the streamlined approach is superb and well implemented. It’s the same Logic… but different!

