5 reasons your mixes don't sound professional (and how to fix it)

- Oops!Something went wrong.Please try again later.
Mixing is a minefield, especially when you’re starting out in your music production journey. There are seemingly hundreds of mistakes you can make in the mixing process, and it’s often very difficult to figure out where exactly you’ve missed the mark when your mix isn’t sounding up to scratch.
With that in mind, we’re going to break down the top five reasons your mixes might be falling short of professional standards, and how you can turn things around. By grasping these factors, we can better understand how to remedy these issues and end up with a mix that sounds fantastic - or at least, a bit better than when you started.
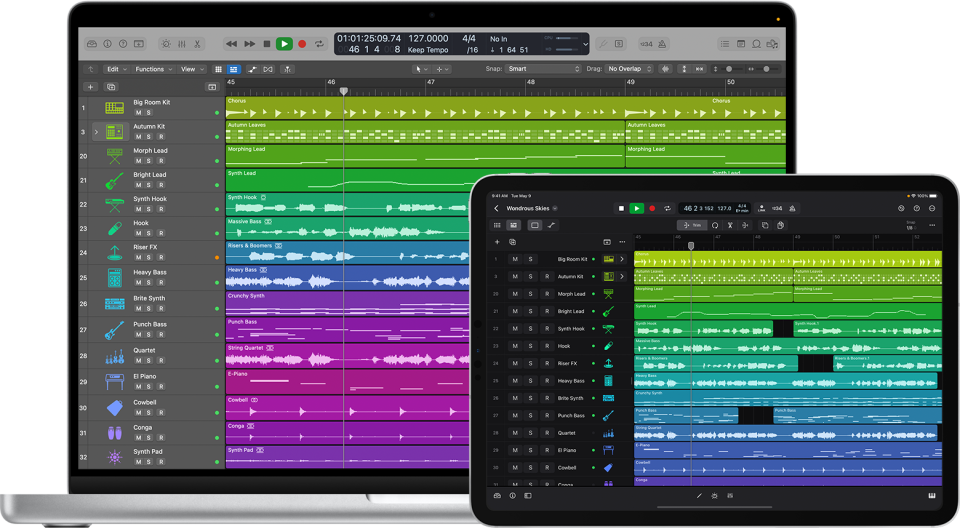
1. You didn't organize your mix and your project properly
Mixing is all about finding that sweet balance which is balancing volume, frequencies, dynamics, etc. Sure, everyone has their own way of starting a track, whether it's laying down piano chords or dropping a sick beat. But here's the thing: the order in which you mix your tracks can seriously affect the overall vibe. Skipping this step can easily lead to a compromised mix.
‘So what is the right order to mix?’ Well, the correct question should be ‘what is the main element in my song?’
‘So what is the right order to mix?’ Well, the correct question should be ‘what is the main element in my song?’. For example, in a pop song with a catchy chorus and narrative lyrics, the vocals should take the lead in the mixing process. The beats and the bass tracks can undergo mixing subsequently since these tracks significantly contribute to the song's rhythm and groove. In other genres such as EDM, where the kick serves as the driving force, the kick commands priority in the mixing lineup.
Additionally, organising similar instruments into groups, colour-coding tracks, assigning track icons, and labelling song sections (such as verse, chorus, etc.) will greatly provide clarity and help organise the tracks well. Not only does this tidy up your projects, but it also guides your mixing workflow by maintaining the correct order for instruments.
Also, most DAWs feature a notepad where you can save project details, such as chord progressions. This is, by far, my favourite feature because I often forget the chords I used for a project and so when I come back to the same project months after its creation, I’ll have all the details inside the notepad, which makes it very convenient.
2. You didn't remove unnecessary elements and frequencies

Clearing out unnecessary elements from your project is essential because sounds like unwanted clicks, pops, and noise can become amplified when processing plugins are applied. In addition, retaining unused tracks, multiple audio takes, and demo recordings can clutter your workspace, potentially overburdening your DAW's processing power and leading to performance issues.
READ MORE
Moreover, improper room treatment can result in various forms of noise. Without proper acoustic treatment, recordings may capture unwanted room noise, including reverberations, which can be challenging to remove during mixing. Common sources of noise, such as traffic, electronic appliances (such as air conditioners or vacuum cleaners), significantly impact recordings made at home and thus require careful attention during cleanup.
Therefore, it's necessary to clean your projects just before mixing. One of the most commonly used plugins for mitigating harsh sounds like 's', 'p', and 't' is the De-esser plugin. Personally, I love the RX 9 De-ess from iZotope for its precise and natural noise reduction capabilities. Other methods of noise removal include eliminating silence from audio tracks and automating volume adjustments on instrument tracks to remove unwanted noises such as harsh guitar slides or clicks.
3. You didn't listen closely enough

Mixing involves a lot of micro adjustments that collectively shape the music into something beautiful. Instead of doing subtle adjustments, if you do a drastic change because you feel like you can only hear a difference then, then this often leads to excessive boosts in high frequencies or heavy compression in an attempt to reduce dynamic range. Therefore, what initially appeared as an improvement can result in an over-processed output that sounds artificial and robotic.
READ MORE
Will working out in the SoundGym give you 'better ears'?
The following methods can help prevent this issue, and ensure a natural, cohesive mix. First and foremost, ear training should be a regular practice for every music producer, regardless of their level of experience in the field. This practice trains us to pay close attention to all frequencies present in a sound. Furthermore, it develops familiarity with tasks such as panning and managing dynamic changes, thereby enhancing our ear's sensitivity to subtle variations. SoundGym is an example of a website that provides a comprehensive training regimen for daily use. Even dedicating just 5 minutes everyday to practise can yield significant results.
Secondly, when utilising plugins like EQs and compressors, try this technique: after making a significant adjustment, toggle the plugin off and on to assess whether you prefer the change. If the difference is good, dial back the adjustment to a point where it's more subtle. This strategy is especially beneficial if you have difficulty detecting subtle changes in your mix. EQs primarily manipulate frequencies, allowing for subtle enhancements through cuts and boosts. Compressors, on the other hand, are used to reduce the dynamic range, ensuring a more consistent volume level throughout the song.
4. You didn't use auxiliaries for your effects
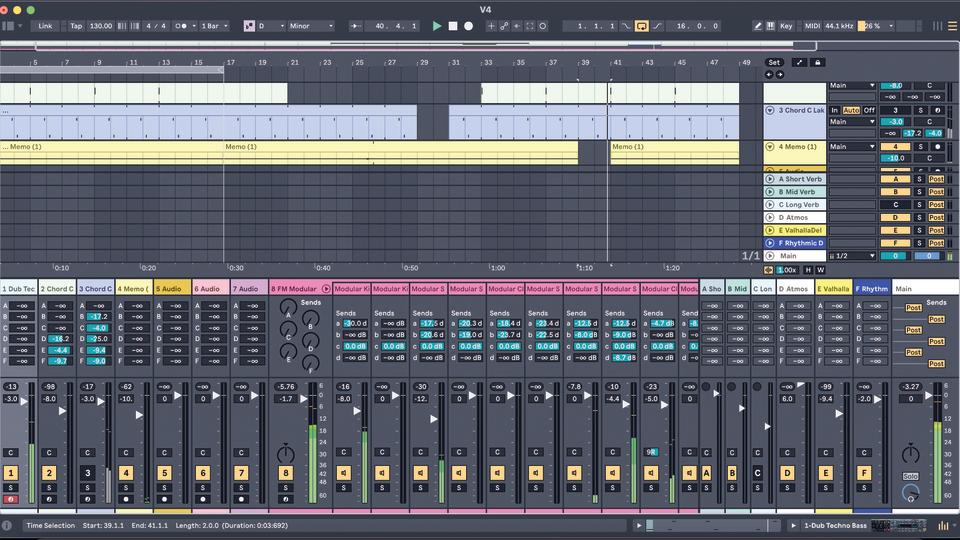
Often when recording in the studio, the tracks will sound raw and lack natural space and depth. This is because studio setups are soundproof and eliminate any unnecessary noise apart from what is essential for the recording. But this absence of ‘ambience’ can render a track bland and uninteresting, as our ears naturally seek a sense of space, depth, and texture in music.
Similarly, excessive application of ambience and echoes on a track during mixing can lead to a muddy sound. This occurs because echoes and ambience start to overlap with the raw track, resulting in an unnatural output. These problems arise when "wet plugins" such as reverb and delay are applied directly to the channel strip.
READ MORE
How to use inserts and auxiliaries to streamline your mixing
The recommended approach to address this issue is to utilise auxiliary tracks (also known as aux/bus tracks). Aux tracks function similarly to audio tracks but do not have any audio printed on them. Firstly, assign an aux track to your main track and apply the desired wet plugin to it. Then, determine the amount of signal that should be routed to this aux track (most DAWs feature a knob next to the aux track for adjusting the signal level).
Adding reverb and delay in this manner ensures that only the necessary amount of signal is sent to the aux track. This method will result in a much cleaner and natural output. In addition, sometimes adding a constant delay sound throughout the vocal track might even overlap with the original dry track. A quick fix is to automate the delay so that it happens only during gaps in the track. This will ensure that the track doesn't drown in muddiness.
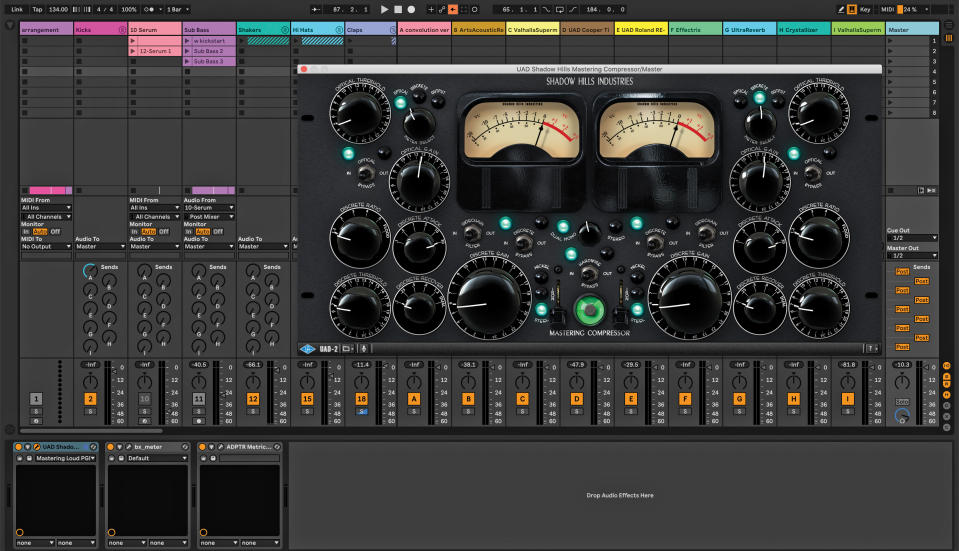
5. You didn't pay enough attention to your levels

Maintaining excessively loud levels, whether on individual tracks or on the stereo output, can lead to distortion and may even limit the headroom available for subsequent processes, such as mastering. In fact, maintaining higher gain or volume levels on knobs or faders at any stage of music production can severely compromise the quality of the tracks.
READ MORE

What is gain staging and how can it help you mix?
So here's a practical guideline: avoid pushing any fader in your DAW beyond the 0dB mark. Also, do a proper gain staging during the recording process. Gain staging involves adjusting the gain knob on the interface to keep the maximum recorded loudness around negative 6dB. This provides a healthy input signal inside your DAW.
In addition, it's essential to periodically monitor the loudest section of the stereo output. The stereo output serves as the channel strip where all tracks in your project ultimately route to. If the reading exceeds 0dB or turns red, it indicates that your signal is clipping. Therefore, ensure that even the loudest section passing through the stereo output remains around negative 6dB. This provides the appropriate headroom for your mix to sound balanced and allows ample space for mastering.
There we have it - these are five common mistakes that producers often make while mixing their projects. It's important, however, to understand that mixing is subjective and is influenced by all kinds of external factors, including our individual tastes. A phrase I often use is, ‘Ultimately, if your final song sounds fantastic and resonates with listeners, then any method you use is valid’.

